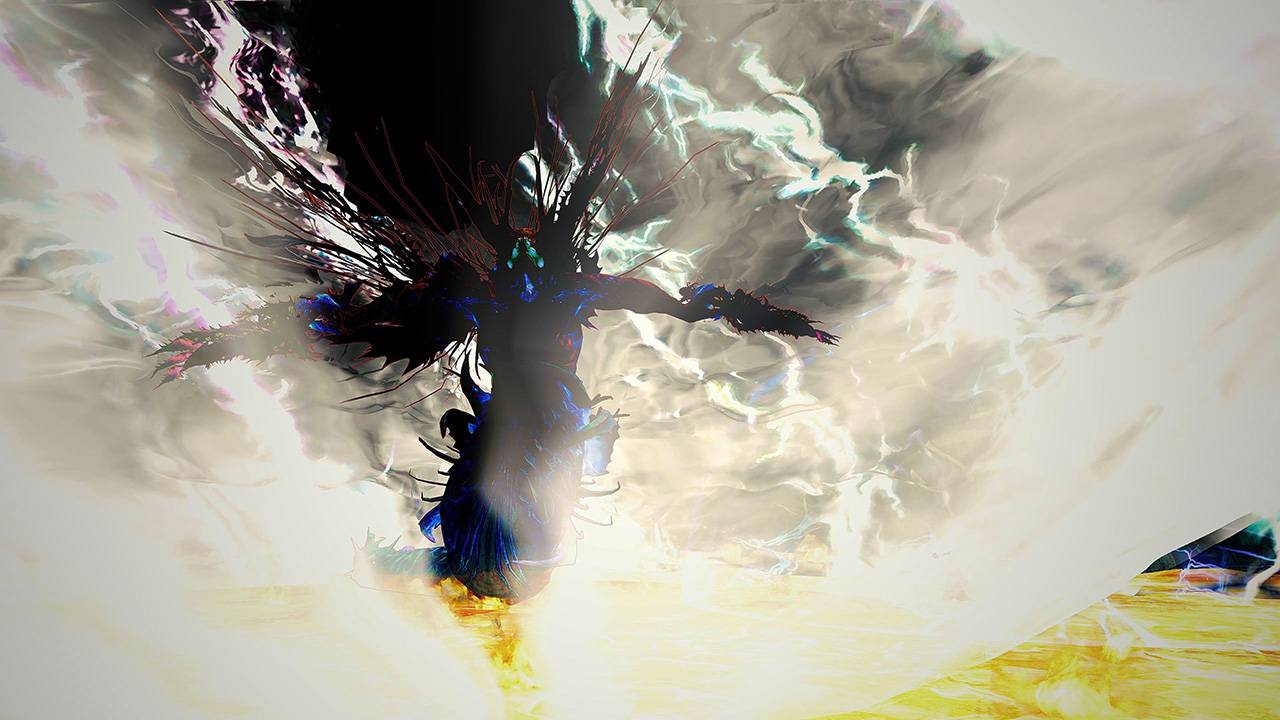
Nightmare
Challenge Mode Fractal
English
- August 7, 2023
Overview
| Current Record | 5 min 44 sec | by Invicta Luna [iV] |
|---|
| Difficulties |
|
|---|---|
| Cycle | Day |
| Potions | |
| Sigils | |
| Consumables |
Assault Knights
426,071 HPStack Might before jumping down. Kill the three Assault Knights (Red, Blue and Green), each of them has the same set of abilities: a PBAoE Knockdown and an AoE Pull which covers the entire room except the knight's position, both can be dodged.
Break their defiance bars, kill them to awaken MAMA and use
/gg to reset your cooldowns. Ideally the group splits up here and kills the knights simultaniously.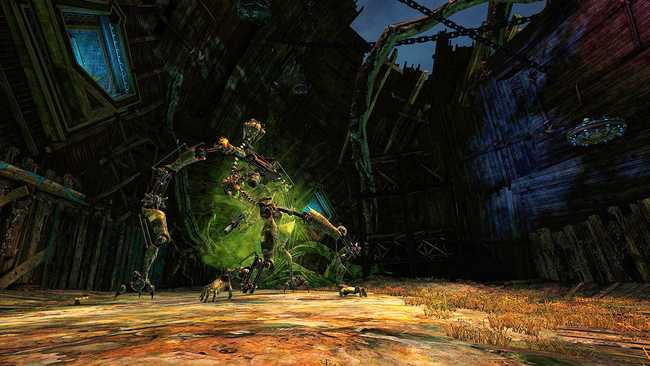
MAMA
5,200,519 HP CC mama: 1800, CC adds: 800Stack Might, Quickness and Alacrity before jumping down. In organized teams use a to teleport from the mistlock to MAMA.
The duration of the encounter heavily relies on how quickly your party can break the defiance bars throughout the fight, in addition to the amount of damage your party can generate in each phase. This is an average clear time and can be reached by organized teams as well as pick up groups. The class outlines below will be suitable for faster and slower kills as well.
MAMA will arise, after being invulnerable for a few seconds its first attack will be a spinning Knockback. This one should be interrupted by CCing the boss fast enough. The consecutive spin attacks should be taken care of by the Firebrand as long as there is not to much AoE, that potentially removes Aegis is around. This spin attack always hits on the second spin animation.
Apart from that, turn away from your party members shortly before the Vomit Toxin hits (orange cone), otherwise you will 'infect' party members in front of you with it.
Every 25%, MAMA gets Invulnerability and an Assault Knight (similar to the knights before) will spawn. Quickly break their defiance bar and burst them down as MAMA will continue it's attacks.
When MAMA reaches 33%, it conjures a large Nightmare Miasma field around it which deals enormous damage. It will also become mobile, start jumping to players, offloading shockwaves which Knockdown and attacking with Stun cones. It is especially important to immediately kill the last Assault Knight at 25% health.
Fast crowd control and animation knowledge are the keys to this fight.
First set of altars
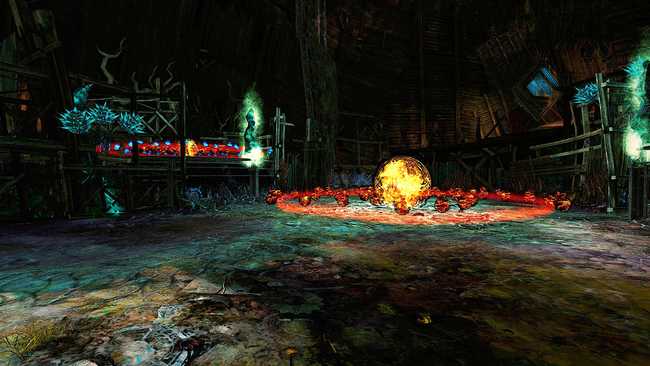
Swap your weapon set to and . You need to cap two altars to continue. Pull the two groups of Krait back to the passage and kill all enemies there. Start capping the altars as soon as possible, but keep in mind that standing inside puts Agony on yourself. Only enemy Krait counteract the capping here, you can ignore the Hallucinations.
Learn the Red Orb patterns as they can quickly kill you, Blue Orbs will heal you for a large amount of health (even with Agony).
On a side note, more players do not cap an altar faster. More than one person standing inside is redundant.
Learn the Red Orb patterns as they can quickly kill you, Blue Orbs will heal you for a large amount of health (even with Agony).
On a side note, more players do not cap an altar faster. More than one person standing inside is redundant.
Exchange or for and already swap to your weapon sets with Superior Sigil of Serpent Slaying.
At the first set of altars draw the Elite Nightmare Hypnoss with to the narrow corridor so that the Firebrand can pull them together with and disable them with . Assist in killing the Elite Nightmare Hypnoss and capturing one of the two altars.
Second set of altars
Variant 1: PuG variant, pulling all mobs
Again, pull all enemies to the center (wait for the Firebrand to cast ) and kill them there. The mobs at the left altar (West) can be aggroed with a simple projectile, the mobs on the right side (East) need to be pulled with (Longbow), , (Staff) or by teleporting up and jumping down.
Both side altars can easily be capped by a single person after another player has pulled down the mobs. Please note that you have to wait until the mobs are down before teleporting elsewhere to prevent them from running back.
Variant 2: Organized fast variant
The group splits up, so that a team of 2 and 3 will cap each altar. While running up stick to the very wall farthest away from the mobs in the center to avoid pulling them. Use if necessary.
Pull out the mobs of the side altar circles, kill them and quickly cap. One person is supposed to aggro the remaining mobs in the center circle, so that the party can cap now without any interferance.
Contrary to the first set of altars, respawning Veteran Hallucinations counteract capping here. Use Pull to grab them out of the central altar and always have a positive amount of players inside.
After you capped all three altars, use
/gg immediately if someone in the party needs it, then you can continue up to the 2nd boss. Before the ramp up, a group of Krait will attack you - simply keep walking to skip them. Use dodges, evades or skills that make you invulnerable to get through the cascading orbs and disable them by walking through the orb at the top of the ramp.Usually a single person with high mobility (Warrior, Dragonhunter, Soulbeast, Weaver) and or skips to Siax while the rest of the party stays dead. Trigger Siax and wait for Siax to appear, then
/gg as well.Use to teleport up to the altars.
You can pull both sides with (for the right side, jump at the end of your cast).
If the person who pulled your side ported up the other side to fast and the mobs come back use and to prevent them from reaching the circle before it is tabbed. Make sure you are attuned correctly for this in time.
Use and to pull adds.
Use tome of courage skill 4 to give resistance.
At the second set of altars, wait for your Firebrand to pull them together with and disable the Elite Nightmare Hypnoss with . Immediately move close to the altar on the right side and pull the Elite Nightmare Hypnoss occupying the altar to the mid by using . Assist in killing the remaining Elite Nightmare Hypnoss and capture the mid altar respectively.
Use and excessively to pull as many mobs as possible.
At the second set of altars use your to pull out the Elite Nightmare Hypnoss occupying the center circle. Make sure, that there are no projectile blocking Skills from enemies present.
Siax the Corrupted
6,138,797 HP CC: 2000Stack Might, Quickness and Alacrity before approaching the red orb and starting the fight. In organized teams use a to teleport from the mistlock to Siax.
The duration of the encounter heavily relies on how much damage your group can generate in each phase and how quickly you can finish the adds. This is a rather fast clear time and can be reached by organized teams. Pick up groups might have a hard time reaching this duration, however the class-outlines below are still suitable for slower kills.
During the fight, break his defiance bar (2000 CC damage) as fast as possible to interrupt his Caustic Explosion skill. Siax will wipe your party if you fail to interrupt it with enough crowd control. Pay attention to his bouncing orb barrages, the Vomit Toxin and the exploding Volatile Hallucinations (below 75% health). Do not stand in the red PBAoE when the inner circle reaches the outer to avoid spawning a Nightmare Hallucination. Watch your buffs: the Firebrand should give you Aegis, which blocks this attack and requires no further action from your side.
Attention! In average groups 5 Volatile Hallucinations will spawn in various locations around the arena. Each of them will target the closest player and apply a tether-like effect on them effectively making visible to who they are targeted on. Approaching the add will cause it explode the moment it reaches melee range which will cause Daze and apply conditions to all players in it's explosion radius. However the add will not explode if it's killed while it's target is outside of the explosion radius. A good practice is to move to the opposite side of the boss and let the add walk through the hitbox. This will cause the add to die by cleave before it reaches it's target, neutralizing the threat.
When Siax reaches 66% health, he gains Invulnerability and four Echoes of the Unclean will spawn in the North, East, South and West which need to be killed quickly to interrupt his Caustic Explosions. The same occurs at 33%, though the adds will have their spawning positions shifted clockwise.
Assign players to each add before the fight starts by setting waypoints. In PuGs the Firebrand and Renegade will usually focus on one mob together due to their lower DPS.
Ensolyss of the Endless Torment
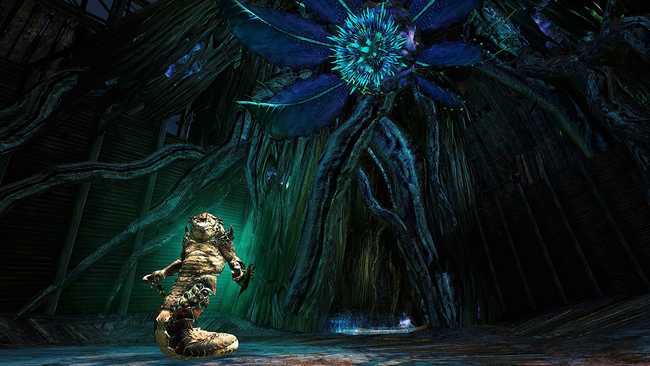
14,059,890 HP CC phase 1: 2000 CC phase 2: 2250This boss heavily favours condition damage!
Walk through the teleporter and trigger Ensolyss once after defeating Siax to gain the new checkpoint and use
/gg to reset all cooldowns. Stack Might, Quickness and Alacrity before starting the fight. Good teams will use a to teleport to the boss. When you start the fight don't stand in the center area of the platform or you will receive a Knockback. Right after he looses his Invulnerability there is a CC bar. This bar is only breakable for approximately one second. Time your CC wise.Nearly all of Ensolyss' attacks do a Knockback or Pull, learn to dodge or walk out of every attack. The most dangerous one is his shockwave-shatter combo, he smashes down a stunning yellow shockwave (like MAMA below 33% health), spawns hallucinations on each players position and shatters them after two seconds.
Again, the key to this fight is fast crowd control. Break his defiance bar quickly to interrupt his high damage attacks. Always stack around the center area and do not try to follow him to the edge as he will simply teleport back most of the time.
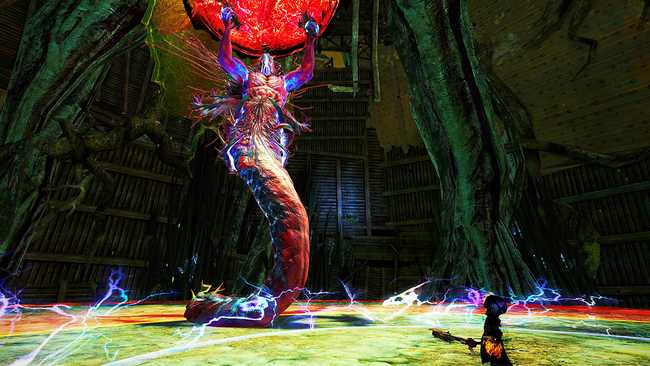
Orb phases 66%, 33%
At 66% and 33%, Ensolyss will teleport to the middle and gain Invulnerability. Your party will need to split up and cap five altars, similar to the ones before.
Red Orbs and stunning shockwaves emerge from the middle, learn the patterns to avoid any damage. Try to catch the Blue Orbs as they heal you for a significant amount. Note that Blue Orbs only spawn at 66% if all altars are capped as fast as possible.
Red Orbs and stunning shockwaves emerge from the middle, learn the patterns to avoid any damage. Try to catch the Blue Orbs as they heal you for a significant amount. Note that Blue Orbs only spawn at 66% if all altars are capped as fast as possible.
After the orb phases, the defiance bar needs to be broken immediately to prevent Ensolyss from knocking everyone off the platform. His defiance bar will recover shortly after being broken for the first time, break it a second time (especially at 33% health) to further prevent his attacks and deal more damage thanks to and .
Below 66%, Ensolyss gains a new ability where he smashes two quarters of the platform subsequently and knocks everyone inside the orange areas off the platform, similar to the skill immediately after the orb phases. It it safe to stand inside the purple areas.
Below 33%, he may summon a special shockwave which travels inwards to him (contrary to the ones before) and deal enormous damage to everyone near him. With enough crowd control and DPS this should never occur.
Final phase <15%
When Ensolyss reaches 15% health, he will stop using his usual attacks, but only a small bubble in the middle will protect you from his deathly rain. Krait will charge through the middle (indicated by large arrows on the ground) and make positioning harder, kill Ensolyss quickly to finish the fractal.
