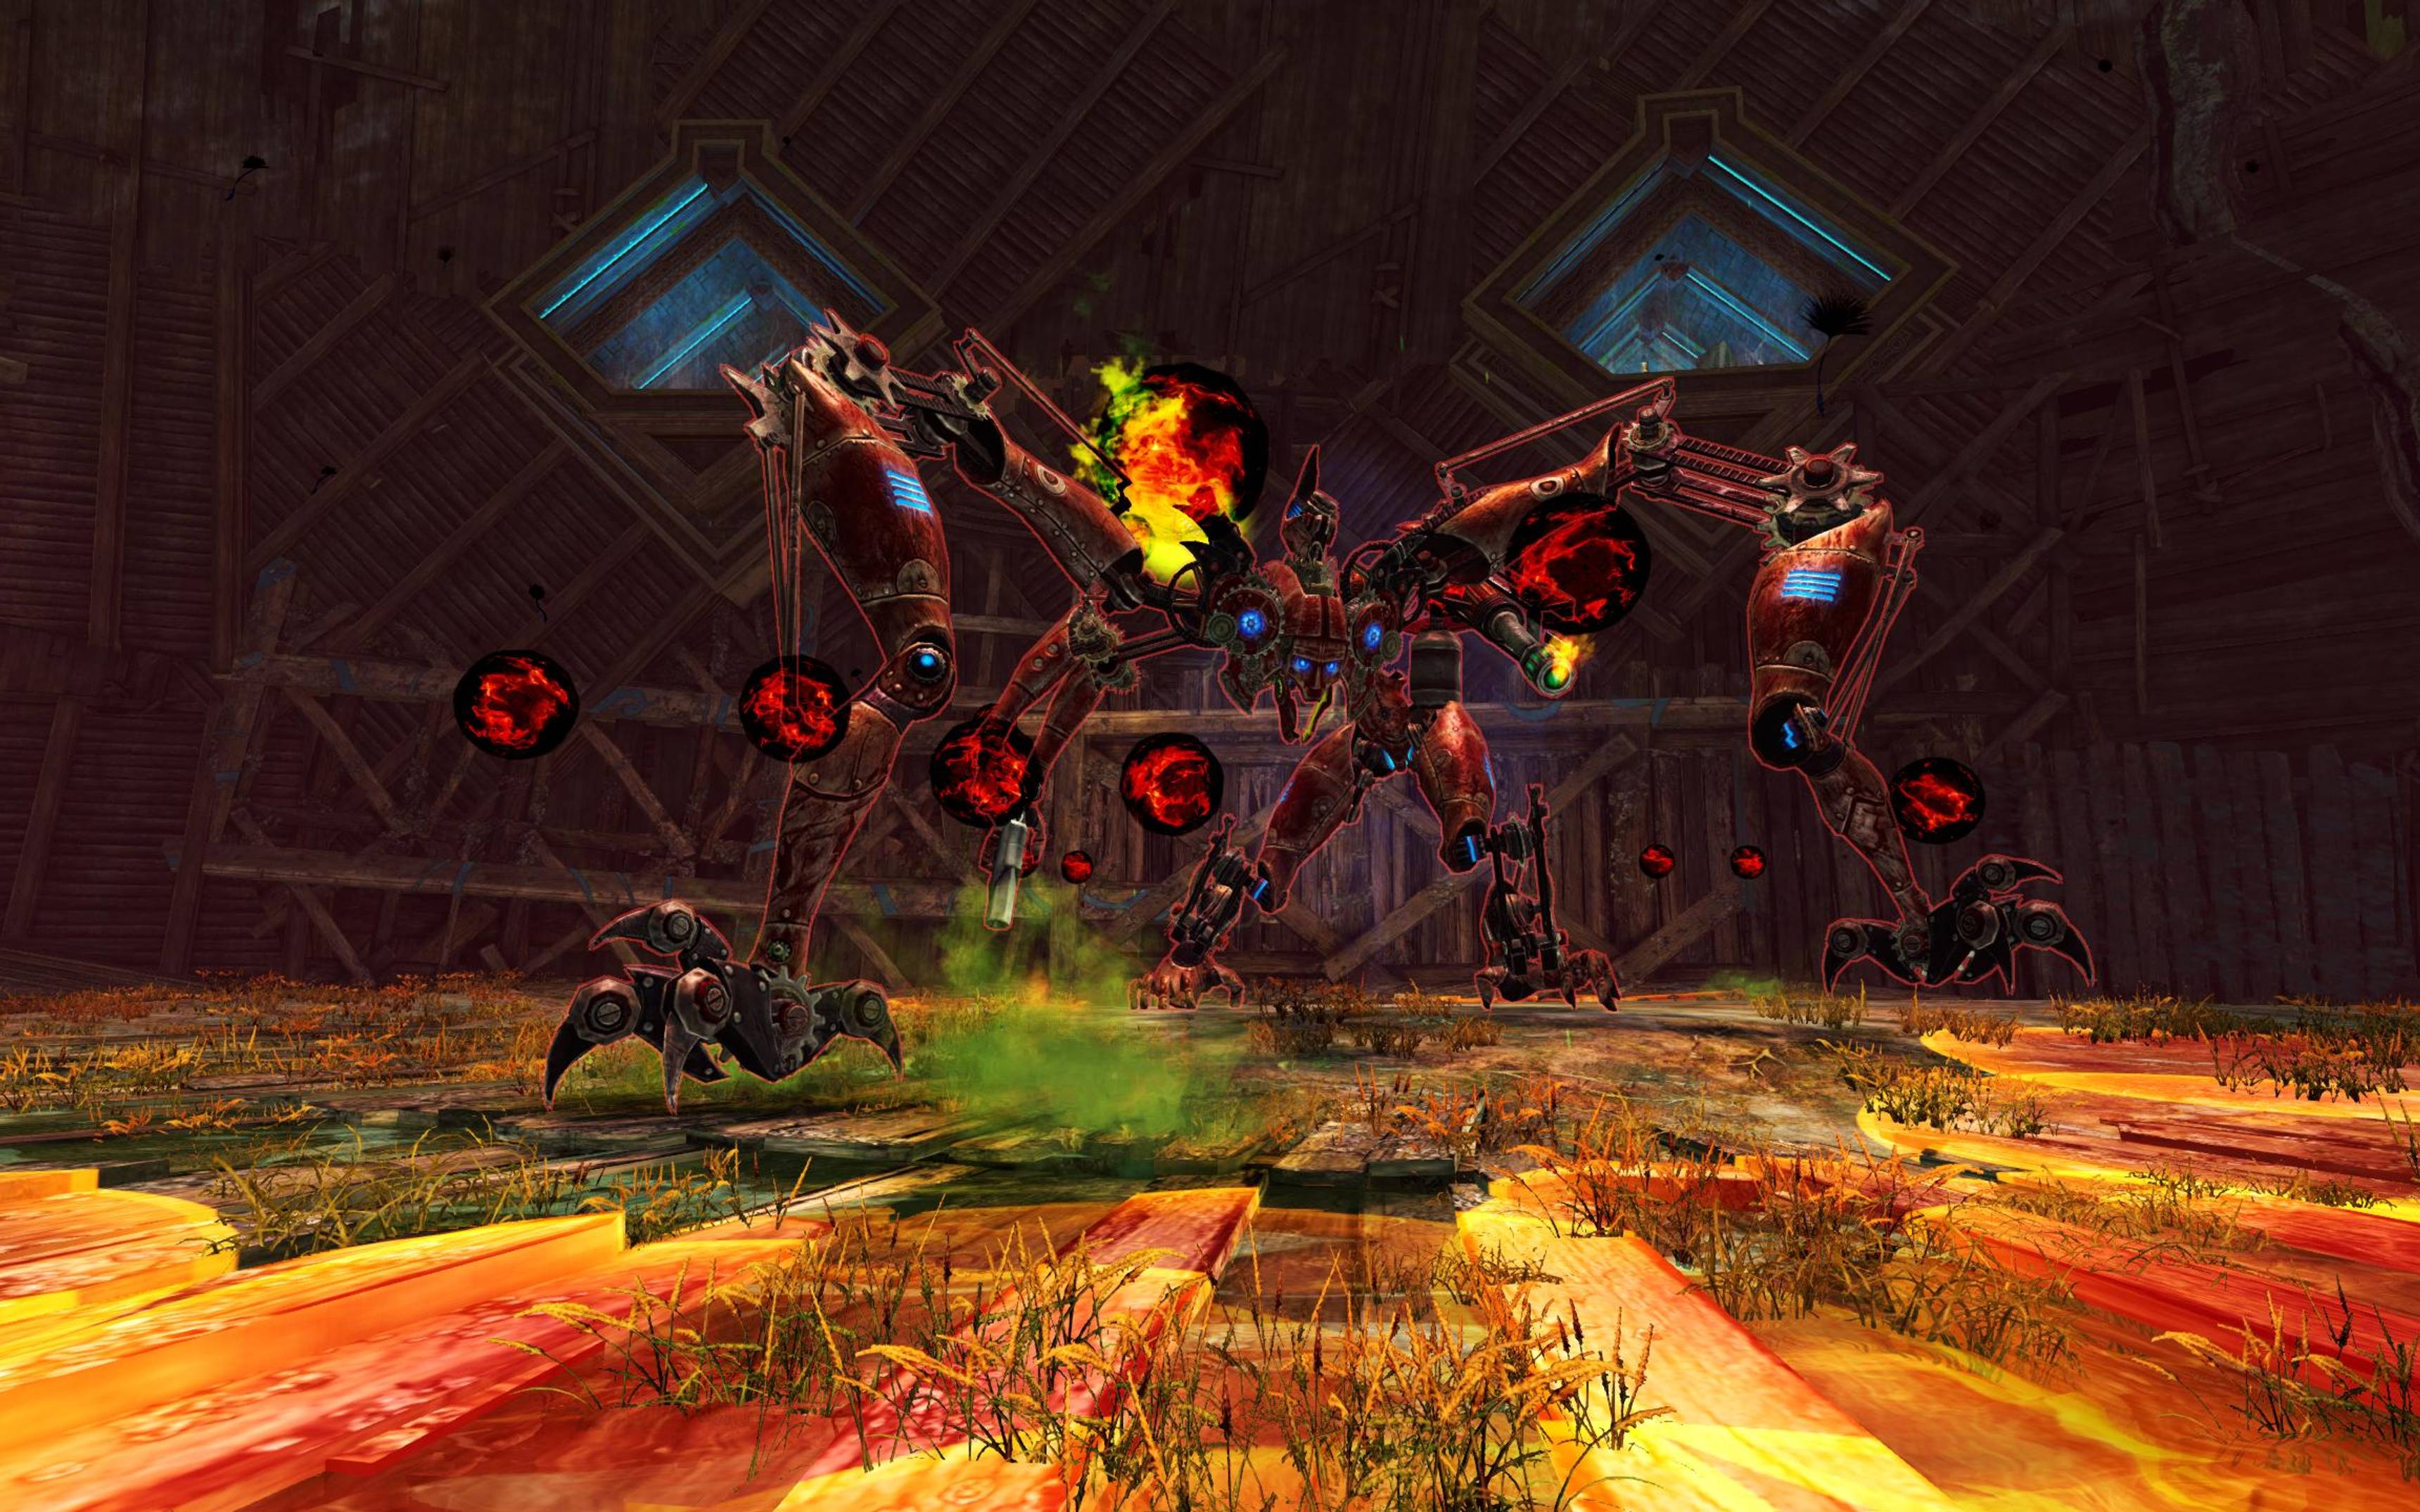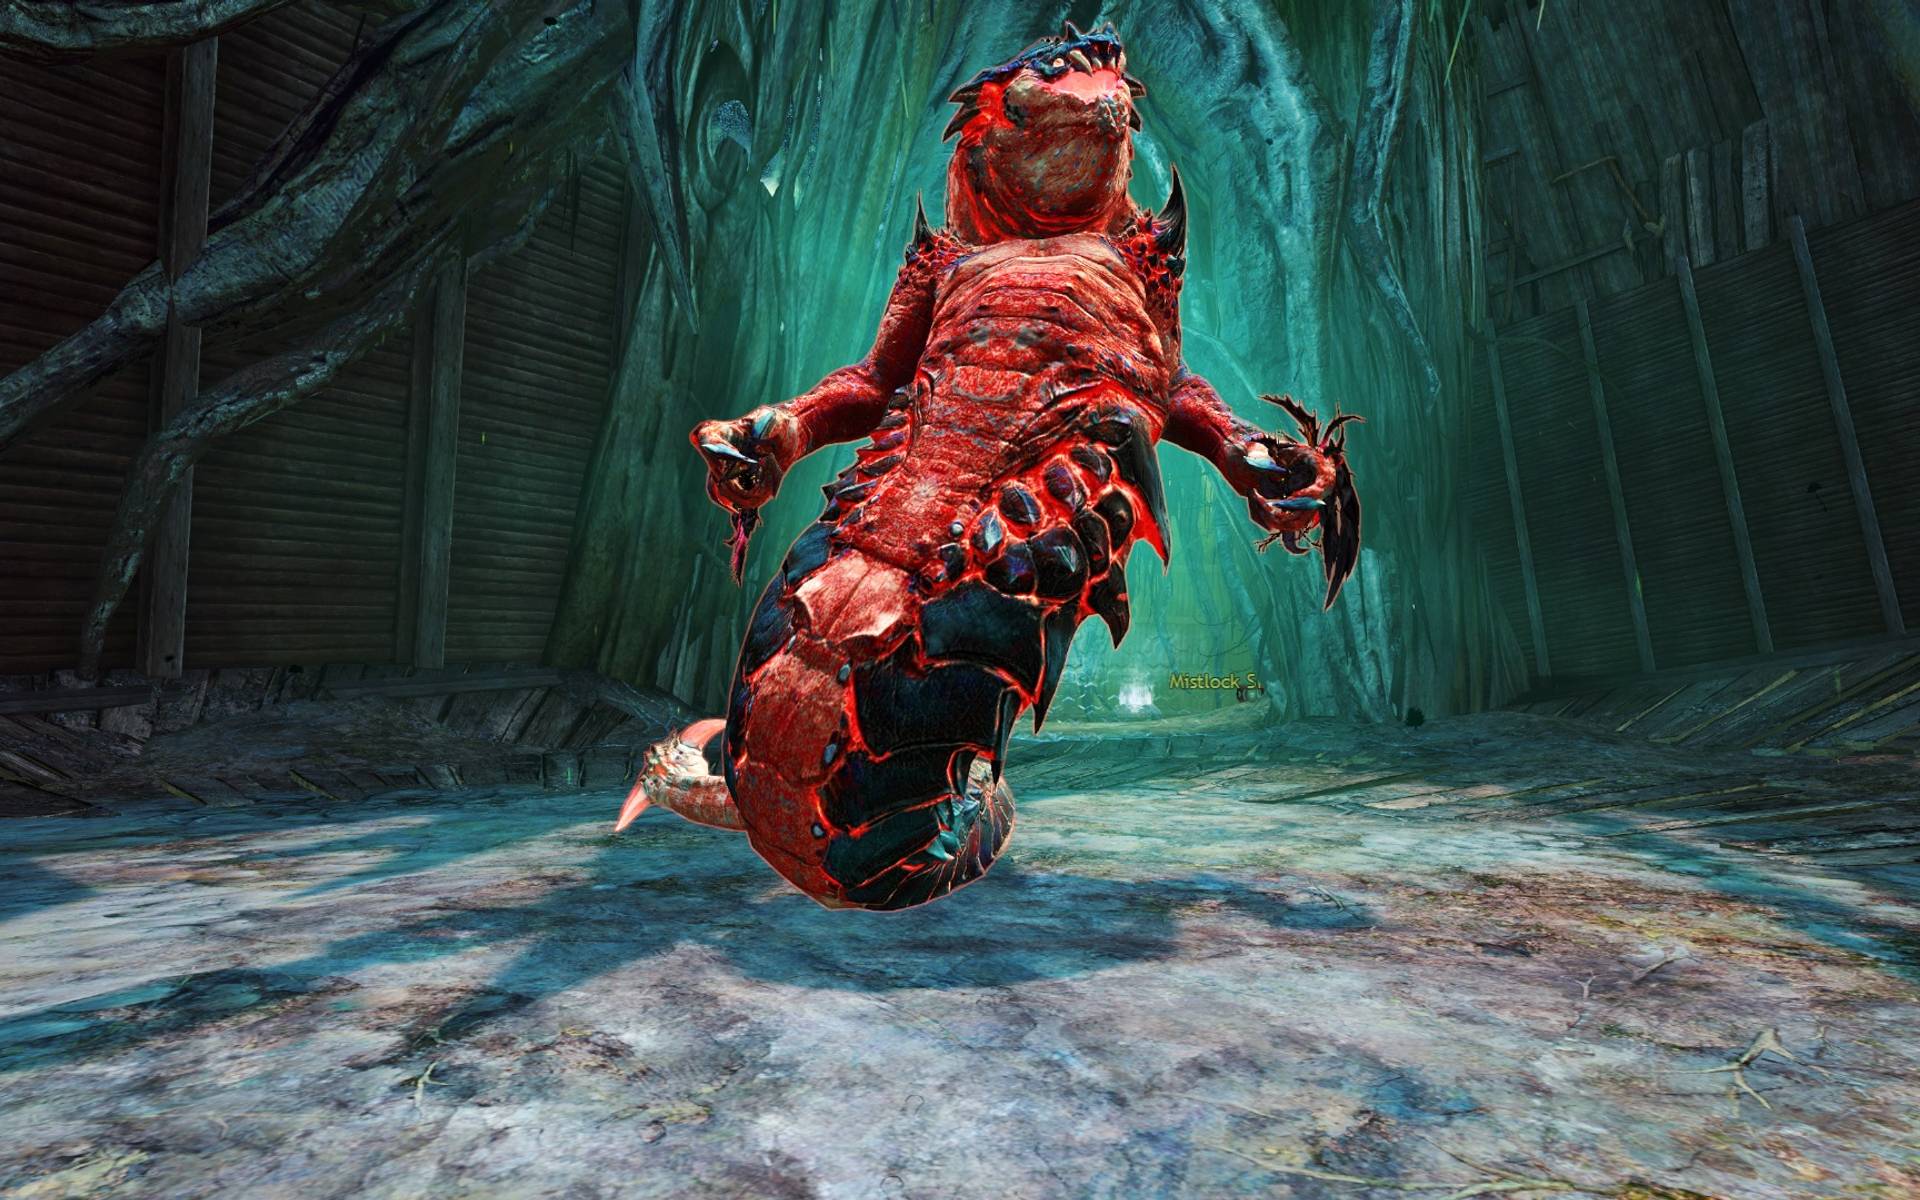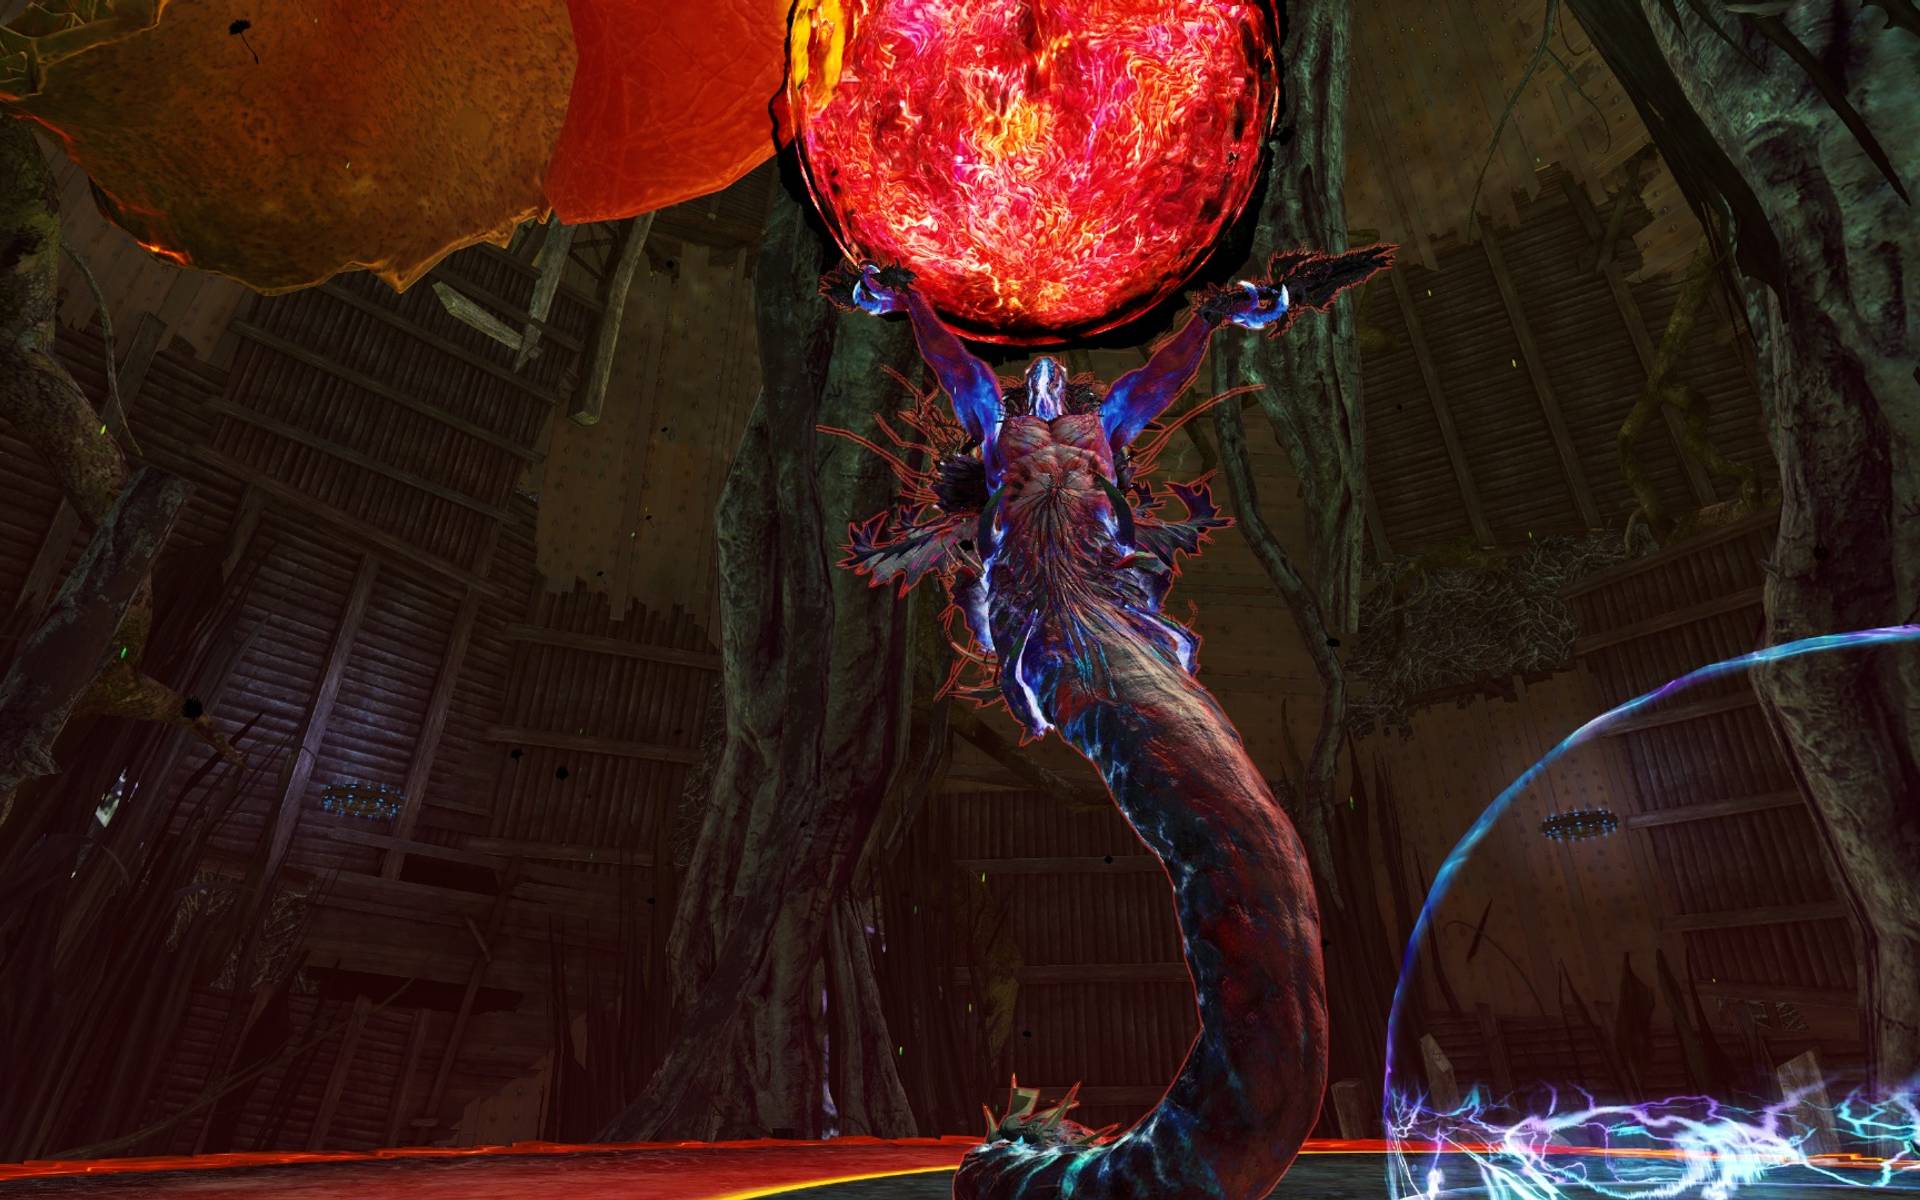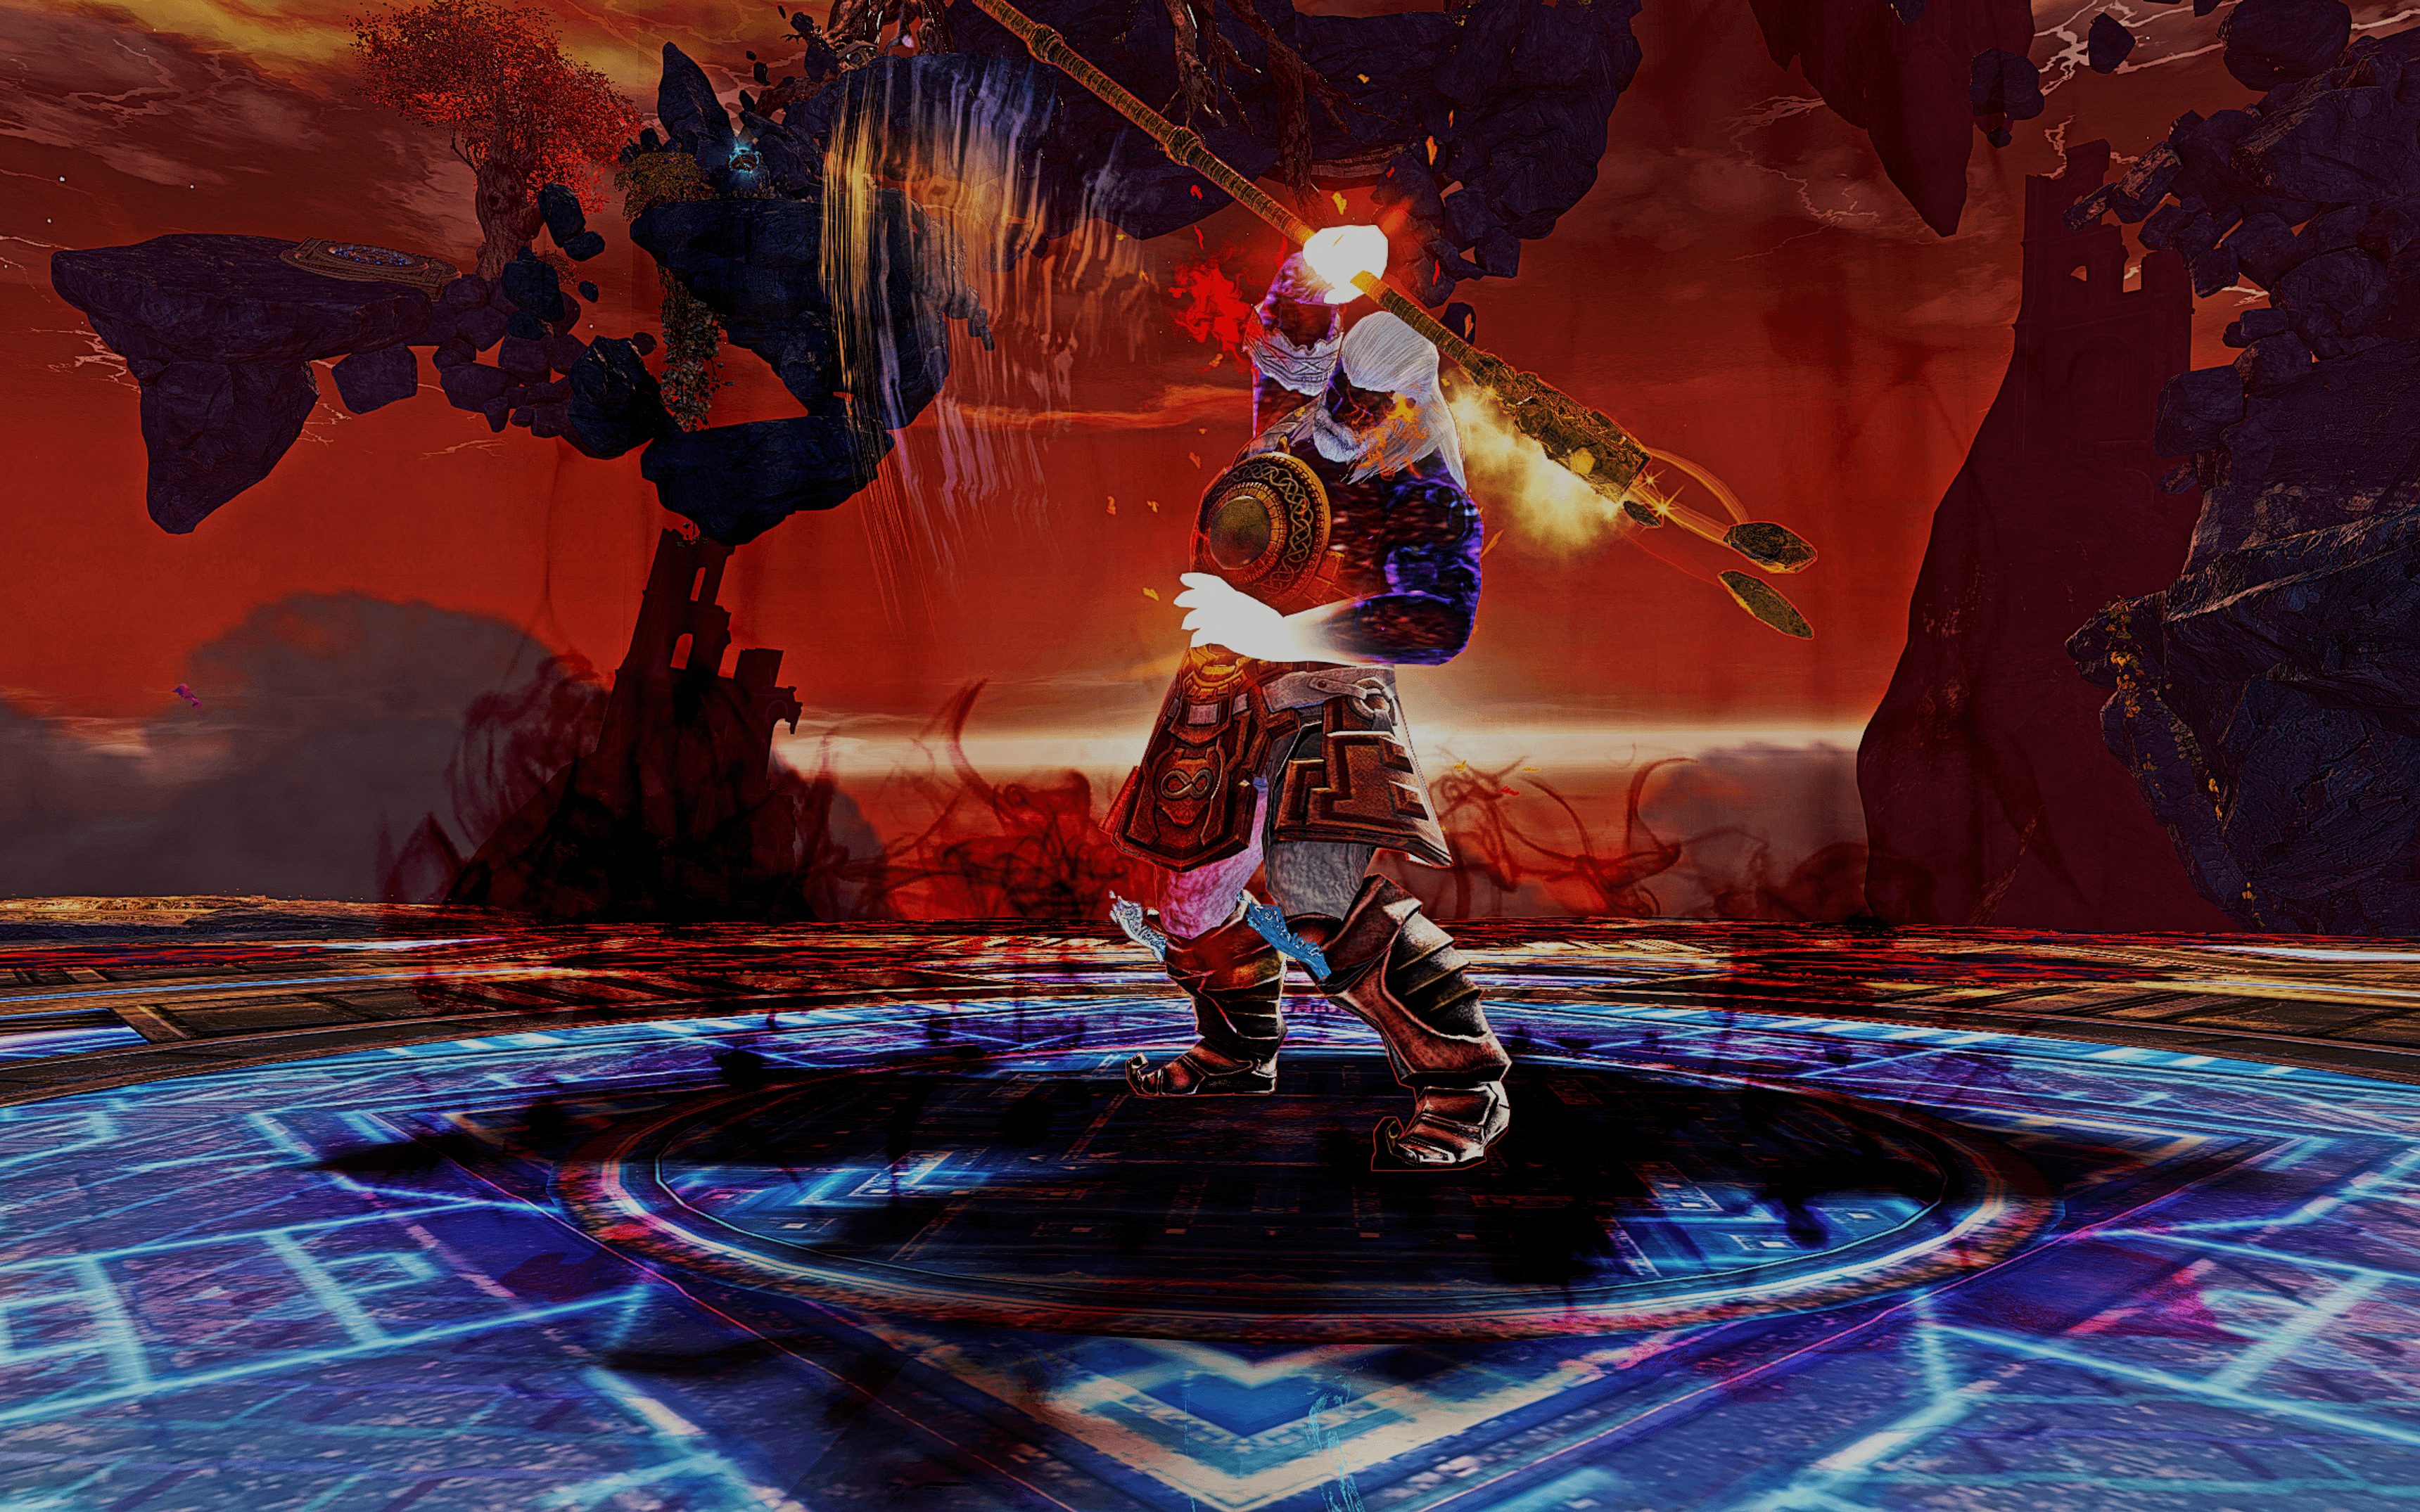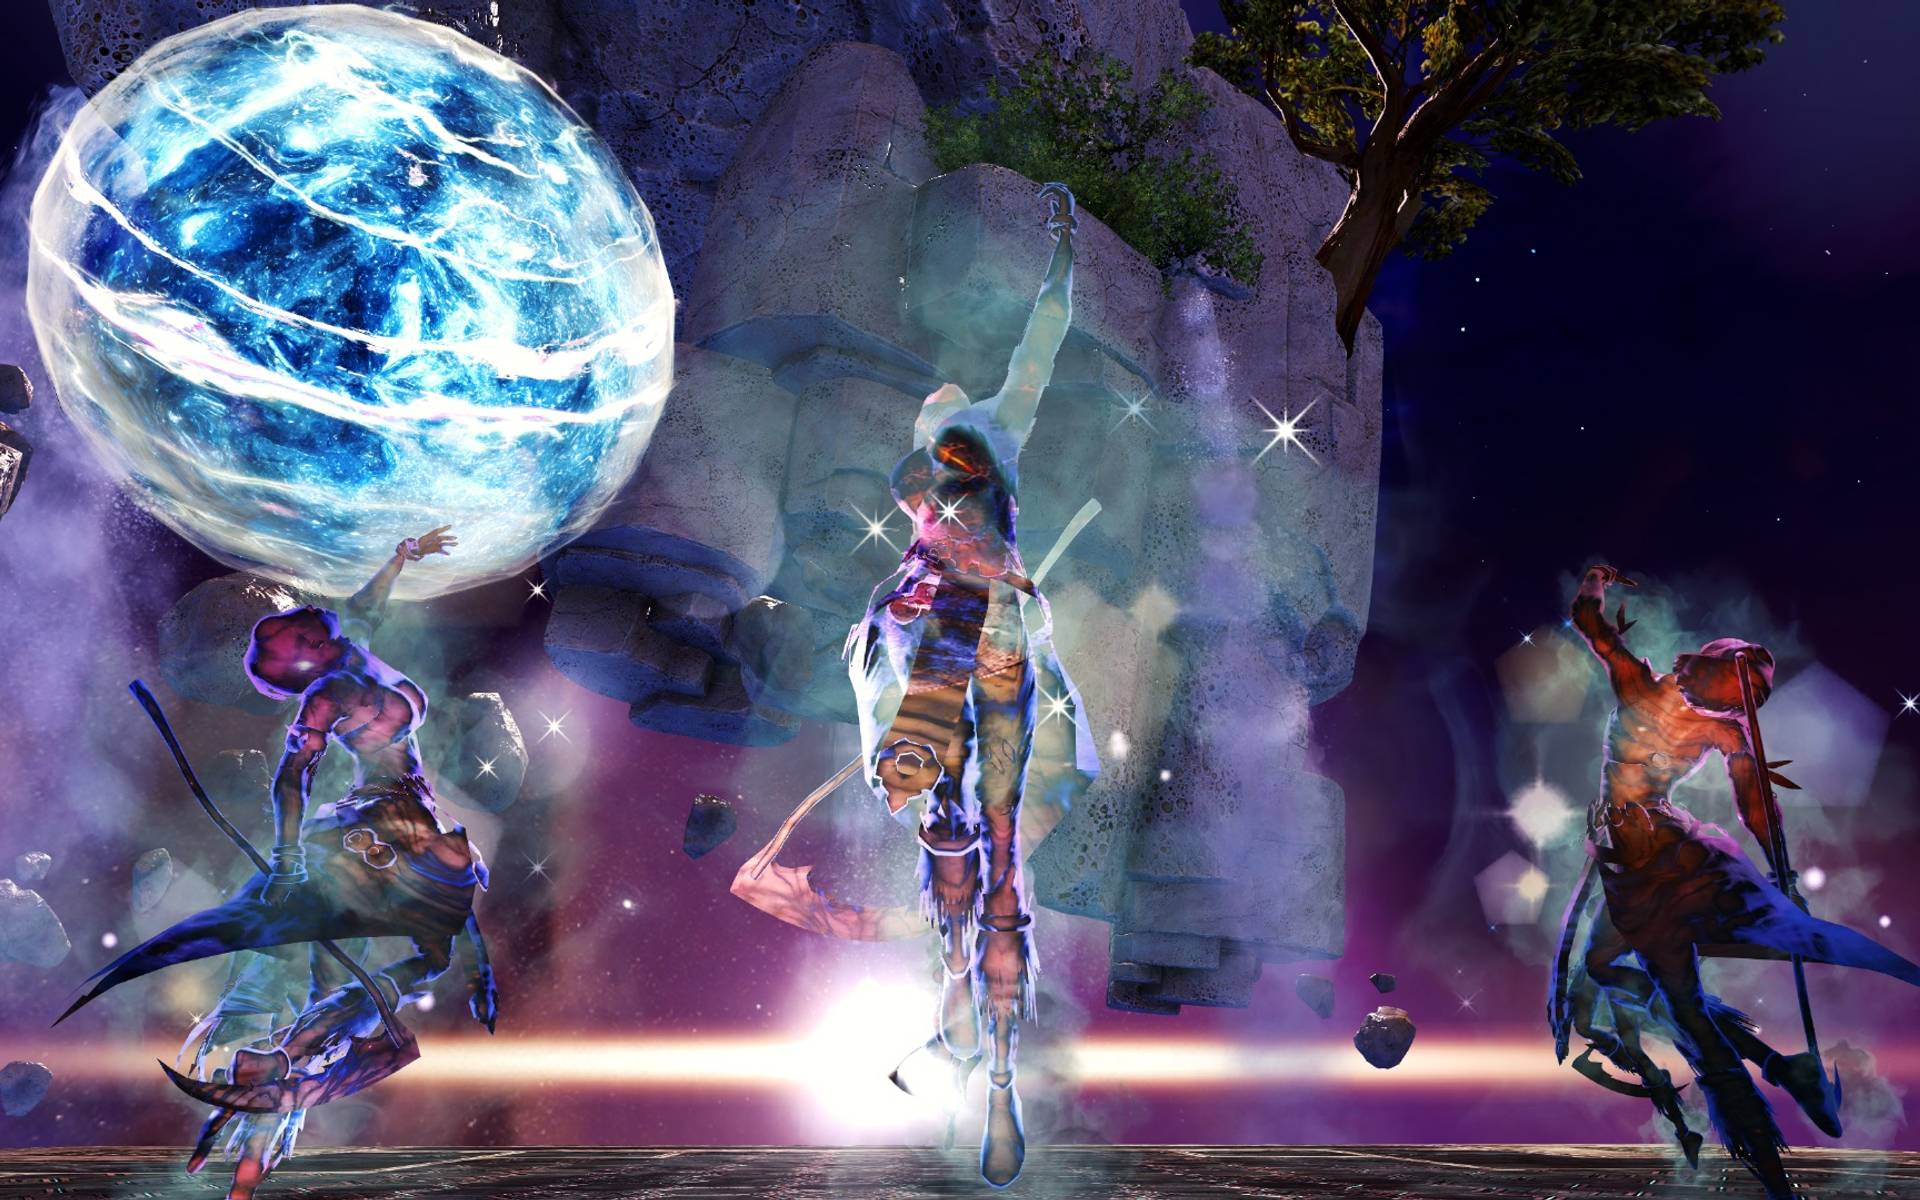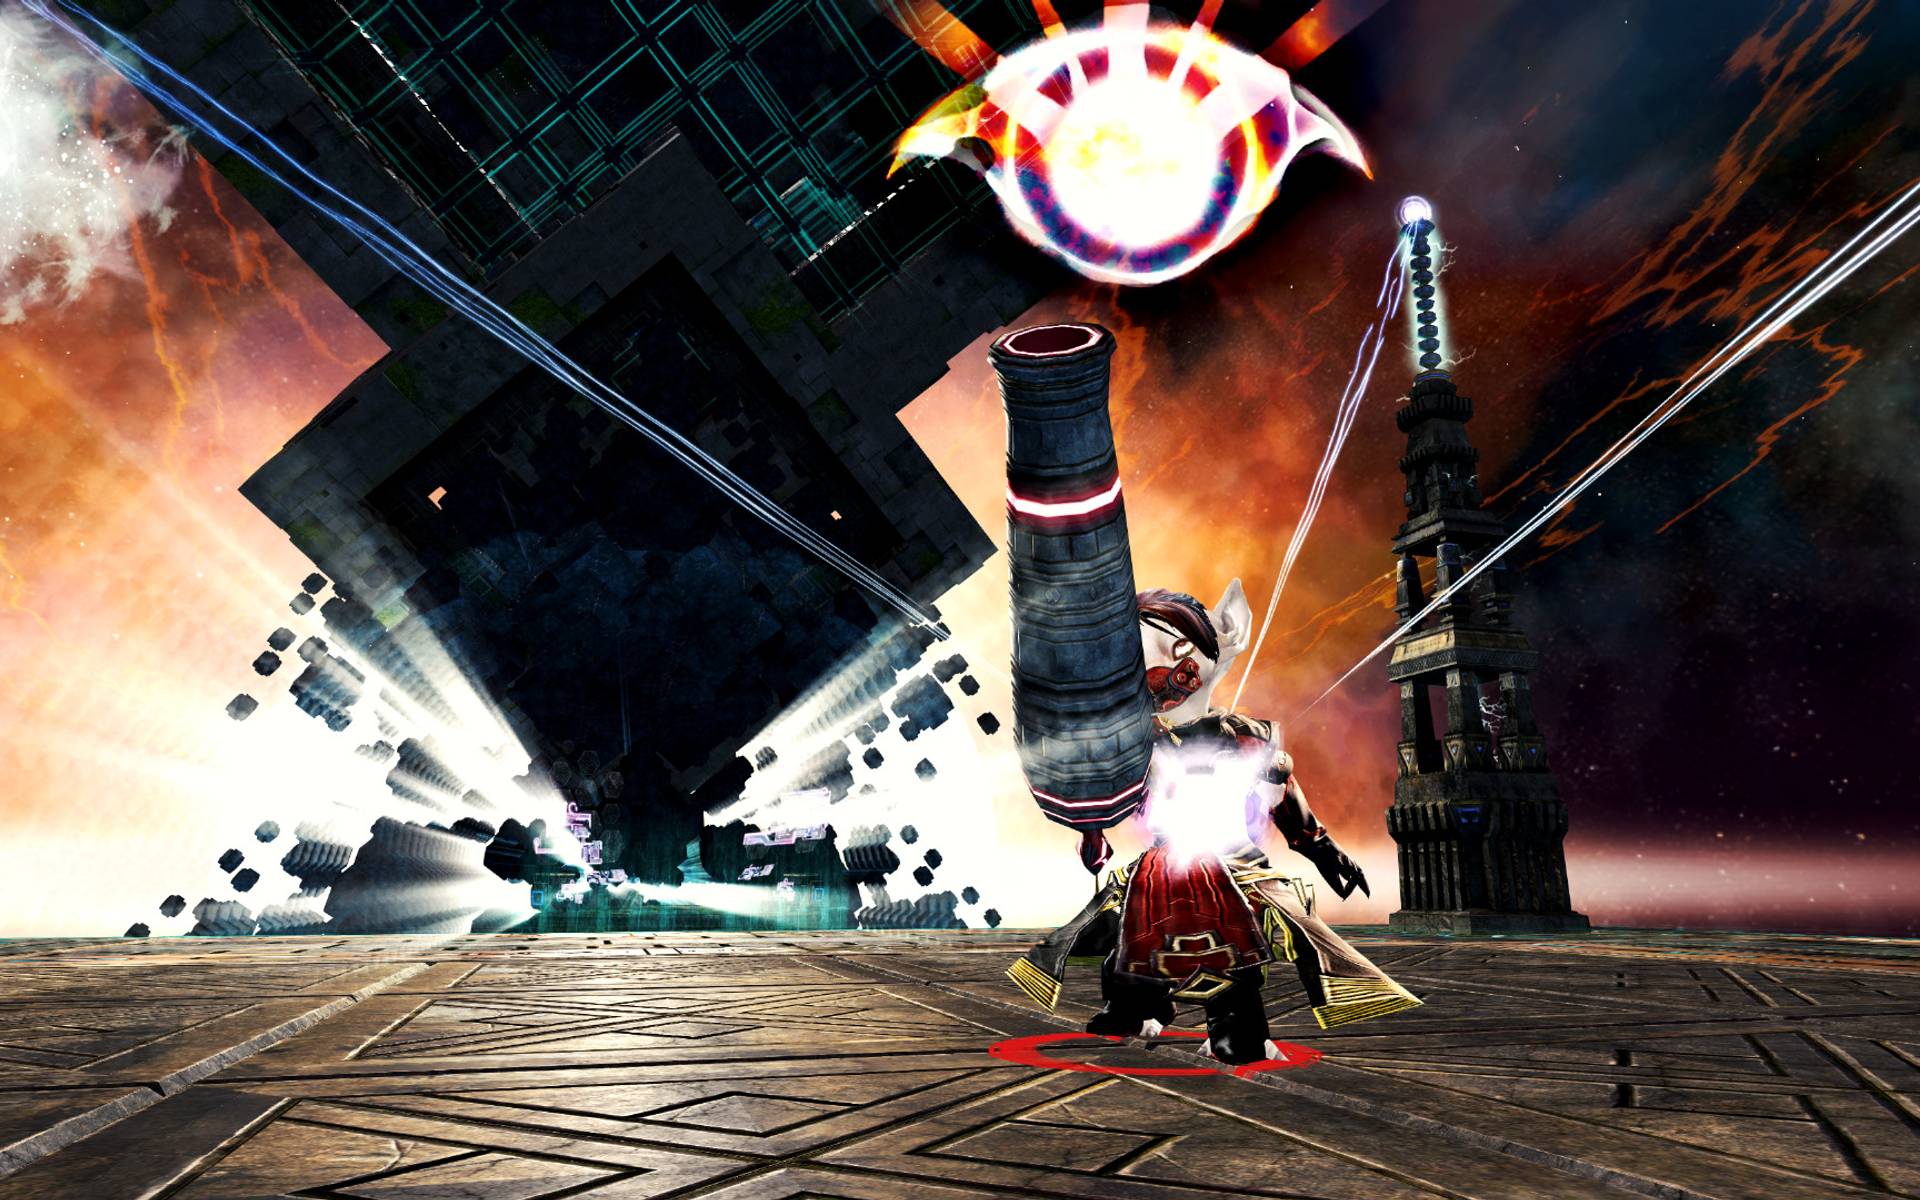
- Please check the CC distribution to contribute your share of the necessary CC!
- Please also read through the fractal pages for general encounter information!
General Knowledge
Many of the following tips can also be found on the original Power Dragonhunter guide page, as well as complementary tips on symbol precasts, and more Dragonhunter tips. Make sure to check the Advanced of the Power Dragonhunter section to get a full perspective.
Common tips to improve on Guardian
Major tips are listed in the Advanced Tips section of the Advanced page of the Power Dragonhunter guide.
Mistlock precasts
- If playing Radiance, always precast and for Resolution uptime. Blasts can we done with two abilities, and or . Precast .
- If playing Virtues, make sure to also cast Over , or both if you can afford to do so on your precasting template.
- Tip for Virtues: casting "Save Yourselves!" and pressing the Singularity at the same Time will allow for multiple casts of the ability.
Trap Precasts
- All traps but and remain on the ground upon switching between Dragonhunter templates only. Sometimes, you may want to precast on a boss' location, in which case you will have to have both on your precasting template (if you have one), and on your actual template you want to use during the fight. Make sure to always have the same exact traits on both templates, otherwise you will be struck by the infamous Status Reset.
A reminder on Symbol Precasts
Symbol Precasts is the name given to the action of going through different weapons, and casting as many symbols as possible before an encounter begins. This can significantly improve the Guardian's initial burst and, consequently, its overall damage at the end of the fight (provided the boss is killed quickly enough). This technique is especially useful for boss kill records and fractal speedruns, but mostly anectodal in daily runs.
Disclaimer: precasting symbols is risky in unorganized runs, as you never know when a player will activate the boss. It needs practice and a conciliant party.
Here are a few practical tips in order to achieve proper symbol precasting:
- Switching from a weapon to another weapon will always interrupt any ongoing action. Make sure to always finish casting your symbols before changing to a different weapon. The best way to achieve symbol precasting is to switch from weapon to weapon using an opened Inventory.
- In the Inventory, position the weapons you need in a straight line or in a square shape at the very top of it; find something practical for you for frequent use. Make sure you have a fifth slot for the focus as well, so it always drops down in the right place every time you equip and unequip it. The use of Ascended weapons is an absolute must. Do NOT share any ascended weapons between templates. Make sure to have unique ascended weapons for each template you need.
- The priority when passing through different weapons to precast symbols is: Scepter → Sword + Focus → Staff → Longbow. If starting the boss on Greatsword, you can replace Longbow with it in this priority list.
- To make things easier, always equip your Scepter and Focus beforehand, over the weapon you would usually start the encounter with. Scepter always comes first. If you wish to add a fifth symbol, you can equip a Mace instead, and it can be cast as you traverse a portal to the boss. Switch to Scepter, cast as , then switch to Sword, cast and as it goes off, then Staff (), Longbow (), and finally your weapon of choice and its symbol for the start of the encounter.
Many examples of symbol precasting can be found in the subsequent video, linked below for every boss encounter.
MAMA 5,200,519 HP
DPS Statistics by gw2wingman
Weapons
- Berserker2x
- Berserker2x
Skills
Heal
Utilities
Elite
Notes
- This fight gets very messy if the adds are not immediately CCed. It is recommended to use extra CC skills to make up for the potential lack of CC of your team mates, such as .
- It is possible to precast a on the second Knight, if a portal to go back is available.
- is recommended.
Synopsis
- Start the boss on Longbow. It is recommended not to precast more than 2 symbols on MAMA (aim for the edge of the hitbox, to the left of the boss upon walking to it), preferably Sword and Scepter.
- Try to use your full burst in each phase after the defiance bar is broken.
- Don't forget that you can not expect to see the highest numbers without the breakbar being frequently broken: to make that happen use .
- Do not use traps on the adds.
- Use inside the first knight's hitbox, and then in MAMA's hitbox during fight, when the small adds are coming close.
- Feel free to use and for faster movement.
Phase 1
Overview
Phase 1 rotation: make sure to CC the boss and maximize your burst damage.
Ideal Rotation
Knight 1
Overview
While on Greatsword, CC the first knight and damage it with your , a , and auto attacks.
Ideal Rotation
Phase 2
Overview
Come back to the boss while precasting a , and damage MAMA with your available abilities.
Ideal Rotation
Knight 2
Overview
While on Longbow, CC the second knight with , and damage it with your , a , and auto attacks.
Ideal Rotation
Phase 3
Overview
Switch back to Greatsword as soon as possible, after casting , and .
Ideal Rotation
Knight 3
Overview
While on Greatsword, CC the third knight with → and , and damage it with your auto attacks.
Ideal Rotation
Phase 4
Overview
Finish the boss with whatever CC is left and use all of your skills to burst it down.
Ideal Rotation
Skill usage
SIAX 6,138,797 HP
DPS Statistics by gw2wingman
Weapons
- Berserker2x
- Berserker2x
Skills
Heal
Utilities
Elite
Notes
- Use your inside Siax' hitbox to get 5 additional hits. This is the reason why Guardian is very strong on this boss.
- Use to navigate around and keep your HP up.
- Use to help with CC if necessary.
- can be used to block the expanding AoE.
- All traps can be precasted easily, including on one of the adds' location for easy Vulnerability stacks.
- is recommended.
Phase 1
Overview
Standard burst window. Start of Longbow. Delay and for CC if needed. Supposedly, party damage in P1 should be enough not to require any CC at all.
Ideal Rotation
Echo 1
Overview
Leap to the add with after having casted on it from a distance.
Phase 2
Overview
As soon as you come back you can start precasting and . Try to time with Siax becoming vulnerable. Keep an eye on the adds that might be tethered to you; make sure you stand on the opposite side of the boss so they will get cleaved before exploding. When these adds are close, use inside Siax's hitbox to get 5 hits in. Continue the phase with and . Swap to Longbow again and use all of your burst. Use to give your team Aegis for the expanding AoE attack at the end of the phase.
Ideal Rotation
Phase 3
Overview
During the final phase, stay on Longbow for as little as possible. Use your remaining abilities then swap to Greatsword. is used to regain and on time for P3. That sigil is not used in the provided PoV. should be available again for another use, as the adds creeping in get close. Position yourself properly so as not to have the ones tethered to you explode.
- (Lb3)
- (F1)
- (Lb2)
- (Lb4)
- (Lb5)
- Swap
- (Gs4)
- (Gs5)
- (Gs2)
- (Gs3)
Skill usage
ENSOLYSS 14,059,890 HP
DPS Statistics by gw2wingman
Weapons
- Berserker2x
- Berserker2x
Skills
Heal
Utilities
Elite
Notes
- can be abused here. After Ensolyss body slams the party, a bunch of shadow echos will appear on every player, locking them with a delayed damaging AoE. These echos act just like adds and can be bound by . They stay up for a short period of time. The following rotation does not take this into account and uses binding blade earlier, in order not to delay the second round of Longbow abilities.
- Both and can be used here, but the latter should be slightly worse, as Ensolyss is a tanky boss which doesn't easily spend most of its time CCd.
Synopsis
- Start on Longbow.
- Breakbar should be broken at the start of the fight, use and then to help to make it happen.
- Try to fit every single skill you have into Exposed
- After you used your full opener, continue with your usual rotation until you phase.
- Repeat this every single phase.
All phases
Overview
Standard dps phases.
- (P1: before the boss is vulnerable)
- (P1: before the boss is vulnerable)
- (P1: as the boss becomes vulnerable)
- (F1) (P2, P3: can be cast much earlier with no invulnerability constraints)
- (Lb3)
- (Lb4)
- (Lb5)
- (Lb2)
- Swap
- (Gs4)
- (Gs2)
- (Gs3)
- (Gs5)
- 2× s → s → s
- (Gs4)
- (Gs2)
- (Gs3)
- Swap
- (Lb4)
- (In P1 only, to avoid Ensolyss' body slam)
- (Lb3) use immediately to proc
- (Lb2)
- or Dodge
- (Lb5)
- (Lb2)
Skill usage
SKORVALD 5,551,340 HP
DPS Statistics by gw2wingman
Weapons
- Berserker2x
- Berserker2x
Skills
Heal
Utilities
Elite
Notes
- is recommended.
- Start on Longbow.
- Use slightly left of the updrafts and push into them to travel quickly between islands.
- Use to get to island#1 faster, either through the first updraft or to get in front of it.
- Use and to help with CC in P1.
Phase 1
Overview
Standard burst window. Delay and for CC if needed. Supposedly.
Ideal Rotation
Islands Split 1
Overview
Tips:
- can be used towards the first updraft, or on the edge of the main platform to reach for island#1, as it will make the updraft transition faster.
- Stay on Greatsword until island#3, then switch to Longbow. Cast on island#2.
- Use and as often as possible on islands.
- (Advanced) 4-way strat: Precast a on island#2 if needed for the second split.
Phase 2
Overview
Standard burst window. You should switch to Longbow as island#3 finishes.
Ideal Rotation
Islands Split 2
Overview
- (Advanced) 4-way strat: kill your add on Greatsword with someone else’s help.
- Regular split: repeat the same rotation as the first split, following the same tips. Go back to Longbow at the end of island#3.
Phase 3
Overview
Use up all of your available burst.
- (Lb4)
- (Lb2)
- (Lb3)
- (Lb5)
- Swap
- (Gs4)
- (Gs2)
- (Gs5)
- (Gs3)
Skill usage
ARTSARIIV 5,962,266 HP
DPS Statistics by gw2wingman
Weapons
- Berserker2x
- Berserker2x
Skills
Heal
Utilities
Elite
Notes
- It is recommended to play with the Major Adept trait over , for additional CC with . If you play with multiple templates, make sure you make the change on all of them to prevent Status Reset upon a template swap.
- Play with , as you will be using (F1) for CC but reseting your (F1) with .
- Using will allow you to get more CC out of your virtues (F2) and (F1).
- Save your (F3) for the expanding AoE, so you and your party can deal continued damage during the mid burn phase.
- Start the boss on Greatsword for P1.
Specific Precasts
With a portal at your disposal: precast two traps on Artsariiv’s add locations for CC: and , in which case, you will want to run with the usual trait . The Slow applies is valuable, too (200 CC over 4 seconds, 275 CC if traited), and so is the Blinded from , (as well as the Slow if traited). You can keep and for damage on Artsariiv. Cast those on her usual path to the north-west corner. If a custom CC distribution without is used, it can also be cast for damage on the same spot as and as it is a strong damaging ability. In that case, double-proc it with an additional cast, while on Longbow, to proc and triple the damage from . can also be precasted on the edge of Artsariiv’s hitbox. Artsariiv will also walk through your 's damaging ring, for additional burst.
Phase 1
Overview
Tips:
- Cancel the aftercast with in P1, while going through Artsariiv’s hitbox. Try to stand within it, as close as you can to the west-most edge of the platform, as your healing will proc much more easily on this side (Agony from Artsariiv's beam is avoided).
- Use whenever it is off cooldown, for additional Resolution uptime (usually before P2 and P3).
- precasts: three to four symbols (Scepter, Sword + Focus, Staff, Longbow) before Artsariiv spawns (start casting them shortly after the marble is triggered).
Ideal Rotation
Split 1
Overview
Use as soon as it is off cooldown on one of the adds, for uptime (a 10% additive damage coefficient). should be used immediately on your dedicated add (150 CC + 80 CC from Blinded uptime). Use either for Immobile uptime (150 CC) if traited, or (150 CC), as you won't be using your during damaging phases. Use on the add that was assigned to you (300 CC). All three of those abilities should be enough to CC your add. can be replaced with a precasted (150 CC + 200 from Slow). The video shown above displays a kill with no precasted traps on the platform.
Ideal Rotation
Phase 2
Overview
Tips:
- It's best to start casting a couple of skills just before Artsariiv becomes vulnerable to steal some time, allowing you to fit more skills in. Start with and .
- actually hits twice on Artsariiv during mid burn phases, so make sure to cast it inside the boss' hitbox.
- Press for Resolution uptime.
- If done correctly, you should be able to fit in all of the listed abilities in the rotation.
- Make sure to switch back again to Longbow as the second split begins, to avoid cooldown issues on your weapon swap.
- can be kept in favor of CC, and used at the start of the split between two adds, before switching back to Longbow.
- allows the whole party to avoid Artsariiv's slam to the ground, a huge expanding AoE as the phase begins. It is important to position properly, behind Artsariiv, on the very edge of her red hitbox indicator.
Ideal Rotation
Split 2
Overview
will allow you to reset all of your virtues. You can use again to block Artsariiv's slam in Phase 3. and , if traited, can be used again for CC. A CC distribution is available on the per-boss CC distribution guide page.
can be used for Blinded (60 CC over 3s). You can wait for and cast it as soon as possible on an add for uptime, before switching back to Longbow and using immediately wherever it is needed. , and (for additional Crippled) can be used on two adjacent adds. Combining all three attacks will CC two adds easily. If traited, use can be used again for Immobile on a third add, helping other players.
Ideal Rotation
Phase 3
Overview
The final phase is very straight-forward, and similar to the second one. will be up again.
Ideal Rotation
Skill usage
ARKK 9,942,250 HP
DPS Statistics by gw2wingman
Weapons
- Berserker2x
- Berserker2x
Skills
Heal
Utilities
Elite
Notes
Arkk is a very machinal and straight-forward boss. The efficiency of every phase DPS check is heavily dependent on solid individual DPS rotations. This is why it requires some experience over time, in order to master it.
It is especially important to learn a good rotation and stick to it. In the following guide section, one rotation is described. Here are some import tips:
- Place markers down for the blooms.
- Precast your traps ( and ) on the boss.
- You can easily push blooms using from afar, or going in with a followed by a . Come back to the center of the platform using your special action key, for an additional Might blast and quick repositioning.
- (Gs3) can have its leap effect cancelled using the special action key on your position.
- Do not wait for the boss to target it. In fact, it is preferred not to target it at all in P1, and throw all of your burst without aim, facing down and pointing your cursor to the boss' location, as shown in the video; as if you were playing with Action Camera! All of your abilities, including the Longbow projectiles, should hit.
- and are both viable options, although is much easier to play. For the purposes of the guide, the rotation with is presented. It should be noted that playing with the trait theoretically allows for a bigger damage output. The same rotation without the use of is to be used if playing with .
Specific Precasts
Advanced tips, with a portal at your disposal: precast two to three traps on connected sides for orb pushing: two on your ledge ( left, right) and on the furthest side of the ledge to your left. In other words, picture 8 possible trap locations, two on each side of every platform ledge. The right-most location, facing your own ledge, is location 1. From there, rotate counterclockwise and place one trap on locations 1, 2 and 4). Traps are cast about midway between orb locations and tower locations, slightly closer to the edge than inside the platform. Preferably, you should be assigned West or East. Precast and on Arkk's location. If possible, precast three to four symbols.
Phase 1
Overview
Open on Longbow to proc with .
Ideal Rotation
Phase 2
Ideal Rotation
Archdiviner
can be used to pull two cultists.
Ideal Rotation
Phase 3
Overview
Open on Longbow to proc with .
Precast and on Arkk's location. Time and aim for its location before it ports back.
Switch back to Longbow at the end of the phase to push the orb.
Ideal Rotation
Phase 4
Ideal Rotation
Gladiator
should be used to pull two golems.
Ideal Rotation
Phase 5
Push the orb on Longbow.
Ideal Rotation
Phase 6
Try and proc one last time using before the boss' defiance bar is broken by the Renegade; then burst it down.
Ideal Rotation
Skill usage
