- Please check the CC distribution to contribute your share of the necessary CC!
- Please also read through the fractal pages for general encounter information!
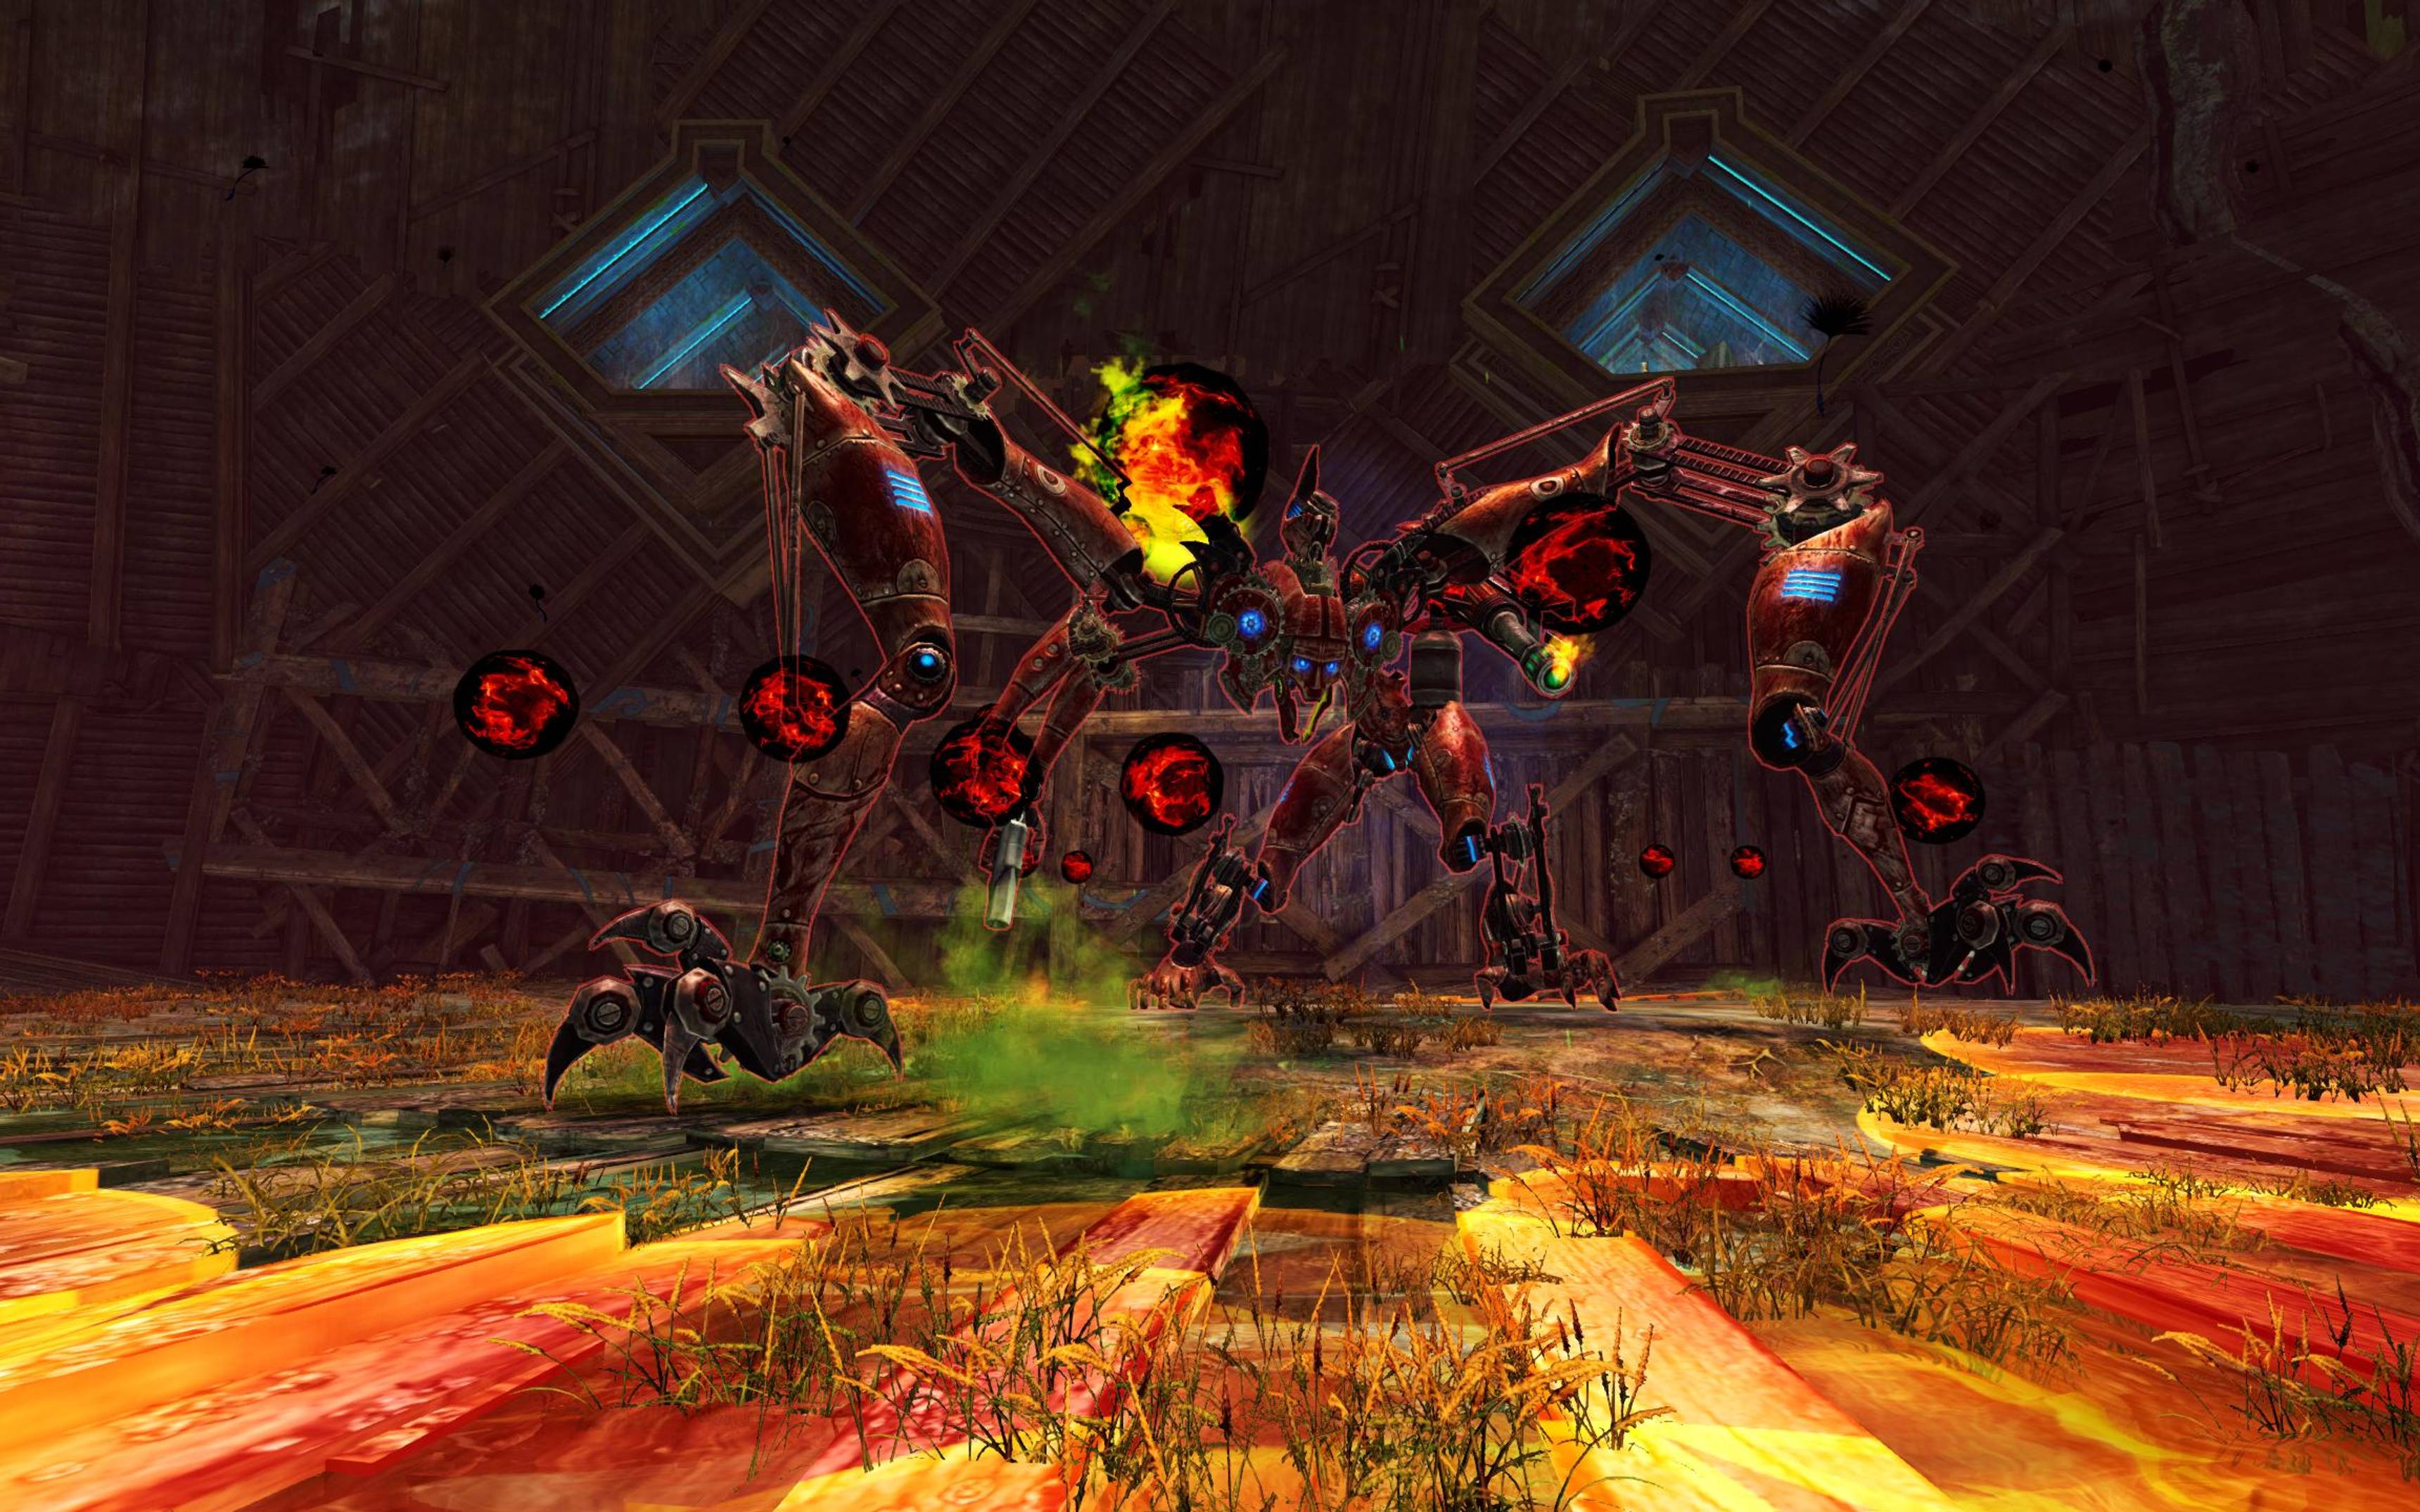
MAMA 5,200,519 HP
DPS Statistics by gw2wingman
Weapons
- Berserker1x
- Berserker1x
- Berserker2x
Notes
- Suggested Boon Duration:
20%. - Use to maintain decent party Might.
- Increase boon duration if you notice downtime in Alacrity.
- Swap to on Staff if you notice a drop in Quickness.
- If Mistlock Instability: Social Awkwardness is present you can share Stability at key moment in the fight via .
- In this case take to share a stack whenever you swap to .
- If Mistlock Instability: No Pain, No Gain is present take on both weapon sets.
- If Mistlock Instability: Afflicted, Mistlock Instability: Vengeance or Mistlock Instability: FluxBomb is present you can precast Resistance via skill .
Skill usage
Precast
At the Mistlock
Share Alacrity and blast the fire field to gain Might.
If you are on fire field duty use . Finally swap to to invoke your and swap back to .
If you are on fire field duty use . Finally swap to to invoke your and swap back to .
On Boss
Cast your summons on the north/north-east side of the invisible hitbox to prevent entering in combat too early.
Ideal Rotation
Phase 1
Before mama becomes vulnerable precast .
Cast under then swap to .
On sword, cast and into Exposed and prepare for knight 1.
Cast under then swap to .
On sword, cast and into Exposed and prepare for knight 1.
Tips
- In a slower party it is higher damage to cast after as you can profit from in Exposed.
- If your party is missing damage on the adds keep for knight 1.
Ideal Rotation
Knight 1
Precast to instantly apply Vulnerability and Immobile on the add.
Share Alacrity and cast into Exposed then precast into p2.
Share Alacrity and cast into Exposed then precast into p2.
Ideal Rotation
Phase 2
Tips
- If your party is missing damage you may want to fit another . In this case you will want to swap earlier.
Ideal Rotation
Knight 2
If available instant cast before the add is visible.
Precast to break the add.
Precast to break the add.
- Swap to at or below 10% energy to proc .
Cast to apply instant Vulnerability while dealing moderate damage and fit in another if needed.
Share Might and Alacrity before p3 starts.
Share Might and Alacrity before p3 starts.
Ideal Rotation
Phase 3
Burst with , and under then swap to .
Tips
- If you do not have a way to avoid damage in this phase, you can use after as it is a two seconds evade.
Ideal Rotation
Knight 3
Precast to break the add and use if needed.
Cast to apply instant Vulnerability and Immobile.
Deal moderate damage with , share Might then weapon swap to staff.
Cast to apply instant Vulnerability and Immobile.
Deal moderate damage with , share Might then weapon swap to staff.
Ideal Rotation
Phase 4
Precast and use to mitigate the knock back shockwaves.
Cast to break the boss and profit from .
In Exposed burst with under .
Cast to break the boss and profit from .
In Exposed burst with under .
Keep dealing damage with auto attack and until the boss dies.
Tips
- If the party is missing damage, you will have time to burst again with , and .
Ideal Rotation
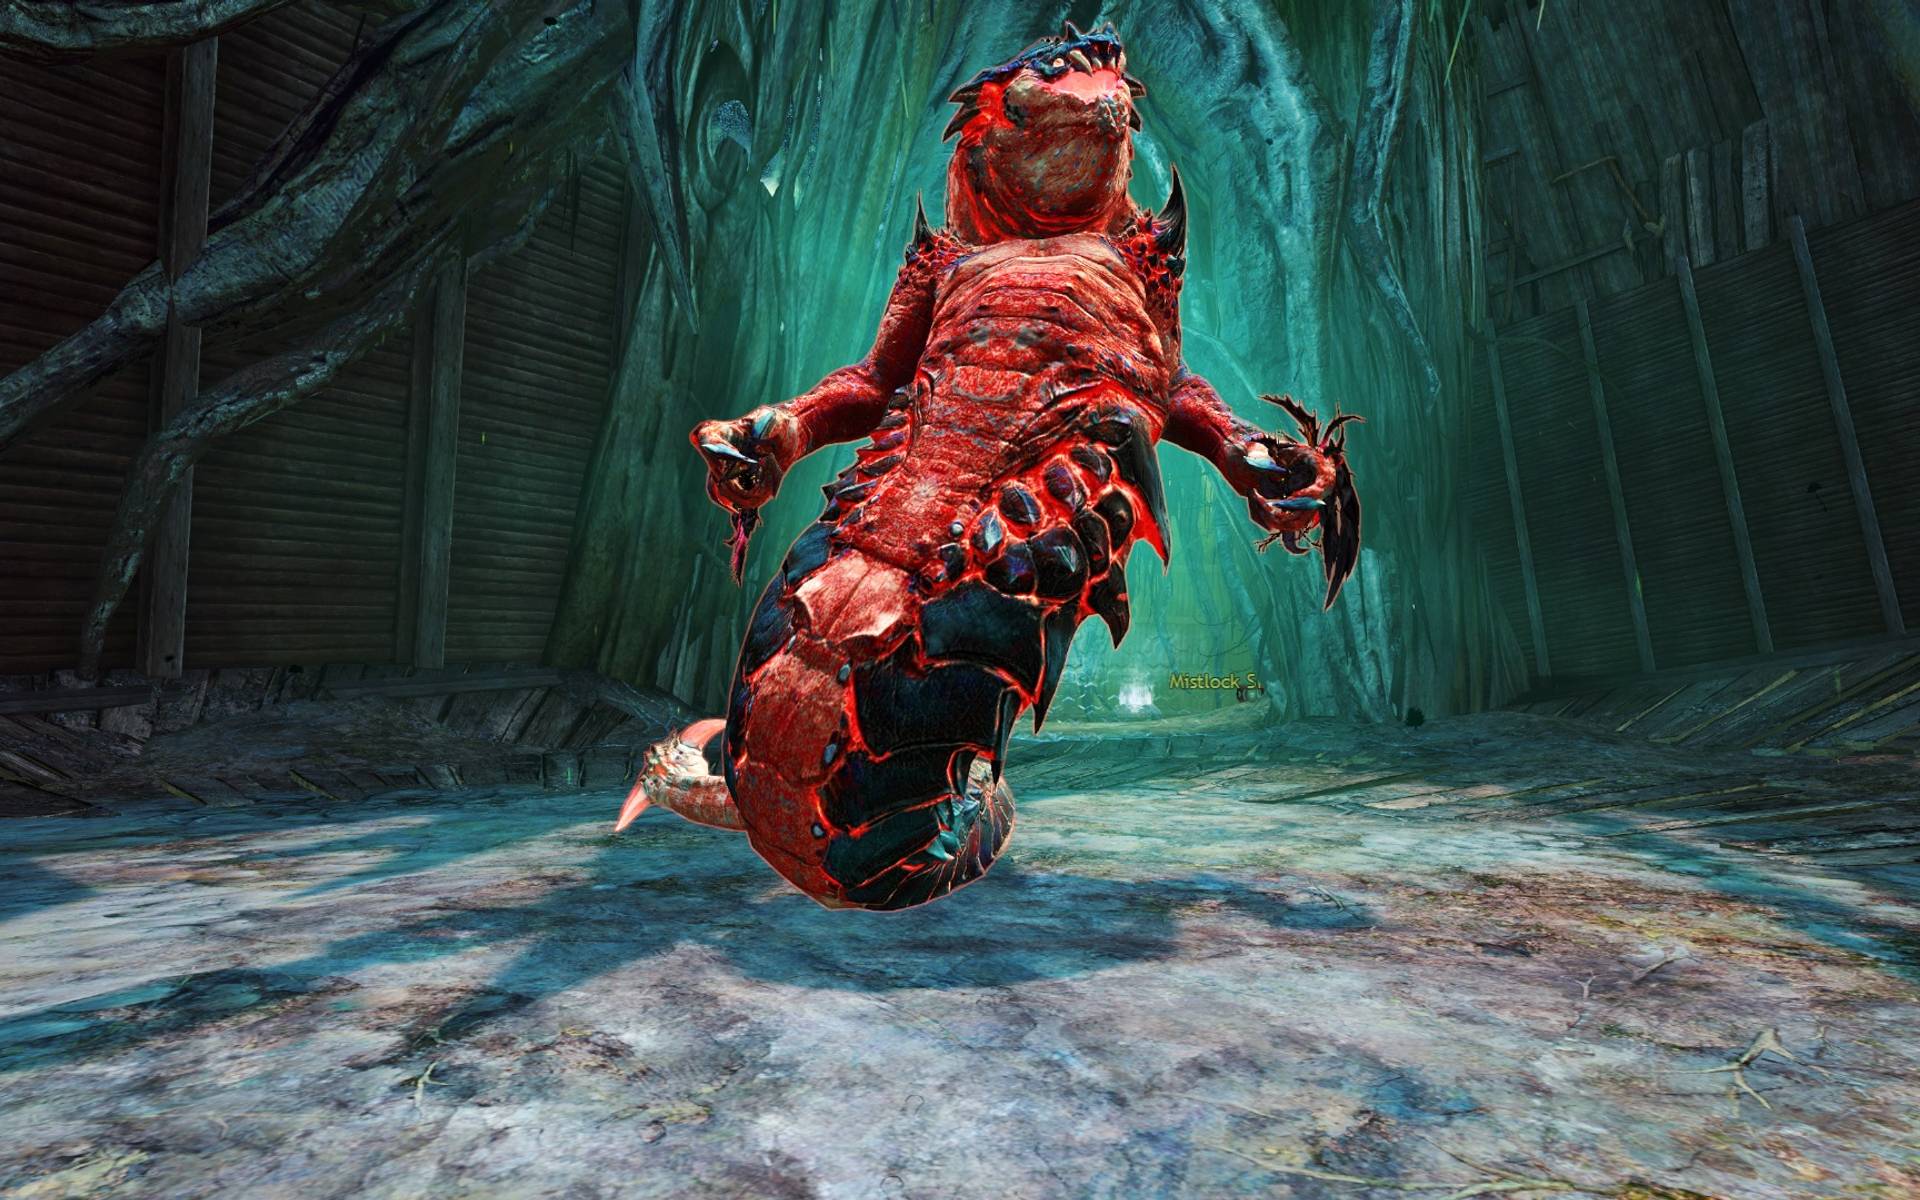
SIAX 6,138,797 HP
DPS Statistics by gw2wingman
Weapons
- Berserker1x
- Berserker1x
- Berserker2x
Notes
- Suggested Boon Duration:
20%. - Suggested Traits:
- to maintain decent party Might if needed.
- to maximize damage on good instability days.
- on bad instability days.
- Increase boon duration if you notice downtime in Alacrity.
- If Mistlock Instability: Social Awkwardness is present you can share Stability at key moment in the fight via .
- In this case take to share a stack whenever you swap to .
- If Mistlock Instability: Afflicted, Mistlock Instability: Vengeance or Mistlock Instability: FluxBomb is present you can precast Resistance via skill .
Skill usage
Precast
At the Mistlock
Share Alacrity and blast the fire field to gain Might.
If you are on fire field duty use . Finally swap to to invoke your and swap back to .
If you are on fire field duty use . Finally swap to to invoke your and swap back to .
On Boss
Take portal and cast your summons then double swap back to to reset your energy.
Precast and prepare for p1.
Ideal Rotation
Phase 1
Burst with and while swapping to enabling .
Fit in another if needed then prepare to kill your add in split.
Fit in another if needed then prepare to kill your add in split.
Ideal Rotation
Split 1
Use to teleport to your add and cast to apply instant Vulnerability on it, then finish the add with if needed.
Avoid the damaging orange AoE while coming back to mid, prepare for p2.
Avoid the damaging orange AoE while coming back to mid, prepare for p2.
Tips
- With Mistlock Instability: Outflanked, move into the start of p2.
- Ask your favourite Soulbeast to your add without Mistlock Instability: Outflanked .
- You can use a portal to get to your add faster instead of walking or using .
Ideal Rotation
Phase 2
Share Alacrity and Might.
Fit in if possible and swap to .
Cast in the middle of the hitbox and burst with and inside the hitbox under Exposed.
Fit in if possible and swap to .
Cast in the middle of the hitbox and burst with and inside the hitbox under Exposed.
- In need, you can cleave the adds while avoiding any damage with . (Careful to not cripple your Dragonhunter damage when is to be used.)
Ideal Rotation
Split 2
Precast to apply instant Vulnerability when the add spawns.
Cleave it with and some auto attack then use to teleport to the boss at the start of the phase.
Cleave it with and some auto attack then use to teleport to the boss at the start of the phase.
Tips
- With Mistlock Instability: Outflanked, move into the start of p3.
- Ask your favourite Soulbeast to your add without Mistlock Instability: Outflanked .
- You can use a portal to get to your add or comeback to the boss faster instead of walking or using .
Ideal Rotation
Phase 3
Share Alacrity and Might.
Cast in the middle of the hitbox, swap to and activate to maximize hits under .
Burst with and inside the hitbox under Exposed.
Cast in the middle of the hitbox, swap to and activate to maximize hits under .
Burst with and inside the hitbox under Exposed.
- In need, you can cleave the adds while avoiding any damage with . (Careful to not cripple your Dragonhunter damage when is to be used.)
Fit in another if needed.
Ideal Rotation
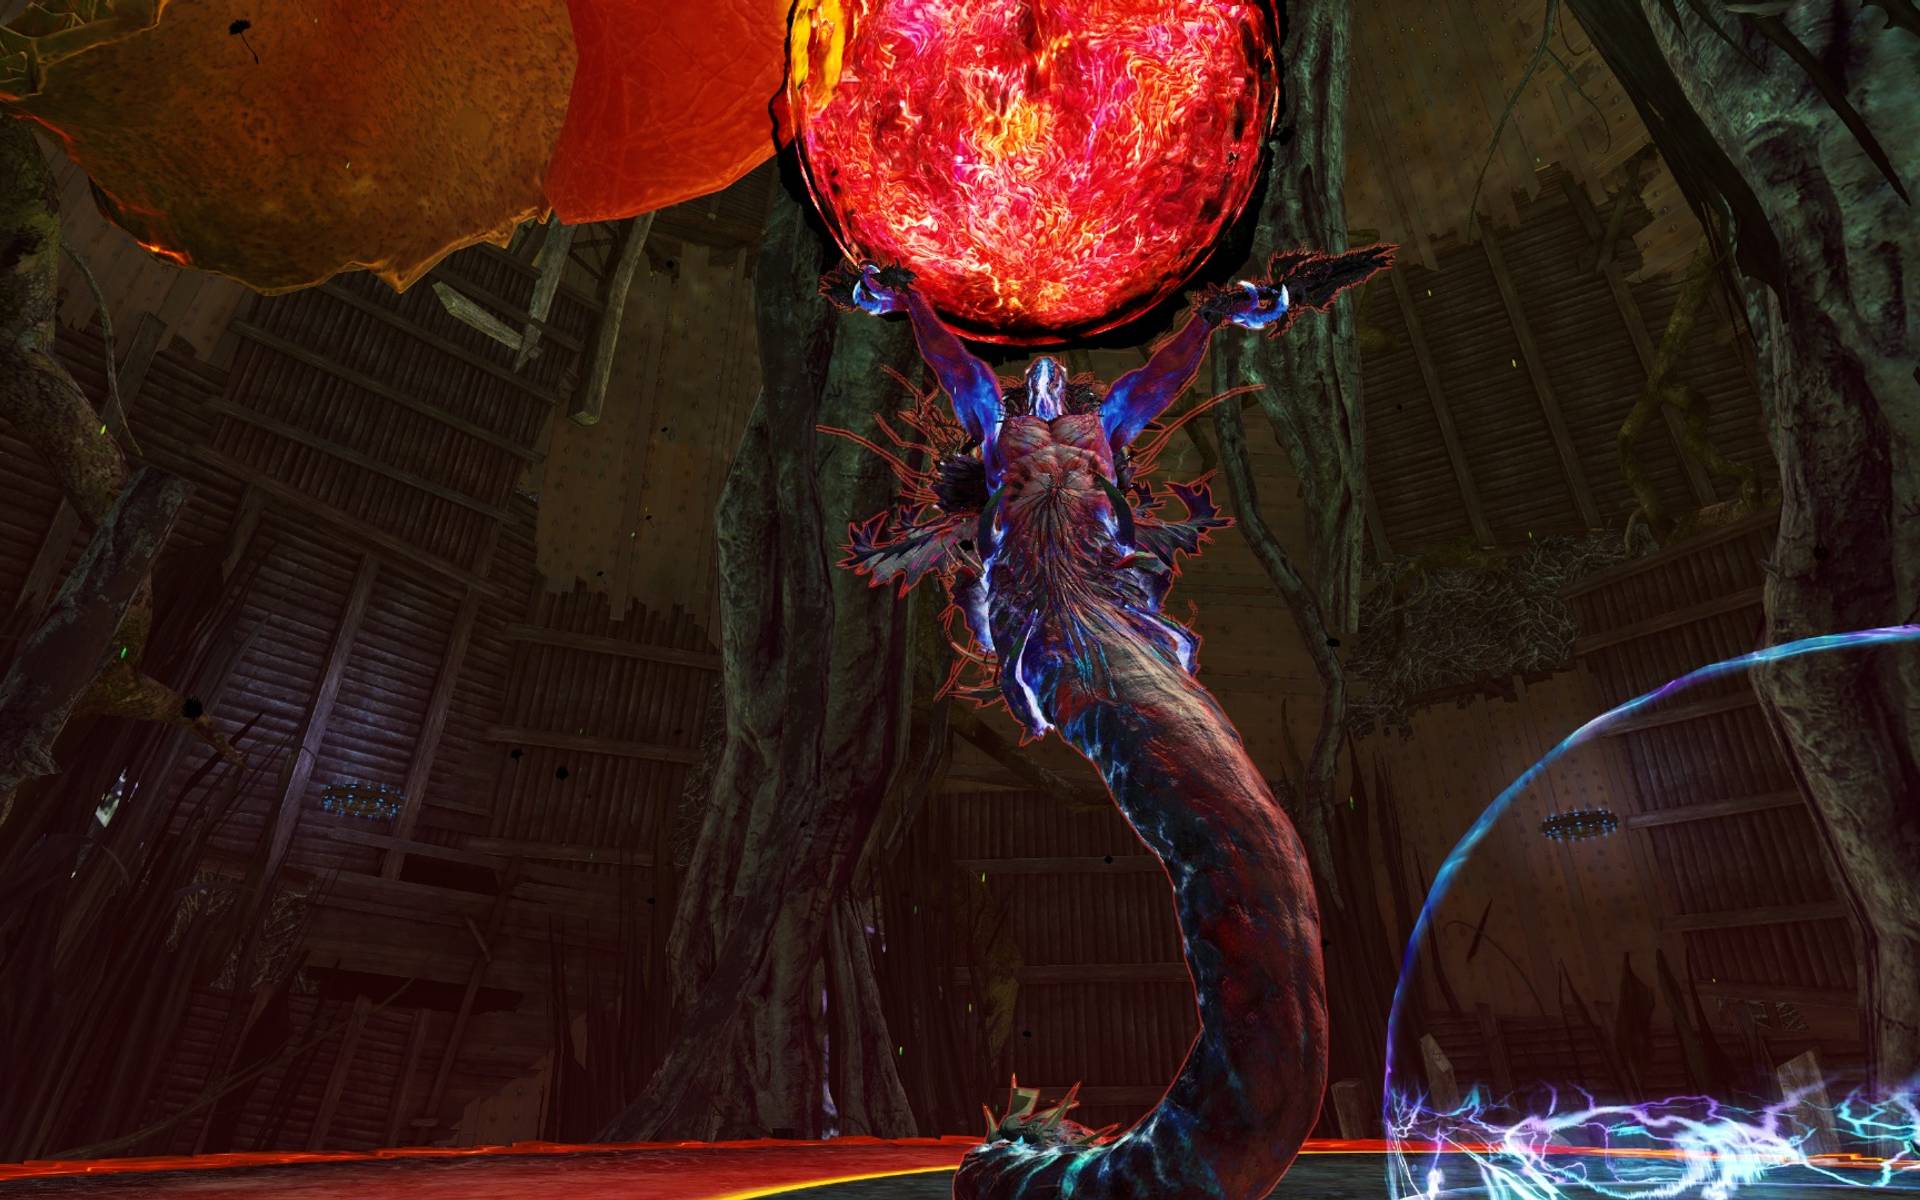
ENSOLYSS 14,059,890 HP
DPS Statistics by gw2wingman
Weapons
- Berserker1x
- Berserker1x
- Berserker2x
Notes
- Suggested Boon Duration:
20%. - Use .
- Increase boon duration if you notice significant downtime in Alacrity.
- Make sure a Soulbeast takes or take
35%Boon Duration.
- If Mistlock Instability: Afflicted, Mistlock Instability: Vengeance or Mistlock Instability: FluxBomb is present you can precast Resistance via skill .
Skill usage
Precast
At the Mistlock
Share Alacrity and blast the fire field to gain Might.
If you are on fire field duty use . Finally swap to to invoke your and swap back to .
If you are on fire field duty use . Finally swap to to invoke your and swap back to .
On Boss
Precast your summons when the boss is started.
Prepare for p1.
Prepare for p1.
Ideal Rotation
Phase 1
Precast before the boss is vulnerable.
Swap to at or below 10% energy to proc .
In Exposed burst with , , and under .
Swap to at or below 10% energy to proc .
In Exposed burst with , , and under .
- Disable to fit in another and reactivate it to fully empty your energy.
Swap to after the dome explosion.
Share Might, Alacrity, cast and .
After the tail swipe burst with and any available sword skills depending of the % of the boss.
Share Might, Alacrity, cast and .
After the tail swipe burst with and any available sword skills depending of the % of the boss.
Swap to staff when the boss is phased and prepare to capture North circle.
Tips
- You can tank the boss by staying in front of it after the dome explosion while your party goes to stack behind, watch out for the auto attack (a right handed dagger hit).
By moving inside the hitbox to rejoin your party behind the boss, you will trigger the tail swipe attack which will delay the orange blast AoE by one auto.
Ideal Rotation
Phase 2 and 3
Post capture
When the phase starts precast to apply Vulnerability alongside , then wait to see on your buff bar to share Alacrity.
Cast and share Might when you get 5 stacks of Kalla's Fervor.
Cast and share Might when you get 5 stacks of Kalla's Fervor.
Phase's
- Disable to fit in another and reactivate it to fully empty your energy.
Swap to after the dome explosion.
Share Might, Alacrity, cast and .
Burst with and any available sword skills depending of the % of the boss.
Swap to staff when the boss is phased and prepare go to North circle for the second capture mini-game.
Share Might, Alacrity, cast and .
Burst with and any available sword skills depending of the % of the boss.
Swap to staff when the boss is phased and prepare go to North circle for the second capture mini-game.
Tips
- If you do not play with a Dragonhunter (Aegis) try to fit after to avoid the orange blast AoE.
Ideal Rotation
SKORVALD 5,551,340 HP
DPS Statistics by gw2wingman
Weapons
- Berserker1x
- Berserker1x
- Berserker2x
Notes
- Suggested Boon Duration:
35%. - Use .
- Increase boon duration if you notice downtime in Alacrity.
- Without Mistlock Instability: Outflanked you can share Stability at key moment in the fight via .
- In this case take to share a stack whenever you swap to .
- If Mistlock Instability: Afflicted, Mistlock Instability: Vengeance or Mistlock Instability: FluxBomb is present you can precast Resistance via skill .
Skill usage
Precast
At the Mistlock
Share Alacrity and blast the fire field to gain Might.
If you are on fire field duty use . Finally swap to to invoke your and swap back to .
If you are on fire field duty use . Finally swap to to invoke your and swap back to .
On Boss
Precast your summons then double swap back to to reset your energy.
- With Mistlock Instability: Afflicted, Mistlock Instability: Vengeance or Mistlock Instability: FluxBomb you can cast skill while going back to .
Ideal Rotation
Phase 1
Cast and when the boss becomes attackable.
Swap to at or below
In Exposed, burst with , and under .
Swap to at or below
10% energy to proc .In Exposed, burst with , and under .
Tips
- If you are not in voice for the starting countdown, you can easily determine when to precast by watching the Soulbeast or Dragonhunter traps getting highlighted on the ground.
- In a slower party it is higher damage to cast after as you can profit from in Exposed.
- At the end of p1 share Might with if the team didn't blast properly.
Ideal Rotation
Split 1
Island 1
Use and share Alacrity.
- If your party is missing damage or without Mistlock Instability: Outflanked, share Stability via .
Island 2
Island 3
- Swap to going to the next island so that your legend cd is off cooldown for p2.
Island 4
Share Might and Alacrity.
Without Mistlock Instability: Outflanked jump over the anomaly while casting and take portal to p2.
- If you have more than
50%energy turn on and off.
Ideal Rotation
Island 1
Phase 2
- Make sure to have at least
20%energy to start the phase.
In Exposed under , burst with , and .
Place your portal and finish the phase by sharing Might and using if needed.
Tips
- Start your burst with if your party lacks Vulnerability application.
Ideal Rotation
Split 2
Island 1
Use and share Alacrity then take portal.
Island 2
Island 3
Island 4
Open your portal in the hitbox and share Might if needed. Deal moderate damage to the anomaly via and/or before taking portal.
- If your party lacks damage it is advised to use while jumping over the anomaly.
Ideal Rotation
Island 1
Phase 3
Share Might and Alacrity.
Cast to apply Vulnerability and swap to .
In Exposed, burst with under .
Finally use any available sword skills to finish the boss.
Cast to apply Vulnerability and swap to .
In Exposed, burst with under .
Finally use any available sword skills to finish the boss.
- Start your burst with if your party lacks Vulnerability application.
- Don't if the boss will die as the animation is too slow to be worth the cast.
Ideal Rotation
ARTSARIIV 5,962,266 HP
DPS Statistics by gw2wingman
Weapons
- Berserker1x
- berserker1x
- Berserker2x
Notes
- Suggested Boon Duration:
35%. - Use .
- Increase boon duration if you notice downtime in Alacrity.
- Swap to on Staff if you notice a drop in Quickness.
- Precast Resistance via skill .
Skill usage
Precast
At the Mistlock
Share Alacrity and blast the fire field to gain Might.
If you are on fire field duty use . Finally swap to to invoke your and swap back to .
If you are on fire field duty use . Finally swap to to invoke your and swap back to .
On Boss
Precast your summons then swap to .
Tips
- You can precast Resistance via skill .
Ideal Rotation
Phase 1
Start the phase on .
Instant burst with and under .
Swap to while moving behind the boss, then use , and another .
Avoid the knock back with , once in the corner swap to staff and use if needed to phase the boss.
Instant burst with and under .
Swap to while moving behind the boss, then use , and another .
Avoid the knock back with , once in the corner swap to staff and use if needed to phase the boss.
Tips
- You can cancel with a weapon swap and a dodge to prevent the wave to knock you down.
Ideal Rotation
Split 1
Precast at the center of the arena before breaking your corner with .
Use SAK to instantly go back to mid position.
Cast if needed, then swap to sword and prepare for p2.
Ideal Rotation
Phase 2
Precast and to instantly apply Vulnerability.
Burst with , and under .
Cast close to
Burst with , and under .
Cast close to
50% to benefit from then finish the phase by sharing Might and if needed.Ideal Rotation
Split 2
Swap to staff and precast on the north-west add, use to empty your energy then swap to .
Use on west add and instant SAK back to mid position.
Use on west add and instant SAK back to mid position.
Cast if needed, then swap to sword and prepare for p3.
Ideal Rotation
Phase 3
Precast and burst with , , , and under .
If needed share Might and fit in another before the boss teleports away.
If needed share Might and fit in another before the boss teleports away.
Tips
- If your party is missing damage, use SAK to go into the hitbox after the boss teleports away and use any skills available like until it has phased.
- If your party is missing Vulnerability, like in p2 you can precast before .
Ideal Rotation
ARKK 9,942,250 HP
DPS Statistics by gw2wingman
Weapons
- Berserker1x
- Berserker1x
- Berserker2x
Notes
- Suggested Boon Duration:
35%. - Use .
- Increase boon duration if you notice downtime in Alacrity.
- Swap to on Staff if you notice a drop in Quickness.
- If Mistlock Instability: No Pain, No Gain is present take on both weapon sets.
- If Mistlock Instability: Afflicted, Mistlock Instability: Vengeance or Mistlock Instability: FluxBomb is present you can precast Resistance via skill .
Skill usage
Precast
At the Mistlock
Share Alacrity and blast the fire field to gain Might.
If you are on fire field duty use . Finally swap to to invoke your and swap back to .
If you are on fire field duty use . Finally swap to to invoke your and swap back to .
- Trigger the boss and cast to prepare your burst.
Tips
- You can blast Might via the special action key (SAK).
Ideal Rotation
Phase 1 (100 to 80%)
Cast and swap to .
Burst with under then do the usual combo , and .
Once phased, SAK to the anomaly and finish it then swap to .
Burst with under then do the usual combo , and .
Once phased, SAK to the anomaly and finish it then swap to .
Tips
- Do not move your character after starting the boss, you will be teleported in the center of the hitbox on a
1x1pixel causing you to negate Arkk fear attack.
Ideal Rotation
Phase 2 (80 to 70%)
Precast , share Alacrity and Might whenever possible.
Break the boss with then swap to sword.
In Exposed, burst with and , and .
Break the boss with then swap to sword.
In Exposed, burst with and , and .
Tips
- Cast into SAK to get
x9hits. - Be sure to build 5 stacks of Kalla's Fervor before sharing Might with .
Ideal Rotation
Archdiviner
Deal moderate damage with and some auto, if the Archdiviner gets a break bar instant SAK to break it.
When the phase ends, share Might and Alacrity.
Ideal Rotation
Phase 3 (70 to 50%)
Precast and swap to .
In Exposed under , burst with , , and . Fit in another if needed.
Swap to and share Might at the end of the phase.
In Exposed under , burst with , , and . Fit in another if needed.
Swap to and share Might at the end of the phase.
Ideal Rotation
Phase 4 (50 to 40%)
Precast , share Alacrity and Might whenever possible.
Break the boss with then swap to sword.
In Exposed, burst with and , and .
Break the boss with then swap to sword.
In Exposed, burst with and , and .
Tips
- Cast into SAK to get
x9hits. - Be sure to build 5 stacks of Kalla's Fervor before sharing Might with .
- Use casting time to not face Arkk when the fear attack is casted.
Ideal Rotation
Ideal Rotation
Phase 5 (40 to 30%)
Precast and swap to .
In Exposed, burst with and any sword skills available under .
Swap to at the end of the phase and share Might if needed.
Swap to at the end of the phase and share Might if needed.
Ideal Rotation
Ideal Rotation
