- Please check the CC distribution to contribute your share of the necessary CC!
- Please also read through the fractal pages for general encounter information!
98 CM
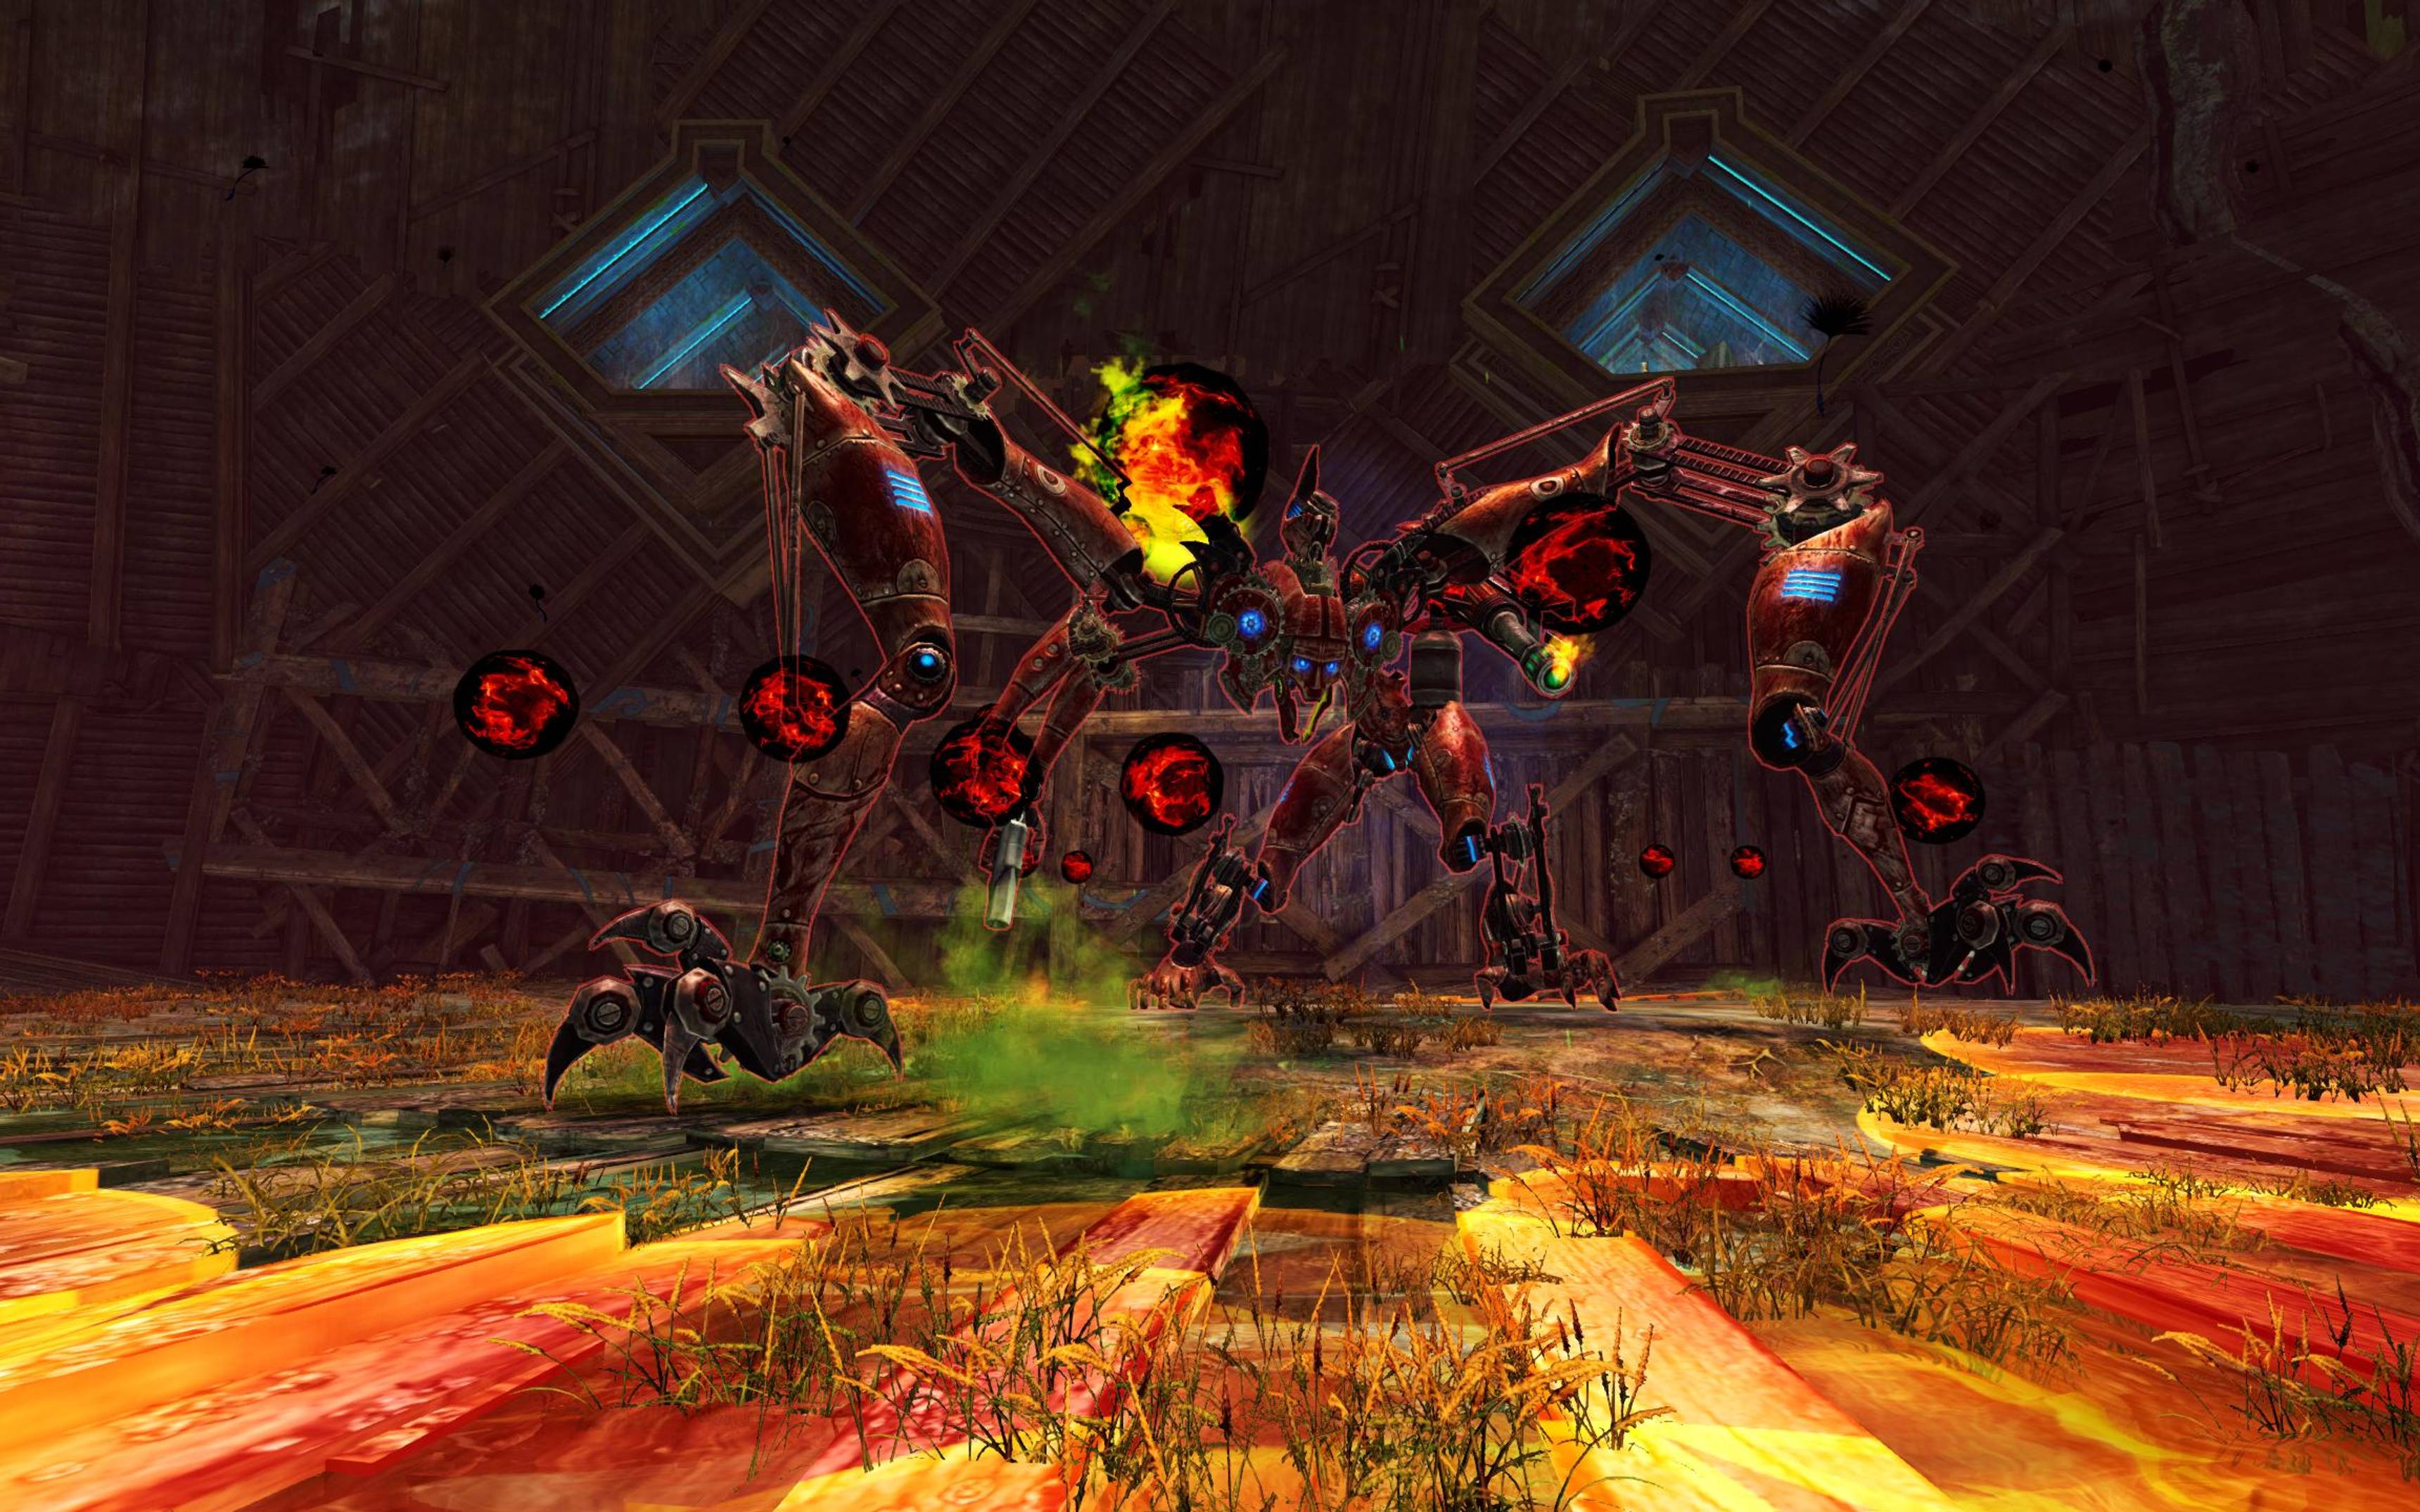
MAMA 5,200,519 HP
DPS Statistics by gw2wingman
Weapons
- Berserker
- Berserker1x
- Berserker1x
Skills
Heal
Utilities
Elite
Skill usage
Overview
The cc schedule for this fight varies depending on teamcomp. Check out the CC Distribution page for more details.
General
As a firebrand your job during this encounter, besides helping with CC and dps, is to upkeep Quickness. You also wnat to help out by supplying Aegis and Stability on demand.
The precast supplies you and your group with a lot of Quickness from the get-go, so you can focus on using to negate MAMAs spin attacks with Aegis
Precasting
There are two main approaches to precasting on MAMA, you can precast your or you can stack symbols.
These approaches have a slightly different opener, the rotation seen here is written with the symbol-stack in mind.
The goal is to place as many symbols as possible before the boss becomes vulnerable.
If you decide to precast symbols keep in mind the priority order: Mace > Scepter > Sw > Staff. If you have difficulties placing them all, you can drop the staff symbol.
If you decide to precast symbols keep in mind the priority order: Mace > Scepter > Sw > Staff. If you have difficulties placing them all, you can drop the staff symbol.
Symbol precast shown in the example video:
- Mace
- Scepter
- Focus
- Sword
- Staff
- swap gear template and do your opener
Note that you have to position yourself correctly so the symbols don't put you in combat before are finished.
- Start on sword set
- Cast
- weaponswap to place while she is still invulnerable.
Prestack
Phase 1
- Precast
Knight 1
Phase 2
if Mama is about to phase (50% HP), keep for either the add, or better, for phase 3
Knight 2
Phase 3
Knight 3
Phase 1
- Precast
Knight 1
Phase 2
if Mama is about to phase (50% HP), keep for either the add, or better, for phase 3
Knight 2
Phase 3
Knight 3
Phase 4
For the final phase you want to drop some Stability from as well as dropping a from for stacking Might before MAMA reaches the party (Ideally right when the third add dies). If your party is a bit slow on the cc, you can also squeeze in a .
- if the boss is not dead use what you have on your sword set.
98 CM
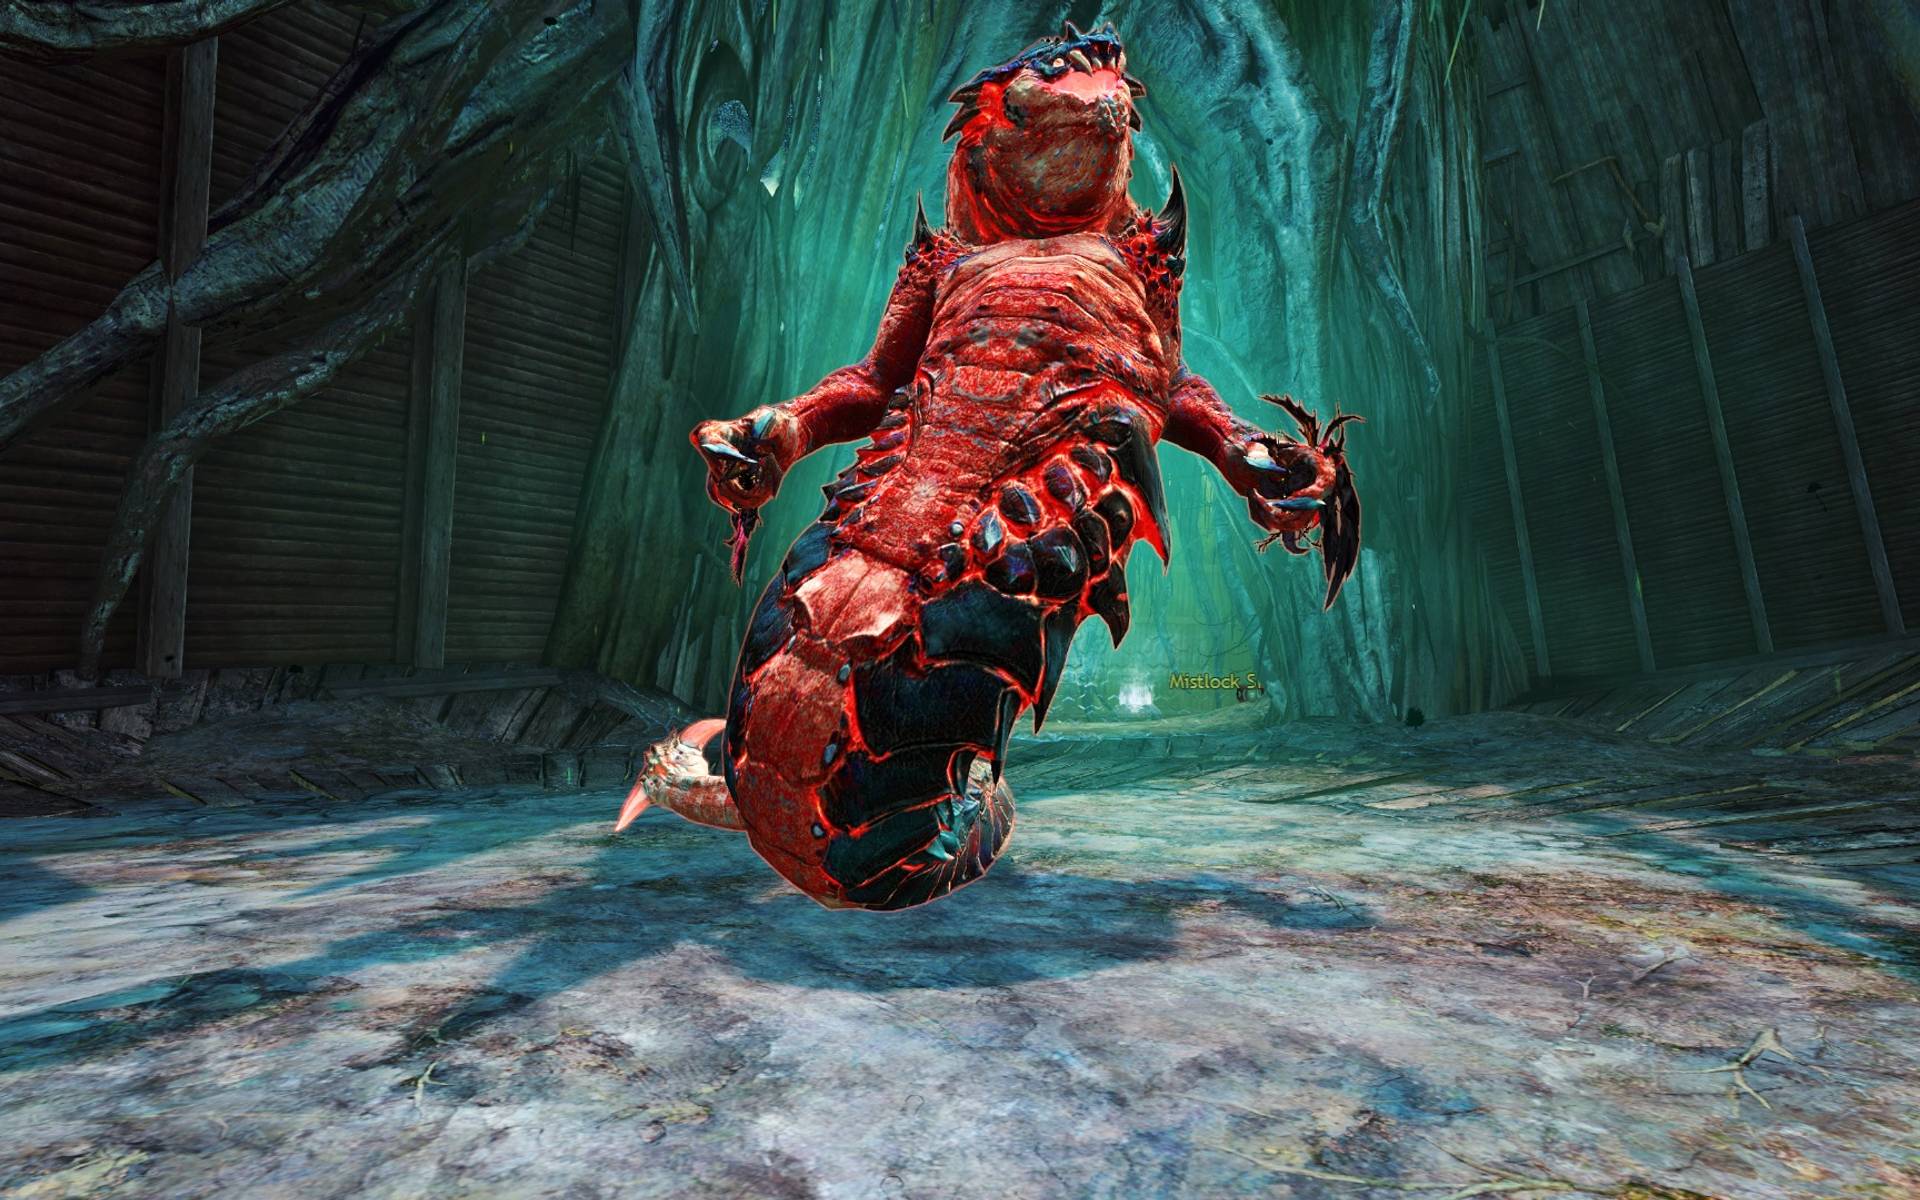
SIAX 6,138,797 HP
DPS Statistics by gw2wingman
Weapons
- Berserker1x
- Berserker1x
- Berserker1x
Skills
Heal
Utilities
Elite
Notes
- Use your inside Siax' hitbox to get 5 additional hits. This is the reason why Guardian is very strong at this boss. Do not miss this.
- Use one at the start of every phase and save one for every add.
- Use to help with CC and buff your party.
- Use the Aegis from to block the expanding AoEs for your team.
Skill usage
General Information
Daily strategies for Siax can vary heavily depending on group composition, dps, and expected kill times.
It is possible to replace the Firebrand with an additional Dragonhunter on this fight. This will only work in double Dragonhunter comps and only if the kill is short (a rough kill-time estimate would be ~30 seconds).
If you are staying as Firebrand then the rotation does not change too much between daily strats, specifically the cc and cc-skip ones.
There are three small differences between these strategies for you.
- Precast one instance of before taking the mistlock, and then use it to break the breakbar when the pull starts
- Split 1 (at 66%) The two guardians go together, usually north
- Split 2 (at 33%) You will be helping the Soulbeast with the NW add, and then the Dragonhunter with the NE add
- Precast two instances of . One before taking the mistlock, and one after
- Split 1 (at 66%) you will be assisting one of the Soulbeasts, usually north
- Split 2 (at 33%) you will be assisting both of the Soulbeasts. On the NE add you will use + as you do in the cc-strat, but instead of helping the Dragonhunter finish the NE add you will be helping the second Soulbeast.
The following written guide is based on the cc strategy, if you are skipping p1 cc, make the substitutions outlined above
Phase 1
- Precast symbols and/or +
- weapon swap
- when the breakbar is up
Split 1
make sure the add is dead before moving back
Phase 2
The skill-order for phase 2 depends on how fast split 1 is, so be flexible and adapt the burst order to your need. The main thing you want to focus on is getting multiple hits of by casting it inside of Siax's hitbox while the exploding adds are in range.
- (Do not miss it)
- weapon swap
Share Aegis to block the AoE and tailswipe when/if needed
For the upcoming split phase you can either use to help on NW or
Split 2
NW add
until dead
Phase 3
As in phase 2 the skill-order should be modified to make sure you get multiple hits from
- weapon swap
- if you have time
- (Do not miss it)
99 CM
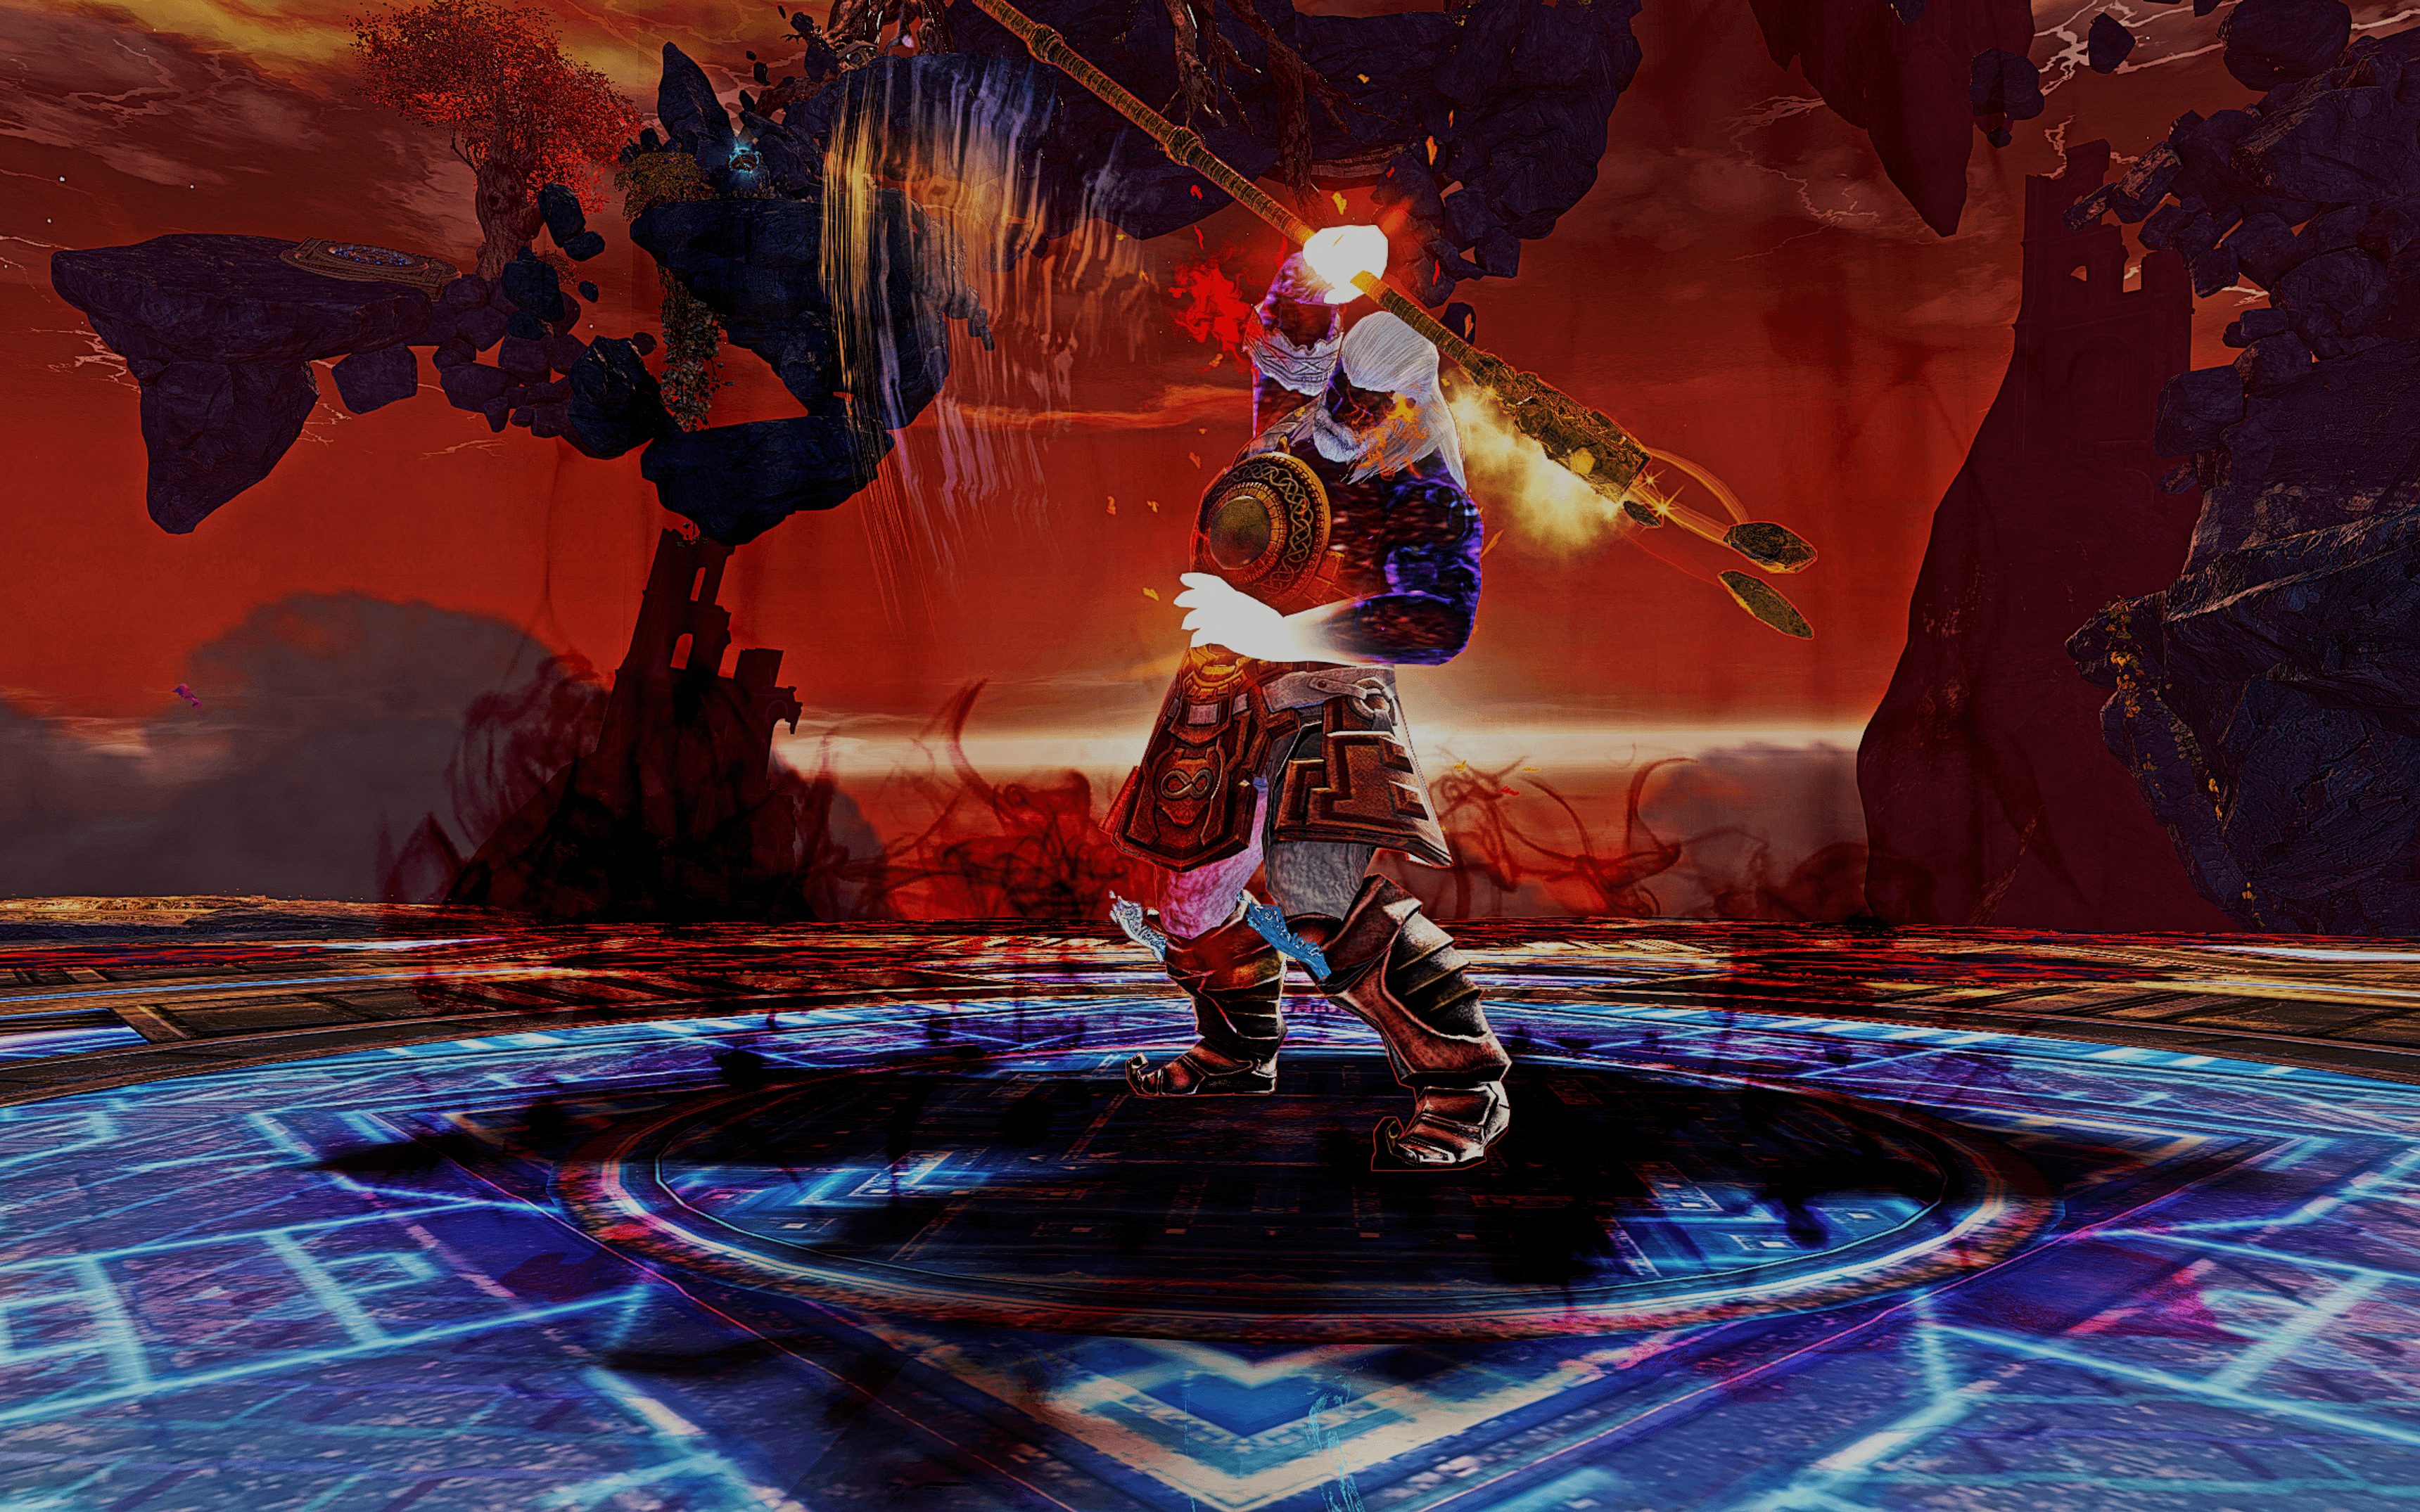
SKORVALD 5,551,340 HP
DPS Statistics by gw2wingman
Weapons
- Berserker1x
- Berserker1x
- Berserker1x
Skills
Heal
Utilities
Elite
Notes
Utility skill variation:
- If your Renegade runs , you should play with .
- Else (for example when Renegade plays due to Mistlock Instability: No Pain, No Gain) take to grant Stability on the third island.
Elite skill variation:
- If you do not have a Dragonhunter that plays you need to take over
Skill usage
Precast
Overview
When prestacking in fractals we want to stack as many useful boons with as much duration as possible, these being Might, Fury, Quickness, Alacrity and Swiftness. We can also cast useful unique effects, for a Firebrand this means your signets such as .
As soon as you see from the Soulbeast on your bar lay down a fire field with (F1-4), close the tome, blast with (Focus 5) and stack boons with your mantras. To maximize the duration of use it as late as possible! You do not need to wait for the full aftercast before taking the Mistlock Singularity.
At the boss
If your team coordinates via voice chat you should be able to precast cause lags with your symbols.
If not you have to observe your fellow Soulbeast friend's animation. As soon as it finishes you can assume that you will be put in combat.
If not you have to observe your fellow Soulbeast friend's animation. As soon as it finishes you can assume that you will be put in combat.
The symbol precast priority is as always: Mace > Scepter > GS > Sw > Staff
Ideal Rotation
Phase 1
Overview
Phase 1 starts right when you finished your symbol precast. Immediately use a (ideally while you are still out of combat) to ramp up Vulnerability as quick as possible. Either enable "Autotargeting" in the options or spam "Take target" (tab) while casting your .
Cast before swapping to your greatsword, because it applies ticking damage and is therefore more valuable in combination with . Swap to greatsword and finish the phase with as many skills as you can.
Ideal Rotation
Islands
Island 1
You want to save your for the rift to the second island. Therefore you will most likely arrive last on the first island. Make sure to share Aegis and Quickness against the Knockback from the anomaly. Since you are last you have a good aim at your fellow friends and everyone will get the Aegis. Finish the add with .
For fast transitioning leap with towards the left side of the rift.
For fast transitioning leap with towards the left side of the rift.
Island 2
Drop a (F1-4) right when you land so your party has the chance to blast some Might. While the anomaly is evading you can drop your and start casting just before you jump to avoid the Knockback circle attack.
Again, for fast transitioning leap with towards the left side of the rift and swap weapons in the rift.
Again, for fast transitioning leap with towards the left side of the rift and swap weapons in the rift.
Island 3
Drop a as soon as you land to quickly ramp up Vulnerability up. This is key to kill the anomaly quickly! In case your team can't kill the anomaly before the first Knockback attack happens you should preemptively apply Stability with . Use to keep up your stacks of . Before you enter the rift open your !
Island 4
Drop a (F1-4) right when you land so your party has the chance to blast some Might. While the anomaly is evading blast Might with . Share your already! This is not an issue since phase 2 and 3 are each about 6-8 seconds long; so for the majority of the fight will be up. Just before the anomaly finishes its evade frame drop a for quick Vulnerability ramp-up.
During our testing applying one stack of Stability with was not enough to reliably not get knockbacked by the anomaly, so it is recommended to jump!
You should stay at the anomaly till the very last moment since you do not have any important skills to precast on skorvald.
During our testing applying one stack of Stability with was not enough to reliably not get knockbacked by the anomaly, so it is recommended to jump!
You should stay at the anomaly till the very last moment since you do not have any important skills to precast on skorvald.
Phase 2 and 3
Overview
Cycle through your dps skill starting with (Focus 4) due to it being a ticking damage skill. Swap to greatsword and finish the phase with as many skills as you can.
This time around feel free to use to get to the island quicker since the party will travel via portals now!
Rest of the fight
Use the information from above for the remaining encounter!
Ideal Rotation
99 CM
Skill usage
Precast
Overview
When prestacking in fractals we want to stack as many useful boons with as much duration as possible, these being Might, Fury, Quickness, Alacrity and Swiftness. We can also cast useful unique effects, for a Firebrand this means your signets such as .
Ideally everyone waits at Artsariiv together to give the Renegade more time to precast lag the game with casting Resistance. Take the portal and lay down a fire field with (F1-4), close the tome, blast with (Focus 5), and stack boons with your mantras. To maximize the duration of use it as late as possible! You do not need to wait for the full aftercast before taking the Mistlock Singularity. If you are very quick, cast again, however, this is only worth it if your party instatriggers the boss.
Portal to the boss
Immediately start precasting your symbols. The symbol precast priority is as always: Mace > Scepter > GS > Sw > Staff. Make sure to end on greatsword to be able to proceed optimally.
Ideal Rotation
Phase 1
Overview
Phase 1 starts right when you finished your symbol precast. Immediately use a (ideally while you are still out of combat) to ramp up Vulnerability as quick as possible. The first skill you should be using is ! Due to multiple targets around the boss this skill will hit up to 5 times provided you use it in the bosses hitbox. While casting , connect with immediately; already start moving through the hitbox of the box. hits more times if used in the hitbox.
Switch weapons as soon as possible and cast first, because it applies ticking damage and is therefore more valuable in combination with . You might need to turn your character a bit towards the boss to be able to cast the skill. Finish the phase with and .
Ideal Rotation
CC phase
Middle Add
Open a and use . Don't close your tome yet.
Southeast add
Use as soon as you see the rock gazelle charging with at the add.
Drop a (F1-4) right after so your party has the chance to blast some Might. If your party is slow you can blast the fire field with ! Dont forget to cast Quickness for your party (theyprecast cause lag).
Drop a (F1-4) right after so your party has the chance to blast some Might. If your party is slow you can blast the fire field with ! Dont forget to cast Quickness for your party (they
It is advisable to precast as well since it will deal about 30k damage in Burning, which is substantial for the Power Firebrand.
Phase 2
Overview
Make sure to step back so that you will puke with your on your party to give Aegis against the expanding circle Knockback attack.
Cycle through your dps skill starting with (Focus 4) due to it being a ticking damage skill. Swap to greatsword and finish the phase with as many skills as you can.
Cycle through your dps skill starting with (Focus 4) due to it being a ticking damage skill. Swap to greatsword and finish the phase with as many skills as you can.
Before following Artsariiv to the corner it is expected to heal the with : , , . Use your Hypernova Launch to jump to Artsariiv.
Finish the phase on greatsword. Do not swap to sword since you will need to use your CC abilities on greatsword to complete the split phase quickly. In case your team is slow you can carry them by reflecting Artsariiv's
Taw Shot attack with .Ideal Rotation
CC phase
Middle Add
Open a and use . Don't close your tome yet.
Southwest adds
Use Hypernova Launch as soon as you can to jump to the two southwest adds. You will cc these two adds together with the Dragonhunter. Since for CC cannot applied at the same time you need to hurry to not slow down your party. Leap with against the corder southwest add, swap weapons immediately and open and cc the west add with .
Jump back into the middle while still having targeted the west add. Cast so your party friends can precast lag the game. Finish the west add with .
Drop a (F1-4) right after so your party has the chance to blast some Might. Before closing the tome use . Blast the fire field with and finish the fight as described in phase 2.
BOSSNAME
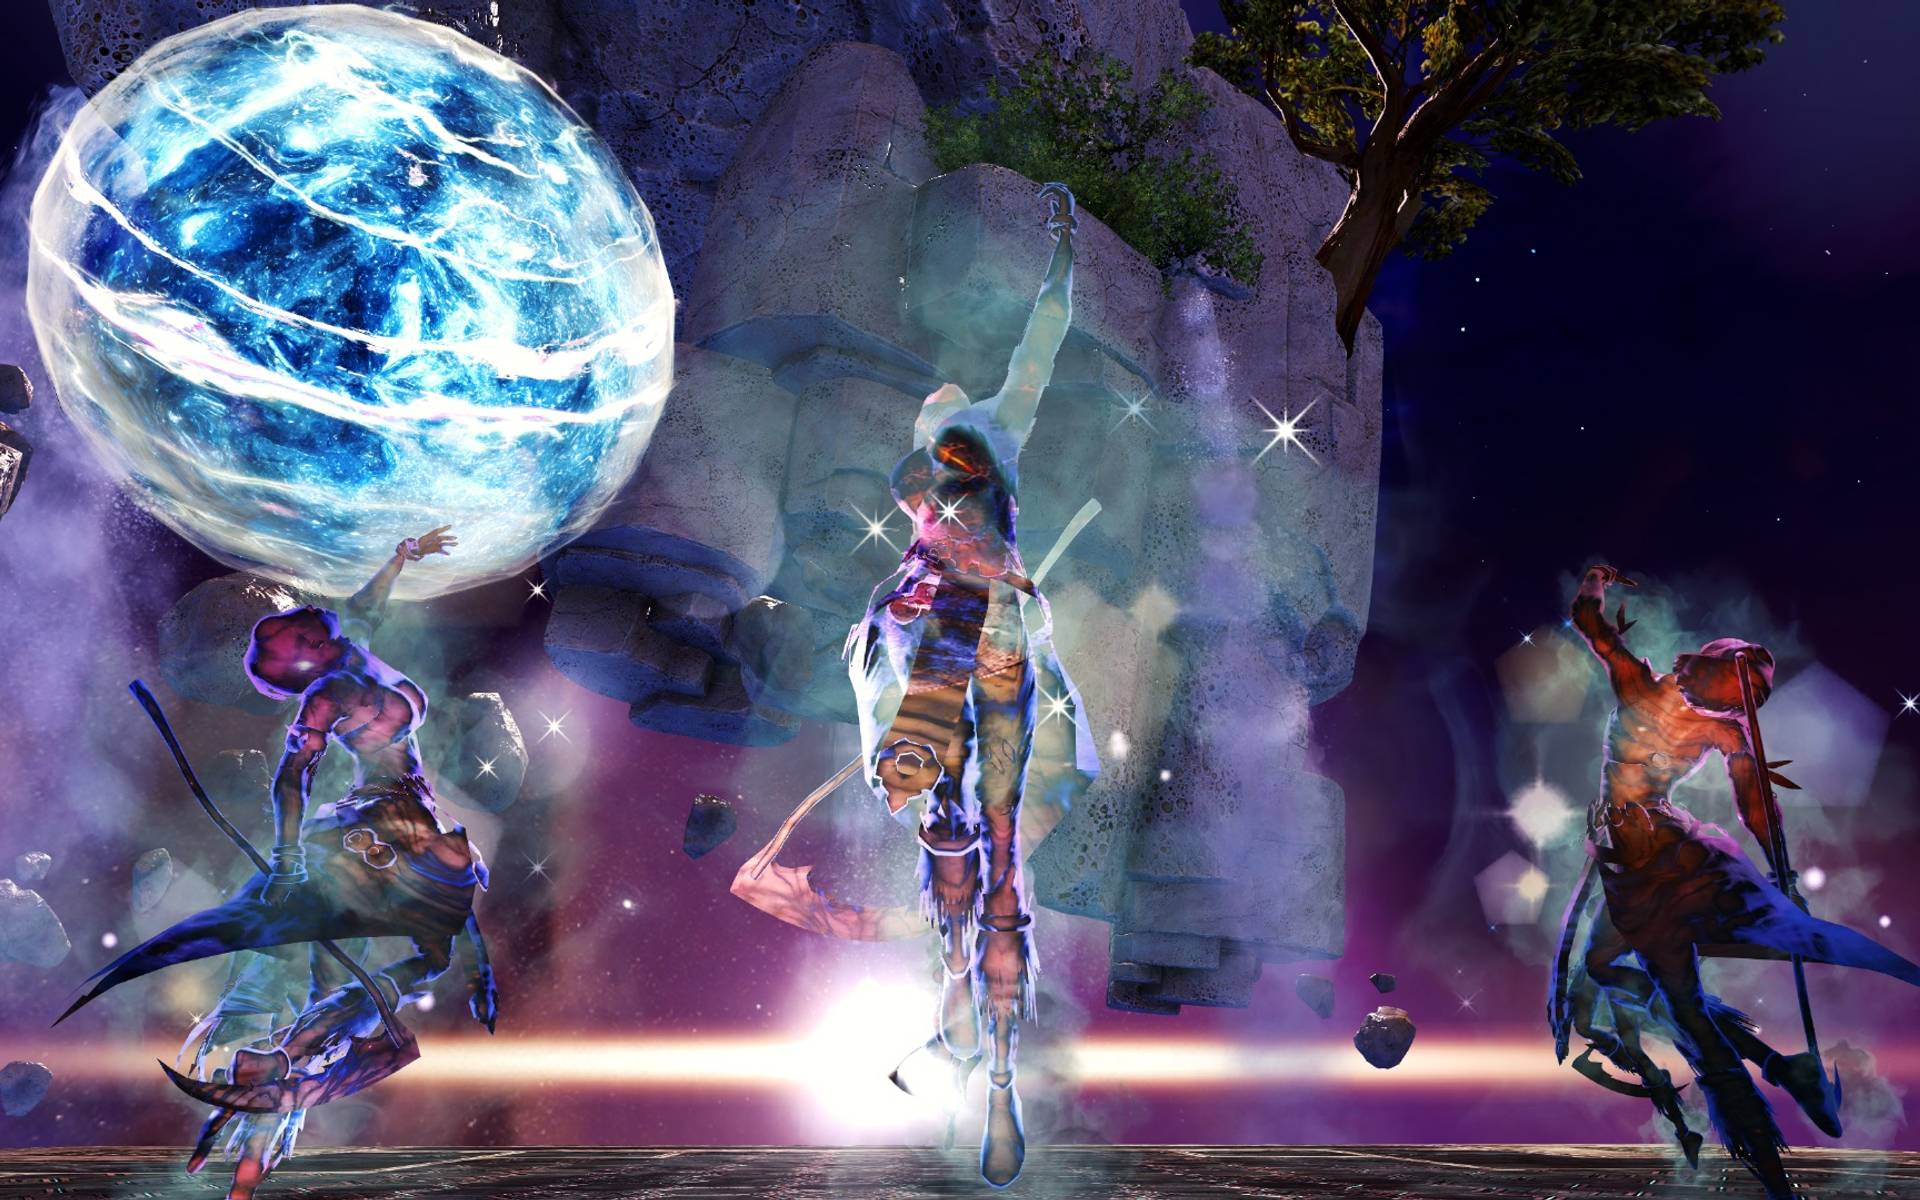
ARKK 9,942,250 HP
DPS Statistics by gw2wingman
Weapons
- Berserker1x
- Berserker1x
- Berserker1x
Skills
Heal
Utilities
Elite
Notes
- Play scepter on this encounter
- Place markers for the blooms
- You can run if you are able to damage the first anomaly and adds in the later phases.
Skill usage
Precast
- Cast skill 4 and 5
- Blast the fire field with cast or
- Use 3 charges of and share (keep in mind that only shares Quickness once every 7 seconds thanks to )
- Use
- Use
- Use
- Take mistlock
- Use and again!
Phase 1
- Cast skill 4
- Weapon swap
- if not phased yet
- Take your orb and stay on greatsword
Phase 2
You can use Hypernova Launch to the middle
Add Phase 1
- Precast to apply Vulnerability
- -> 2 mobs
- You can enter and pull (skill 3) the mobs closer to the middle, then use skill 4
- Cast as the add is about to die
Phase 3
- Precast
- Weapon swap
- Take your orb and stay on sword
Phase 4
- Weapon swap
Add Phase 2
- Precast to apply Vulnerability
- -> 2 mobs
- You can enter and pull (skill 3) the mobs closer to the middle, then use skill 4
- Cast as the add is about to die
Phase 5
- Precast
- Weapon swap
- Take your orb and stay on sword
Phase 6
- Precast
- Weapon swap
Annotation:
- If possible make sure you use Hypernova Launch to CC the adds
- The archdiviner spawns AoE's that strips boons, avoid them!
