
- Please check the CC distribution to contribute your share of the necessary CC!
- Please also read through the fractal pages for general encounter information!
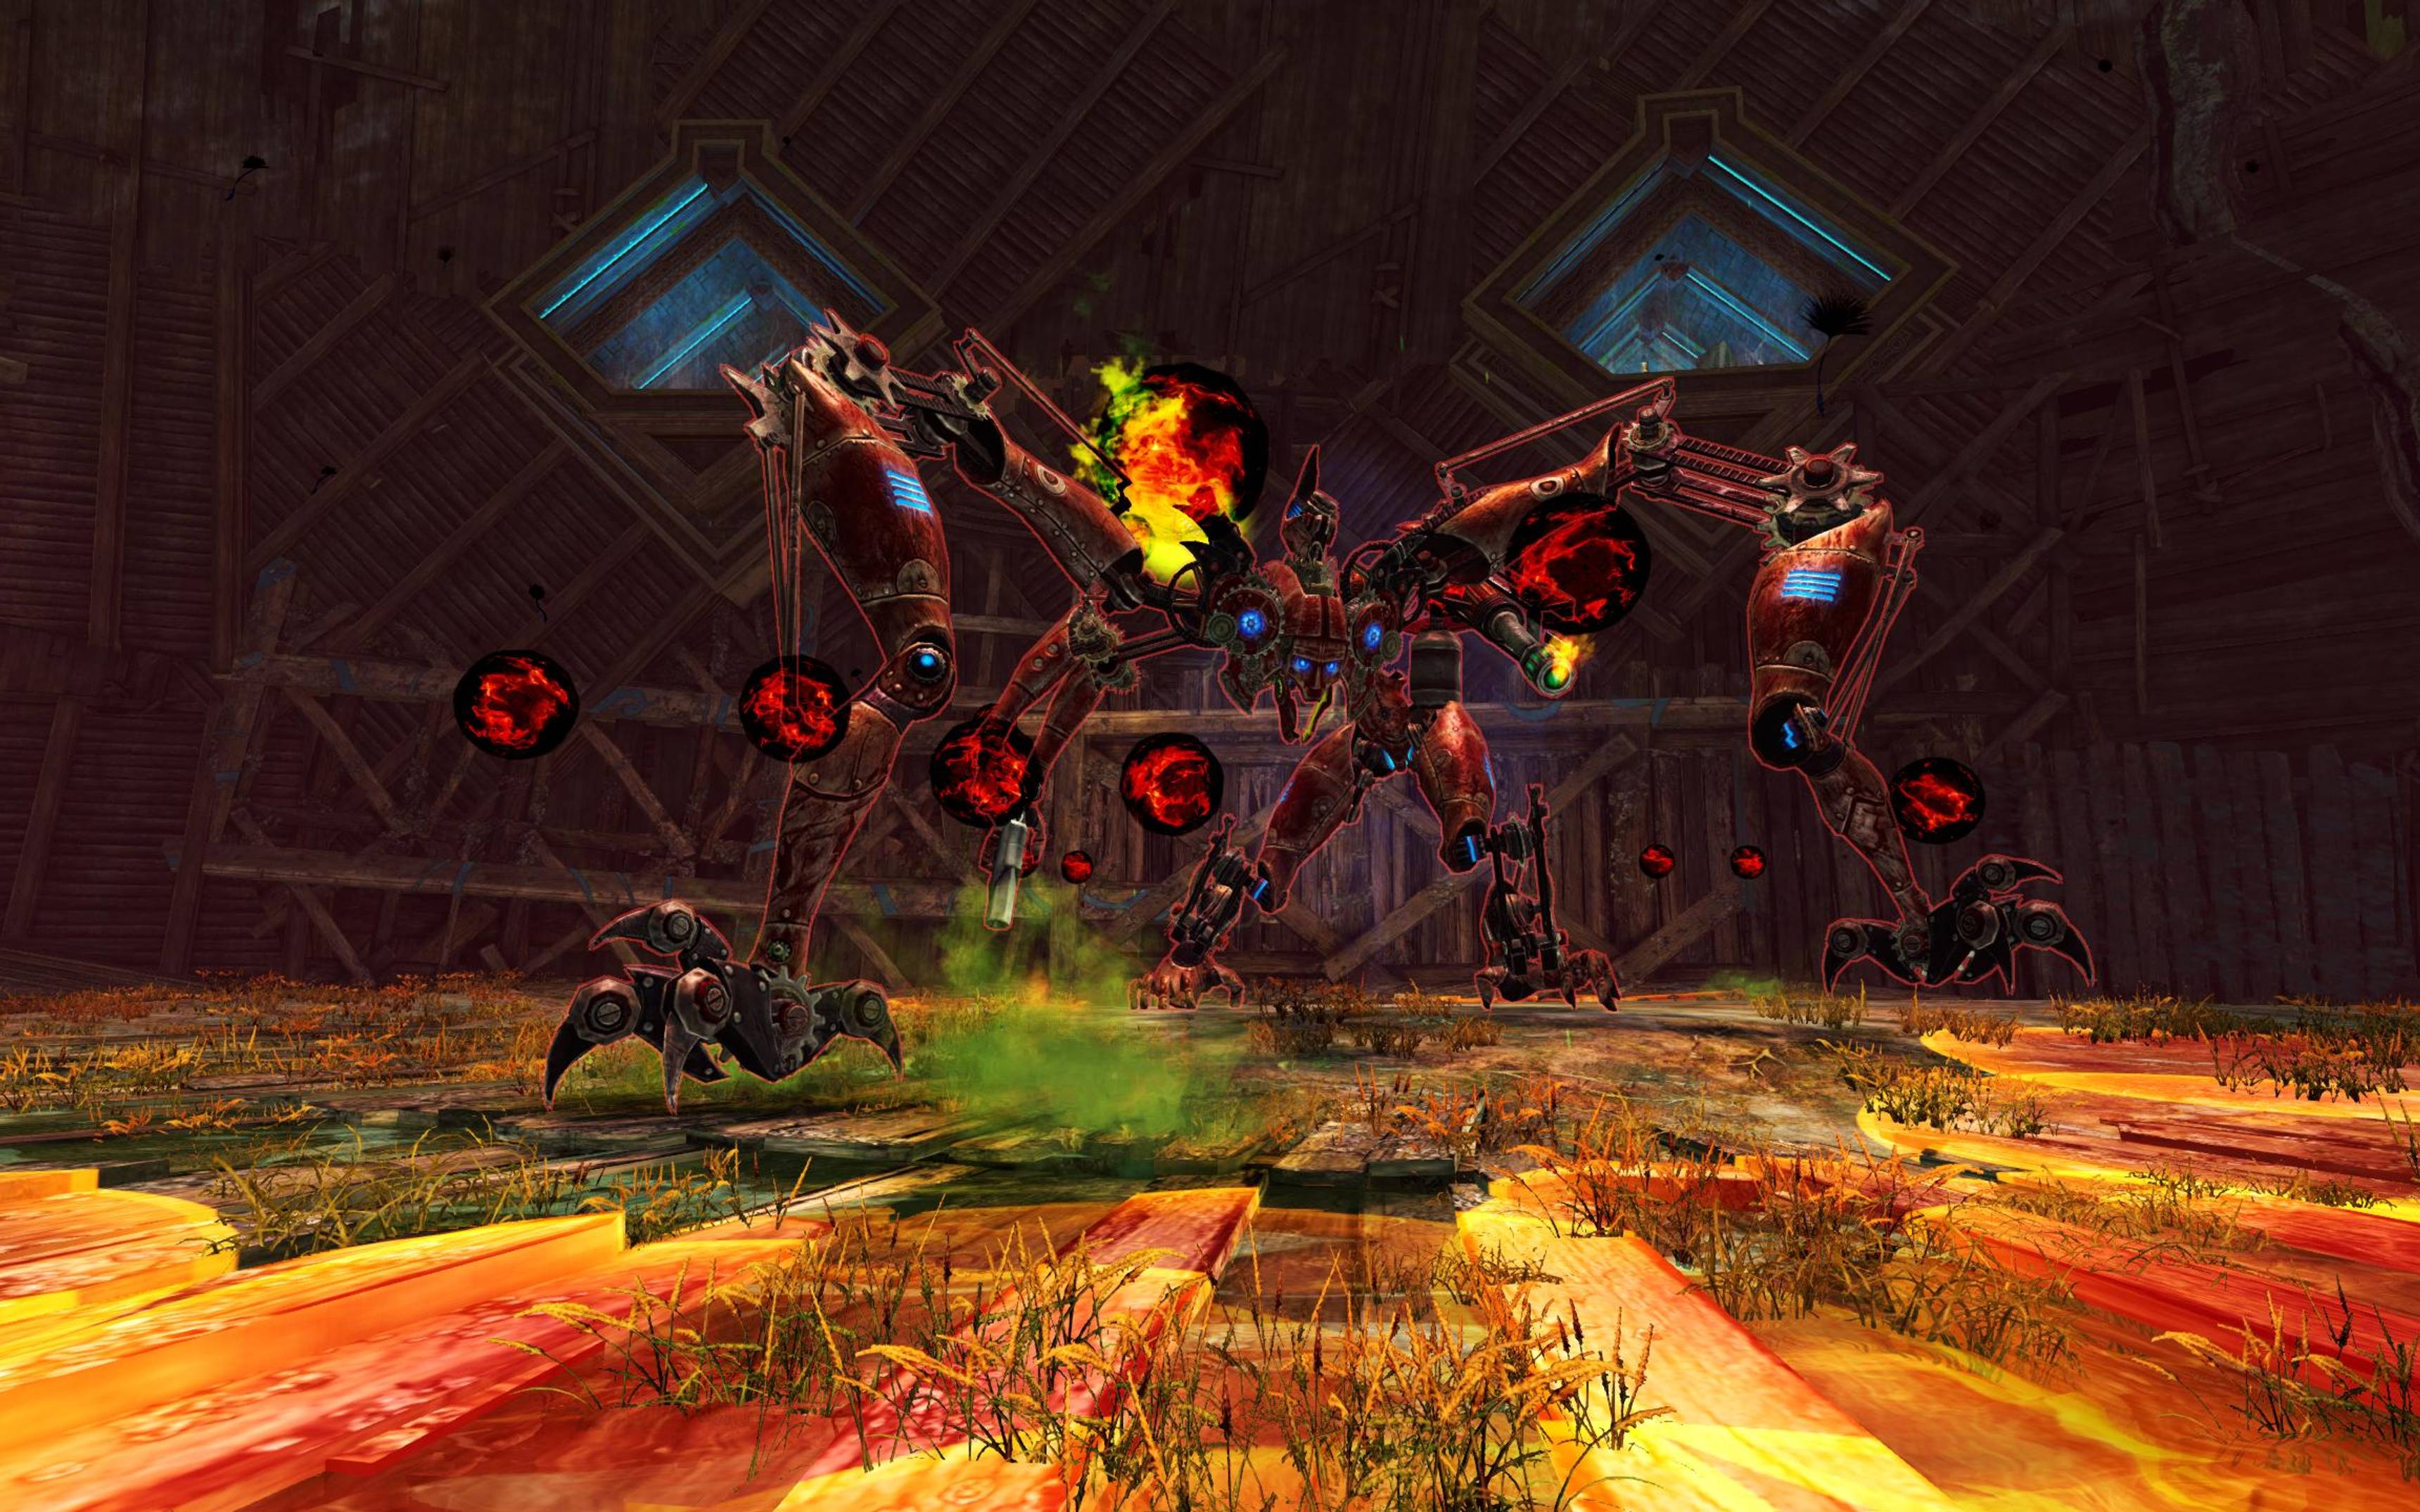
MAMA 5,200,519 HP
DPS Statistics by gw2wingman
Weapons
- Berserker2x
- Berserker1x
- Berserker1x
Skills
Heal
Utilities
Elite
Notes
- There are many setups that work on this boss. This variant helps a lot with CC which makes the fight a lot easier. However if your group struggles with this setup, consider swapping to a more healing-focused setup.
- When Mistlock Instability: Afflicted is present or if your group struggles with conditions, run instead of .
- When coming up with a setup for a condition-based group, keep in mind that still provides excellent breakbar damage and Radiance still allows you to share Condition Damage through . However it is less impactful to swap out than in a power-based group.
Skill usage
General
- This fight can be very different based on group DPS and CC.
- and skill 3 can be used to reflect the red orbs. The green ones will still put down the poison. This will be mainly useful for the split phases, however it can also be useful to watch out for the animation in the center since the orbs can one-shot anyone standing still right next to the boss.
Prestacking
- You can do the regular prestacking from the build guide including .
- Place a Fire Field with skill 4 or if needed and blast it with .
- and use 1 charge of and as many charges as possible of any other equipped Mantra.
- Take Mistlock Singularity
- and use once during the cast.
- Place while running to the boss and swap to Axe.
100%-75%
- Stay on Axe until you casted a 2nd .
- Use for Fury when you reach the boss.
- Use to CC
- Use to finish off the CC if needed. skill 3 can help too afterwards. Try to to save for the red orbs (most likely on the way to the first Knight).
75%
- Cast while running to the Knight if the red orb attack is happening.
- Stand on the far side from the boss to avoid damage and bait the poison to spawn there. If your group is slow on killing the Knight, after the first poison spawns, go closer to the boss to stop the orbs and trigger the wind-up attack from the boss.
- Use to help with CC.
- Share a stack of Stability through if instant CC fails.
- If you still have use its skill 3 to help with additional CC if needed as it will be reset after killing the Knight when running Radiance.
75%-50%
- If any attack, especially the expanding circles, overlaps with the wind-up/knockback attack, make sure to share Aegis at the last second. Otherwise provide Stability and get ready to condi cleanse anyone who did not dodge the attack. Keep in mind that this attack will still one-shot people with bad instabilities so try to focus on learning to share Aegis at the correct time.
- If the group DPS is high, do not break the defiance bar before 50%, otherwise try to break it as fast as possible. This is because you want to have the bar up after 50% to break it and get the boss to 25% with the Exposed debuff.
- Use to provide Protection for MAMA's melee attacks if you are still on Axe/Shield and then swap to Staff.
- Use to renew Might.
- Blast with if condi cleanse is needed (or use if equipped). Try to only use your if it will be up for the last phase or if it is absolutely needed.
50%
- Stand on the far side from the boss to avoid damage and bait the poison to spawn there. If your group is slow on killing the Knight, after the first poison spawns, go closer to the boss to stop the orbs and trigger the wind-up attack from the boss.
- If needed, you can use your for the reflect, Stability, Protection and Aegis. Using it while running to the 2nd Knight is probably one of the best uses for during this fight. However it is also very useful in the last phase.
- Use to help with CC.
- Share a stack of Stability through if instant CC fails.
- If you still have use its skill 3 to help with additional CC if needed as it will be reset after killing the Knight when running Radiance.
50%-25%
- Rotation in this phase will depend a lot on the group DPS and CC as well as what weapon set you started on. Remember the basics of keeping up boons from the build guide.
- Assist on the breakbar with , and, if needed, skill 3.
- Use if needed when the big poison spawns. This might help your group to stay a little longer to get the boss to 25% or heal them up while moving to the 3rd Knight. Dropping some symbols before entering the Tome or using other healing skills if equipped will also help out here.
25%
- Make sure you have enough CC up for this add so you don't have to deal with melee MAMA and the Knight at the same time for too long.
- Prepare for the jump attack. Depending on your group DPS and CC it will happen while the Knight is up or after it dies. Make sure to give at least one stack of Stability and preferably also some Aegis for the jump. Protection helps out a lot too so either use or if you have it up.
- Use to help with CC.
- Share a stack of Stability through if instant CC fails.
- If you still have use its skill 3 to help with additional CC if needed as it will be reset after killing the Knight when running Radiance.
25%-0%
- Help CC with whatever you have left.
- If you are using your in this phase, remember to also drop a skill 4 to negate the Blinded.
- During the bosses' double arm swing, give one stack of Stability if you still have something left in case people do not jump the shockwave.
- For the repeated arm swings, you can use your if you still have it and/or make sure to double dodge the attacks to both avoid damage and heal allies.
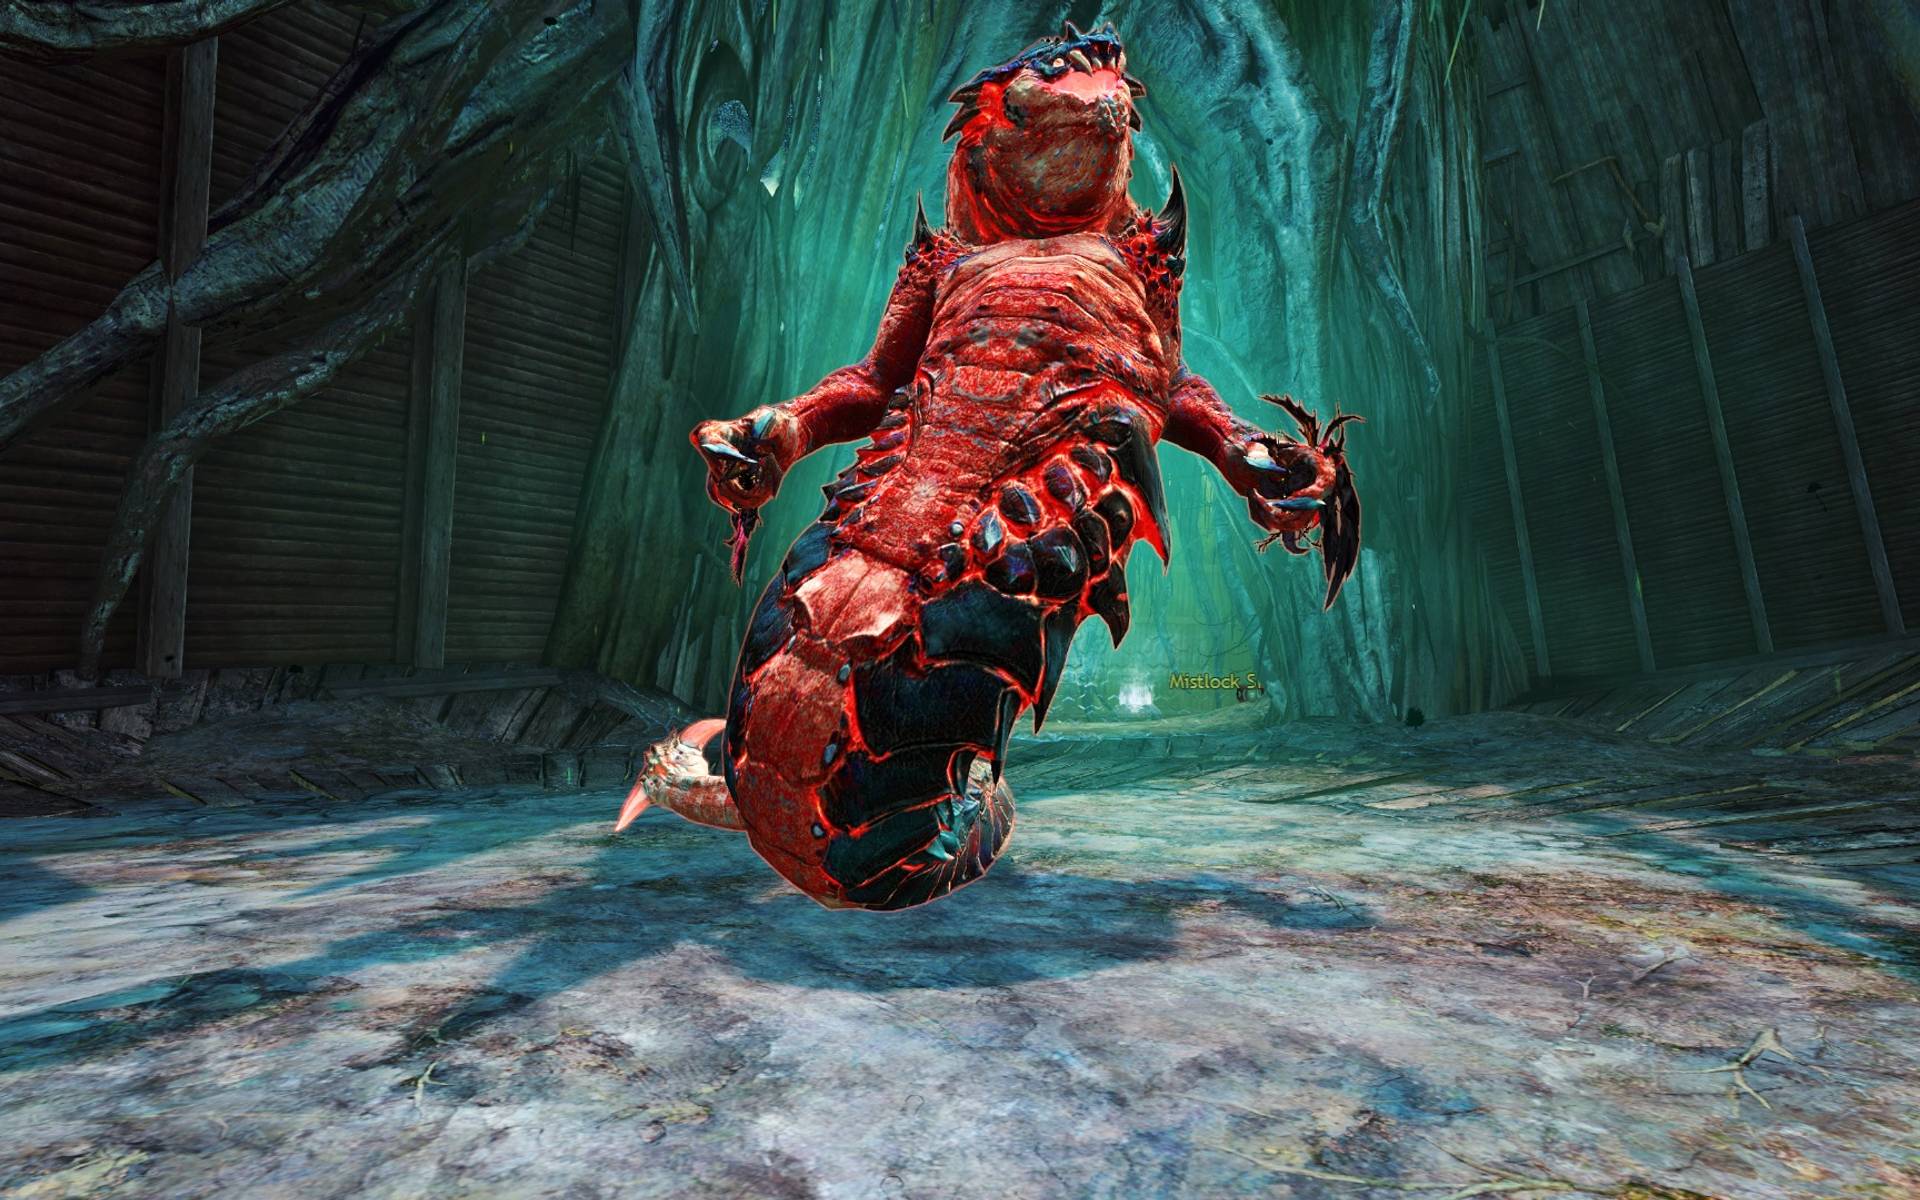
SIAX 6,138,797 HP
DPS Statistics by gw2wingman
Weapons
- Berserker2x
- Berserker1x
- Berserker1x
Skills
Heal
Utilities
Elite
Notes
- Once you get more familiar with sharing Aegis at the correct times, you can also swap out . However taking will allow you to save it for using it on the Hallucination AoE every time.
- The Stability from is less useful here compared to other fights, however the Resolution can be very strong. If you are unable to upkeep Fury, swap to . Providing Quickness should not be an issue even without it.
- Mistlock Instability: Toxic Trail and Mistlock Instability: Social Awkwardness make this fight a lot more chaotic.
- When coming up with a setup for a condition-based group, keep in mind that still provides excellent breakbar damage and Radiance still allows you to share Condition Damage through . However it is less impactful to swap out than in a power-based group. and can be good alternatives for CC. Virtues can help out with reducing the cooldown of if you are running it.
Skill usage
Preparation
- If your group struggles with the poison, one person might have to kite it. If this is you, then you will have to move away after the sharing Aegis for the Hallucination AoE and dodge back to the group when the poison gets thrown to you. If the boss gets a breakbar, make sure to go back to the group instantly and help them break the bar.
- Most groups will mark sides to go to at 66%/33%. You will most likely go south with the Alacrity Renegade. However if another person is struggling more, feel free to look around and help them out.
Prestacking
- You can do the regular prestacking from the build guide (including if your group is using a portal to get to the boss faster).
- Place a Fire Field with skill 4 or if needed and blast it with .
- and use 1 charge of and as many charges as possible of any other equipped Mantra.
- Take Mistlock Singularity
- and use once during the cast.
- Place while running to the boss and swap to Axe.
100%-66%
- If DPS is low be ready to use to Aegis the Hallucination's AoE
- If the Volatile Hallucinations are coming in before your group reaches 66%, try to position yourself opposite of where your Hallucination spawns so it gets cleaved on the way to you. You can also help out with the other Hallucinations by using skill 3 to CC them when they get close.
- Use for Fury.
- Use to CC.
- Use and as well as skill 3 if needed to finish off the breakbar.
- If the phase continues longer, make sure to stay on Axe long enough to use another so you don't drop Fury.
66%
- Position yourself with the Renegade using Axe to help with DPS!
- Be ready to swap to Staff early or even use if a DPS desperately needs healing. On Staff you can throw and on someone for a bit of healing from range.
66%-33%
- Breakbar timings will heavily depend on your group DPS. In a fast group, you will not encounter a breakbar in this phase, in lower DPS groups you might encounter it towards the end or even in the middle of this phase.
- If you are still on Axe, you can drop a on the boss while running back to it. If you do this, make sure to already start casting it before you fully reach the boss (since the symbol has a quite large radius) so you can swap to Staff to give Might as fast as possible.
- Use , preferably while the boss is still Exposed.
- Get ready to share Aegis for the Hallucination AoE.
- This is often a good time to use skill 4 and 5 then use up all charges with skill 1. This will help with Aegis for the Hallucination AoE, grant Stability for the swipe attack, give Protection for the Volatile Hallucinations and grant Resistance against Blinded.
- Same as before, you also use skill 3 to Pull some of the Volatile Hallucinations to avoid them from exploding at the same time. If needed, you can also enter your for the burst healing and condi cleanse.
- Try to swap back to Axe as soon as you can so you can once again help out your Renegade in the split phase.
33%
- Position yourself with the Renegade using Axe to help with DPS!
- Be ready to swap to Staff early or even use if a DPS desperately needs healing. On Staff you can throw and on someone for a bit of healing from range.
33%-0%
- Breakbar timings will heavily depend on your group DPS. In a fast group, you will not encounter a breakbar in the 2nd phase which will lead to a breakbar at the start of this phase. If there was a breakbar at the end of the 2nd phase, there will most likely be a breakbar towards the end of this phase as well. In that case, consider sharing earlier for the group DPS buff.
- If there will be no early breakbar, handle this phase exactly the same as the 2nd phase. If there will be an early breakbar, do this instead:
- Cast .
- Use to CC and finish off the breakbar with and .
- Swap to Staff and use , preferably while the boss is still Exposed or before while your group finishes off the breakbar.
- If the phase continues longer, then go back to handling the attacks as above.
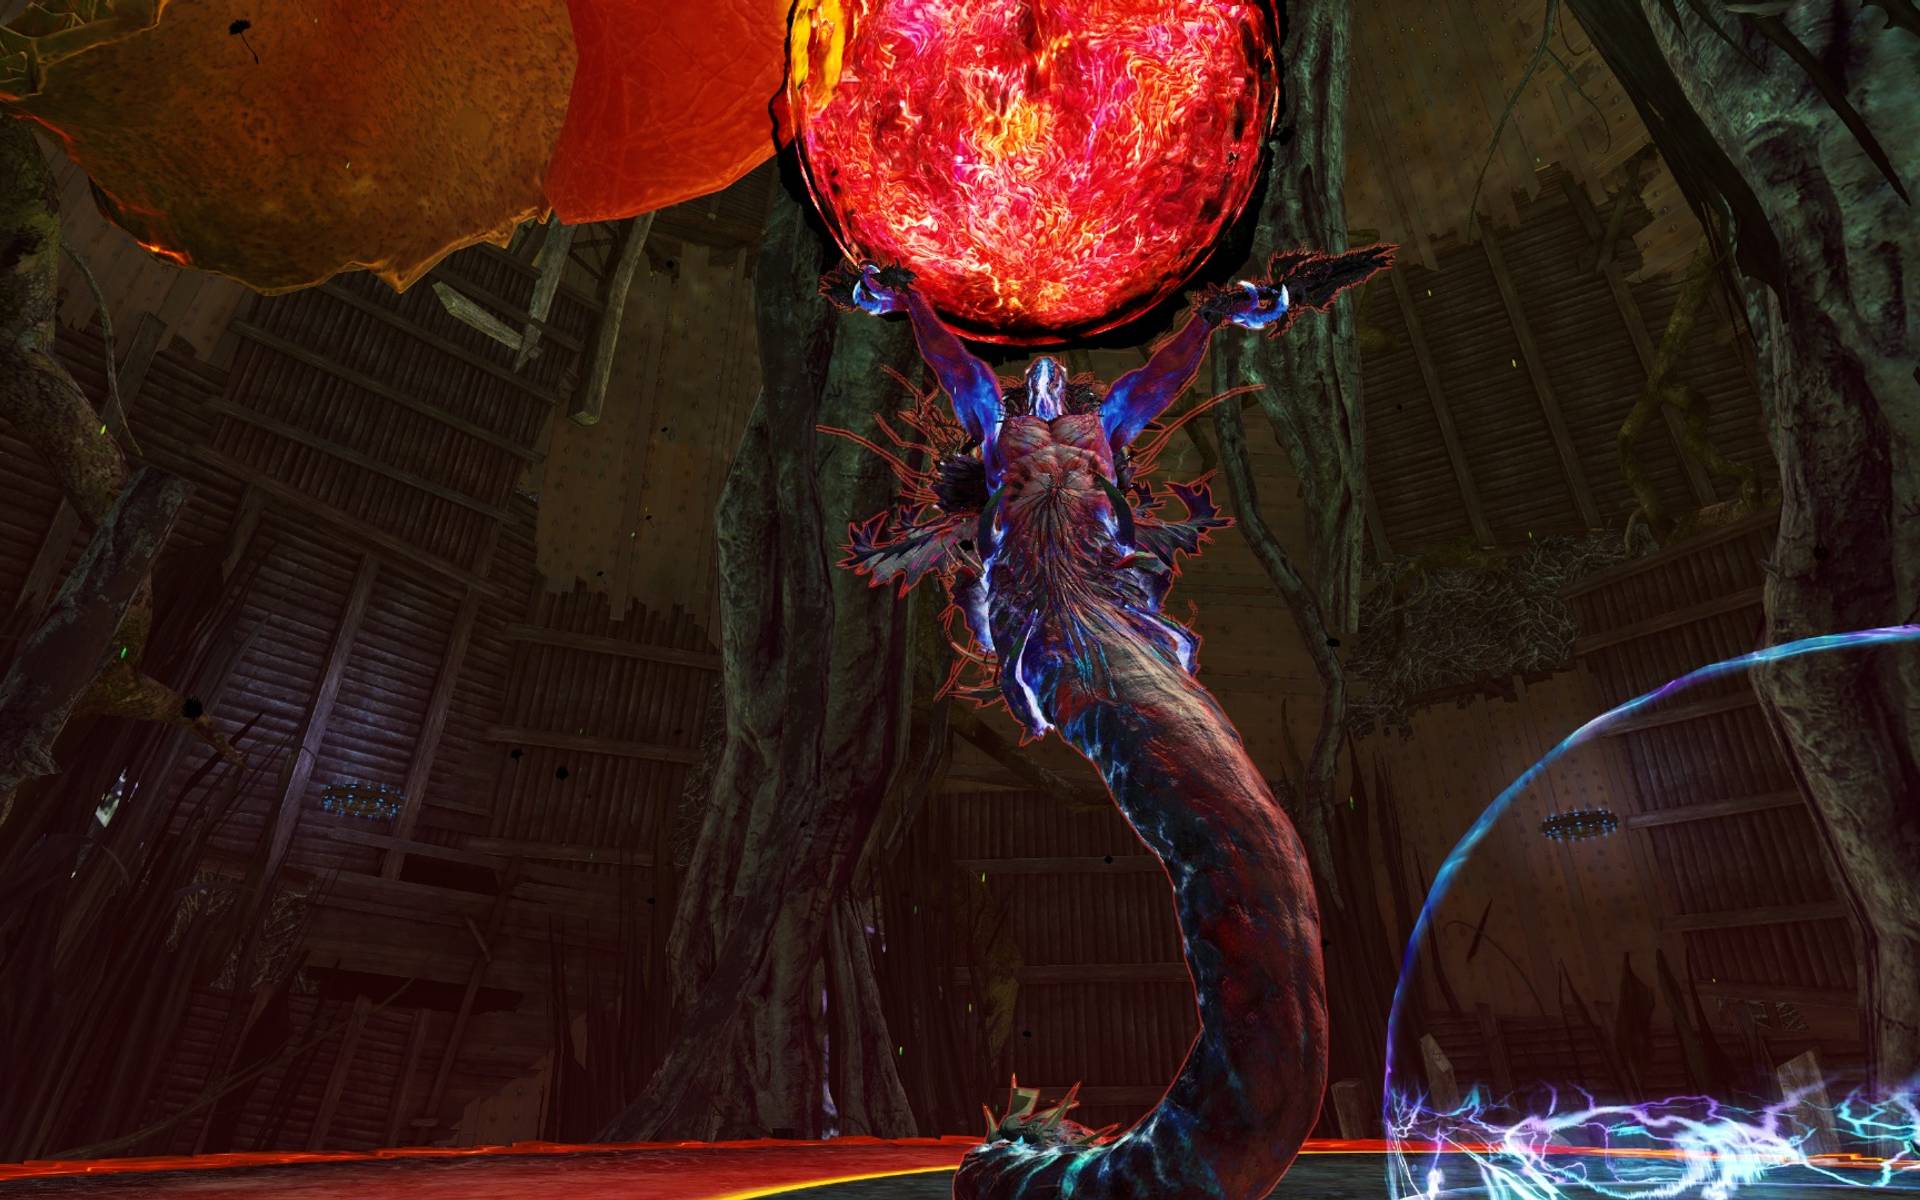
ENSOLYSS 14,059,890 HP
DPS Statistics by gw2wingman
Weapons
- Berserker2x
- Berserker1x
- Berserker1x
Skills
Heal
Utilities
Elite
Notes
- is a great CC skill on Ensolyss as Heal Firebrand.
- If you need the extra utility slot or extra CC on Sanctuary, consider running the Virtues variant.
- In condition-based groups you can decide whether you want to run Radiance for sharing Condition Damage or running Virtues for the extra CC on . In both cases running can be beneficial for CC.
Skill usage
General
- Ensolyss has many attacks that can be negated with Aegis and/or Stability. This means you can help out your group a lot, especially classes that lock themselves into long animations like Power Soulbeast.
- His auto-attacks inflict Bleeding. You can counteract this with which will also grant Regeneration. Your symbols, dodges and Regeneration should be enough to keep people alive through his auto-attacks on top of providing healing for other attacks as well.
Preparation
- It is possible to insta-CC Ensolyss before the dome spawns. Ask your group if you want to attempt this or not. This requires good timing and knowledge of CC skills on all 5 players.
Prestacking
- You can do the regular prestacking from the build guide.
- Place a Fire Field with skill 4 or if needed and blast it with .
- and use 1 charge of and as many charges as possible of any other equipped Mantra.
- Take Mistlock Singularity.
- and use once during the cast.
- Place while running to the boss and swap to Axe.
100%-66%
- Make sure to stay on Axe long enough to use 2 times.
- This part will depend on whether your group decided to go for the instant CC or not.
- If your group decided to insta-CC, use to help with the breakbar.
- Otherwise either use and for a head-start on the breakbar or skip this step entirely if you don't feel confident timing these skills well. The reason for delaying without insta-CC is that you want to share its passive for Exposed.
- After the dome, use anything you have on the breakbar if you did not insta-break it.
- After this, handle the mechanics as described above in the General section. Make sure to not use when he is teleporting away as this attack will interrupt you unless you have multiple stacks of Stability.
66%
- Swap to Staff in this phase so you are able to give boons as soon as the phase is over.
- Handle this phase the same as you would on any other class. Remember to prioritize staying alive over anything else. If someone dies and you have to cover an extra circle, make sure to not stack up with multiple players as you will end up sharing blue orbs but getting hit by the same red orbs.
- Since everyone in the red circles receives Agony, do not bother too much with healing until the phase is over.
- If you are running with a Soulbeast, keep an eye out if they have an active or . If this is the case, try to throw a on it so it stays alive.
66%-33%
- In this phase there will be 2 additional mechanics that you have to pay attention to, the arena-wide pull attack and the knockback.
- Once everyone is back in the center, stack boons again. Open your and use skill 4, blast it with and use . Use if you still have it up and swap to Axe for .
- If you have equipped, use it first on the breakbar.
- Use and, if needed, and for CC. Give Aegis to your group to reduce damage taken and heal them up. If your symbols and dodges are not enough, use your .
- If you did not use your , go through another charge of your and for the knockback attack.
- If the phase continues longer, handle the mechanics the same as before.
33%
- Handle this exactly the same as before. Make sure to swap to Staff, keep an eye out for friendly Spirits and focus on staying alive.
33%-0%
- Depending on group DPS, there might be one new attack in this phase where Ensolyss tries to pull people towards him with a Shockwave and deals massive damage around him.
- Once everyone is back in the center, stack boons again. Open your and use skill 4, blast it with and use . Use if you still have it up and swap to Axe for .
- If you have equipped, use it first on the breakbar.
- Use and, if needed, and for CC. Give Aegis to your group to reduce damage taken and heal them up. If your symbols and dodges are not enough, use your .
- After going to the dome, make sure that everyone has some Stability for the shockwave. If needed, go into your to heal everyone up who got hit.
- Handle the rest of the mechanics same as before until your group reaches 15%.
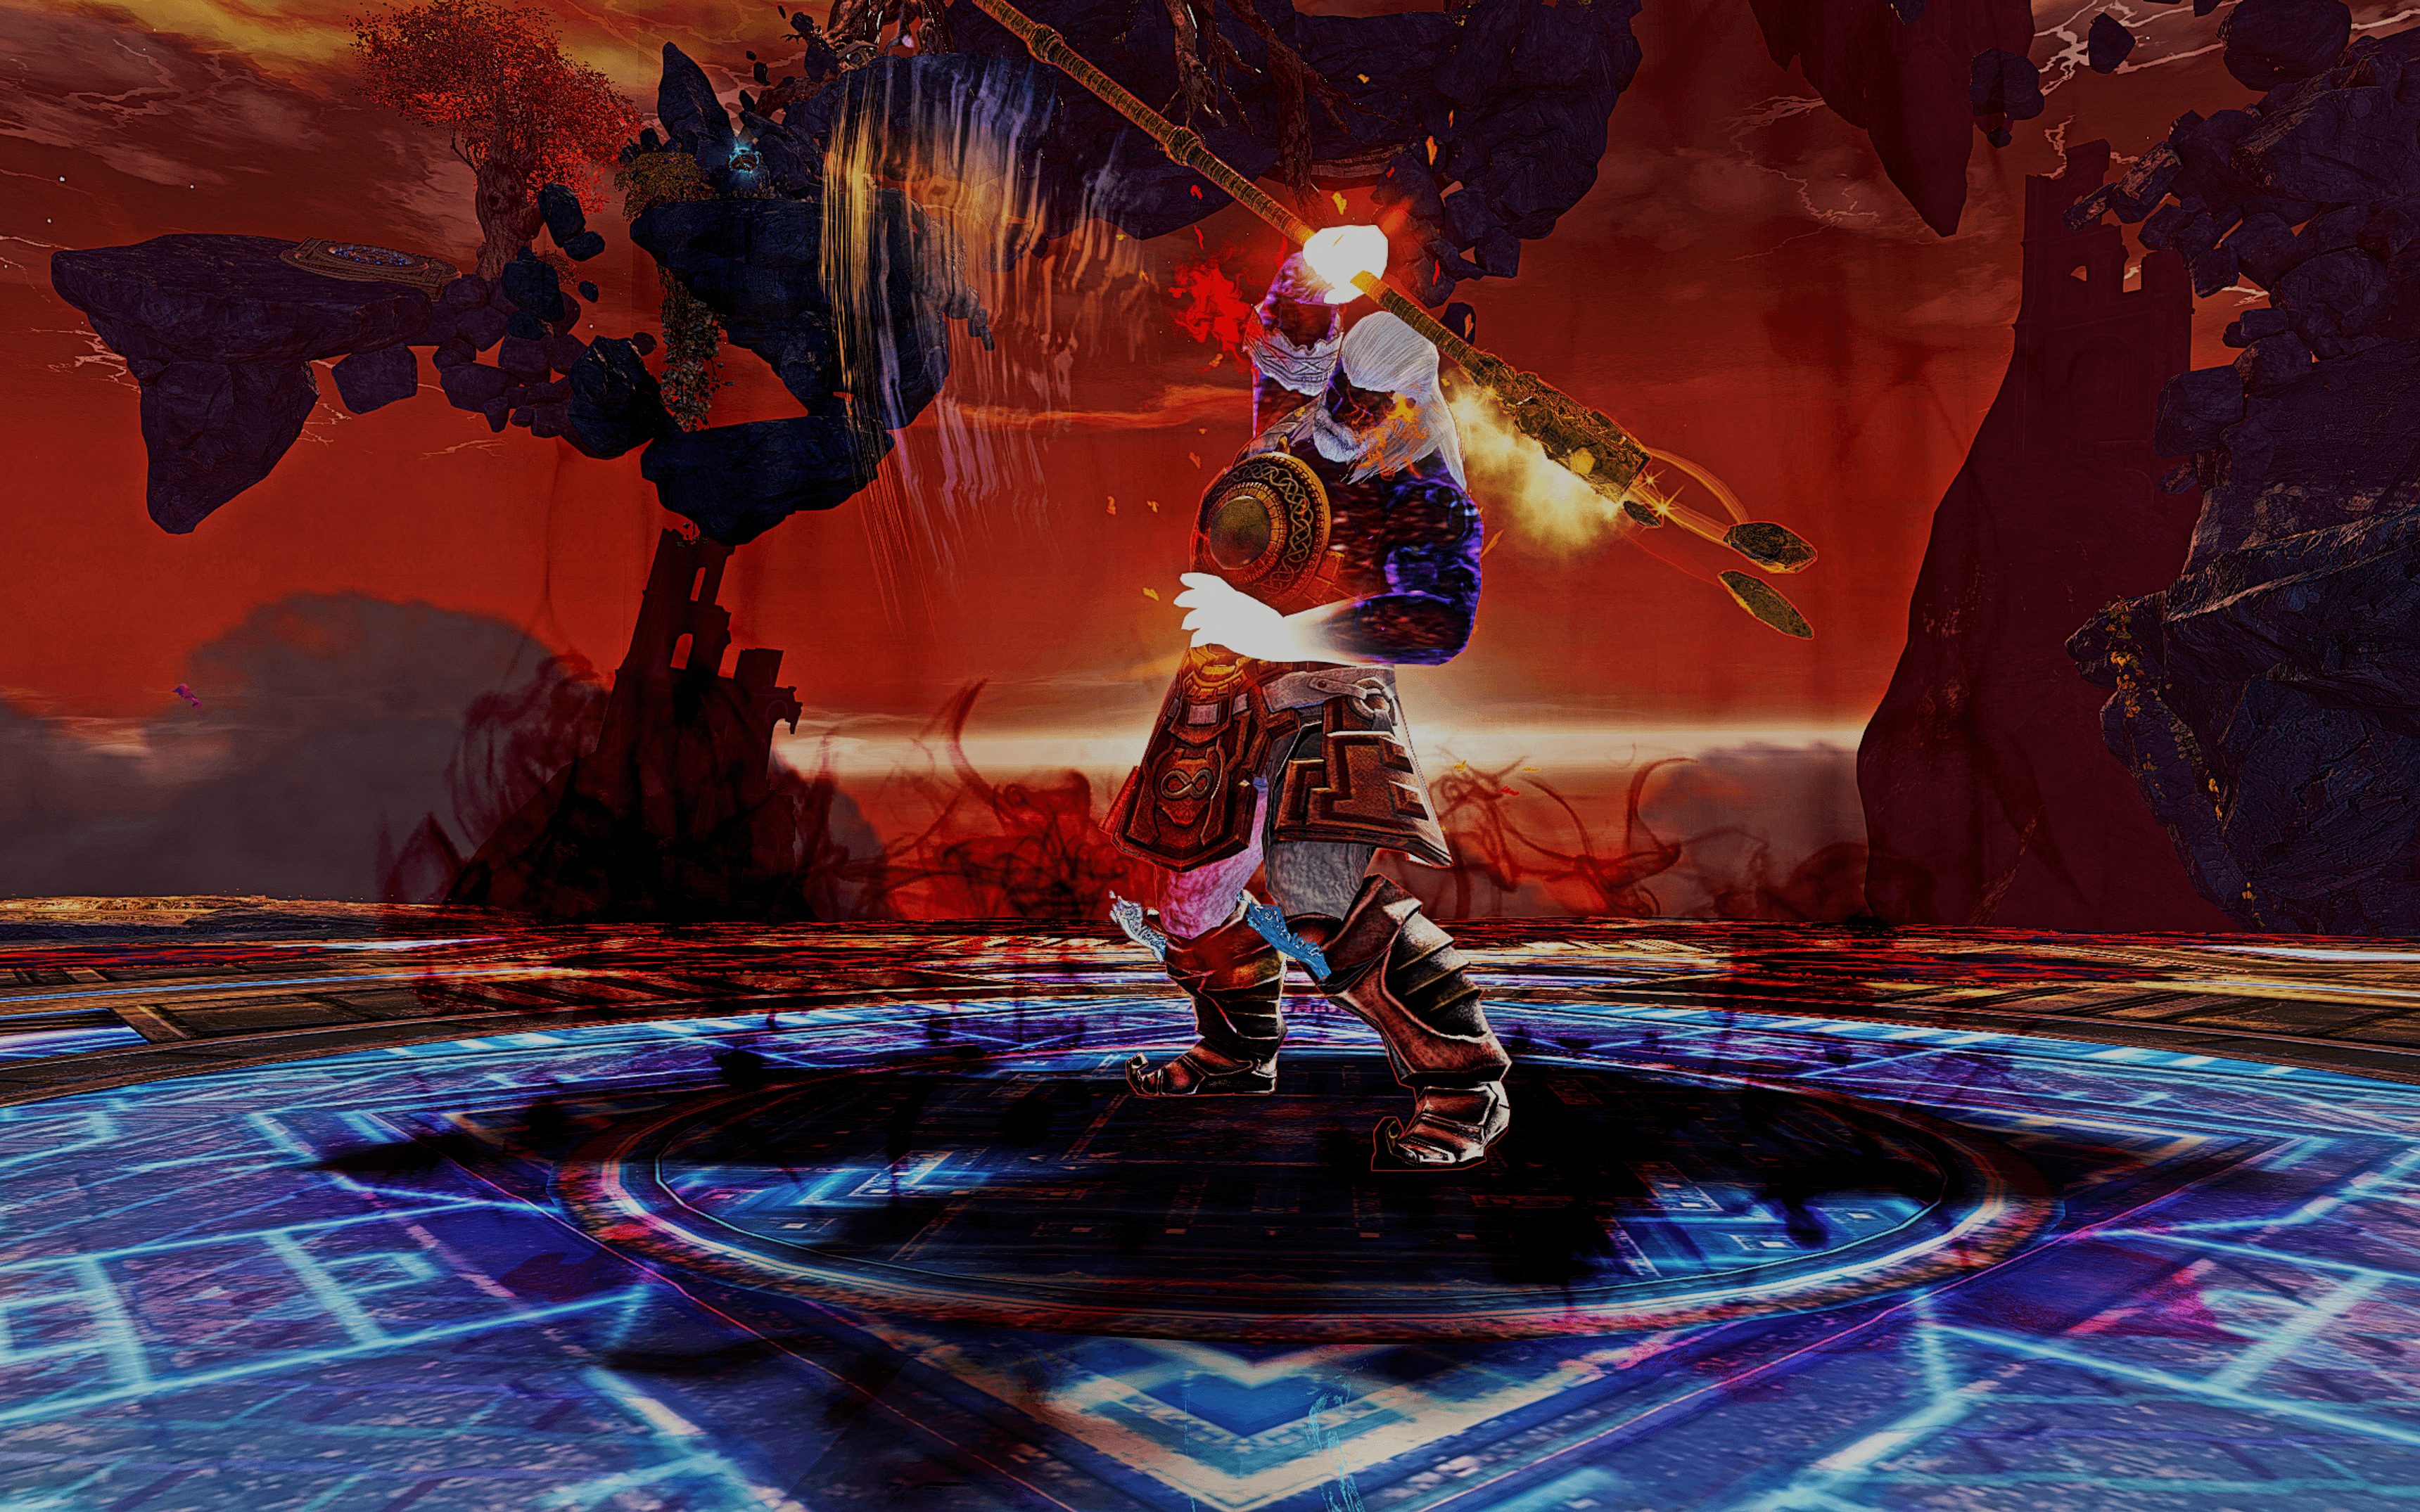
SKORVALD 5,551,340 HP
DPS Statistics by gw2wingman
Weapons
- Berserker2x
- Berserker1x
- Berserker1x
Skills
Heal
Utilities
Elite
Notes
- This encounter is fairly straight forward for a Heal Firebrand. You can mainly focus on helping with breakbars and sharing Aegis and Stability at key moments.
- There is usually no need to swap to any other utility, however is another strong choice for Stability after 33%.
Skill usage
Preparation
- Make sure to know if your group has for 66% and 33%. If you only have 1 in the group, prioritize 33%.
Prestacking
- You can do the regular prestacking from the build guide including .
- Place a Fire Field with skill 4 or if needed and blast it with .
- and use 1 charge of and as many charges as possible of any other equipped Mantra.
- Use .
- Take Mistlock Singularity.
- and use once during the cast.
- Place while running to the boss and swap to Axe.
100%-66%
- Use for Fury before the boss spawns.
- Use to CC
- Finish off the breakbar with and .
- Stay on Axe until the phase ends or until you used a 2nd .
66%
- This following rotation assumes you are soloing Stability.
- Fourth island
- Use and instantly upon landing. This will ensure that you will not get interrupted during the cast.
- Use and take the portal. (If your group does not use a portal here, just skip this step and use after the boss finished dashing around.)
66%-33%
- Swap to Axe and use for Fury.
- Use to share Stability and Resolution when everyone gets the red AoE around them and get ready to cleanse anyone who got hit by the attack. Try to dodge the attack towards the boss yourself so you don't get hit and heal allies at the same time.
- Keep up your boon rotation until the phase ends.
33%
- You want to safe for the last phase unless your group has really high DPS and can kill the boss before it does any attacks.
- Second Island
- Use and and then jump the first attack.
- Use and . If you are still on the Axe set, you can also use to share Aegis to save a charge of . Afterwards swap to Staff.
- Fourth island
- Use and instantly upon landing. This will ensure that you will not get interrupted during the cast.
- Use and take the portal. (If your group does not use a portal here, just skip this step and use on the main platform.)
- If your group DPS is very low and you also need to have ready for the last phase, make the following changes:
- Second Island
- Use as it will be up again for the last phase.
- Fourth Island
- Use and and then jump the first attack.
- Use and again while casting .
33%-0%
- Swap to Axe.
- If a breakbar is available use as many CC skills as quickly as possible in an attempt to break the defiance bar in the short time frame provided! However the breakbar will rarely have regenerated in time.
- Use for Fury.
- Make sure to keep at least one charge of to share Aegis for the bloom explosion. This needs to be timed very well.
- After leaving your , go into your to cleanse and heal your group. If you have time, you can drop symbols and use other skills to give boons if they are up before entering this Tome.
ARTSARIIV 5,962,266 HP
DPS Statistics by gw2wingman
Weapons
- Berserker2x
- Berserker1x
- Berserker1x
Skills
Heal
Utilities
Elite
Notes
- This can be a very high pressure fight. As a Heal Firebrand in this fight you need to provide sufficient Aegis and Stability for various attacks to ensure your DPS players are not being interrupted as well as providing enough healing and condi cleanse.
- Important: The reflect on Artsariiv scales with the player's Precision! If you have another class that can provide a reflect, let them reflect as they will be doing much more damage with it. If nobody else can provide a reflect, it might be worth taking it yourself as a defense against the boss' attacks.
- If your group is struggling a lot, consider running Virtues on this fight, especially when you are using (if nobody else can provide a reflect) since there is a lot of good utility skills that you can take on this fight. This should usually not be necessary as the above setup in combination with the rest of your kit will provide you with everything you need for keeping your group alive. You will also lose a lot of CC and the group DPS buff that can help meet important DPS checks in this fight.
- If you ever get CC'ed, remember that Hypernova Launch is a stun-break.
Skill usage
General
Preparation
- Ask the Renegade if they are bringing or not.
Prestacking
- You can do the regular prestacking from the build guide.
- Place a Fire Field with skill 4 or if needed and blast it with .
- and use 1 charge of and as many charges as possible of any other equipped Mantra.
- Take Mistlock Singularity.
- and use once during the cast.
- Place while running to the boss and swap to Axe.
100%-66%
- In case you are reflecting, it is not to do damage, but to negate incoming attacks. This means if your group is breaking the boss decently fast, you should save your reflects until after the Exposed has ended. Keep in mind that you will only need to do this if there is no other class with a reflect in your group.
- Precast for Fury.
- Use Hypernova Launch to the corner after the anomaly is dead.
- Open your and use skill 5, 4 and 1 to ensure your DPS players are not interrupted, especially if they are reflecting. You can save this Tome if you still have and use it at this point instead.
- Use to CC. When finishing the bar off with other skills be careful to not use as it can negate the projectiles.
- Use to Aegis Artsariiv's attacks, especially the 5th attack in her attack chain (the orange Aoe around her).
- Use to heal up the party if needed.
- can provide some extra safety as a backup after the initial Stability wears off and the Resolution helps with the incoming conditions.
66%
- There is nothing special in this phase. Use your CC skills and make sure to have weapon swap up when the phase ends. If you can choose, try to be on Axe when the phase ends. This is where your CC is anyways so it should not be an issue.
66%-33%
Middle:
- Provide boons with and .
- At this point you can use skill 4 and blast it with . This will also help a bit
- Use Hypernova Launch to the corner (after the anomaly is dead).
Corner:
- Use to ensure your DPS players are not interrupted, especially if they are reflecting.
- Use regardless of CC to share the 216 Power for this burn phase.
- After this, handle the rest of the phase the same as before.
- Depending on group DPS you might encounter a breakbar, use whatever you have if this is the case unless the boss is a few % away from phasing anyways.
33%
- There is nothing special in this phase. Use your CC skills and make sure to have weapon swap up when the phase ends. If you can choose, try to be on Axe when the phase ends. This is where your CC is anyways so it should not be an issue.
- Try to prioritise the side adds over the corner adds and make sure to Hypernova Launch to any white AoE you see.
33%-0%
- Handle this phase exactly the same as 66%-33%.
ARKK 9,942,250 HP
DPS Statistics by gw2wingman
Weapons
- Berserker2x
- Berserker1x
- Berserker1x
Skills
Heal
Utilities
Elite
Notes
- Your 3rd utility slot in this fight is rather open. You can take whatever you need most, for extra Stability, for the extra healing or even if your group downs a lot.
- is still great against Mistlock Instability: Afflicted and can help with Mistlock Instability: We Bleed Fire and to a lesser degree with the red orb attack.
- In a condition-based group, you can easily swap out for since neither has to be timed with breakbars in this fight.
Skill usage
General
- Share in DPS phases independent of breakbars.
- Other than that, just try to handle the mechanics yourself as best as you can and time your heals based on which mechanics the group struggles with.
- Hypernova Launch is a blast finisher. Therefore you can use a skill 4 to create a fire field before everyone is using their Special Action Key. This would be when he has the red orb above his head and after the bloom phase when he gets a breakbar.
Preparation
- If your group marks sides for the bloom phases, you should take one too so the Renegade can stay in the center to prepare for the breakbar.
Prestacking
- You can do the regular prestacking from the build guide including .
- Place a Fire Field with skill 4 or if needed and blast it with .
- and use 1 charge of and as many charges as possible of any other equipped Mantra.
- Use .
- Use if equipped.
- Take Mistlock Singularity.
- and use once during the cast.
- Place while running to the boss and swap to Axe.
100%-80%
- Use for Fury.
- Use to share its passive again.
- Stay on Axe until the boss phases or until you used a 2nd for Fury.
- Try to handle the mechanics as described in the general section and make sure to swap to Staff when you reach 80%.
80%
- Go to your side, push the bloom clockwise into the tower and head back to the center.
- Use skill 4 in the center once the last bloom is getting pushed in so other people can blast Might with their Hypernova Launch. If you notice people not using their Hypernova Launch for CC here, you can use the Tome while the add is up instead.
80%-70%
- Weapon Swap.
- Use for Fury.
70%: Archdiviner
- Make sure to avoid the red AoEs as they will corrupt your boons. Once the breakbar appears, try to CC the add with your Hypernova Launch which will also blast Might if you casted a fire field through skill 4.
- Try to pull in one add with .
- If you still have it up, use and Pull with skill 3 the mobs closer to the middle, then use chapter 4 (make sure you enter and exit the tome before the split phase add dies so it gets reset)
- Use to blast 's fire field.
- Cast as the add is about to die.
70%-50%
- Precast for Might.
- Either use skill 4 and blast it again with or wait until the red orb attack happens so everyone blasts it with their Hypernova Launch.
- Weapon swap.
- Use for Fury.
- This is a great time to use skills 5,4,3 and spam 1. This provides Stability for Fear, Aegis for melee attacks and a reflect for the agony circles. It will also help the Renegade not getting caught off guard by an agony AoE, with his back to the boss while killing the anomaly. It will also most likely be up again for the last phase if you use it here.
50%
- Go to your side, push the bloom clockwise into the tower and head back to the center.
- Use skill 4 in the center once the last bloom is getting pushed in so other people can blast Might with their Hypernova Launch. If you notice people not using their Hypernova Launch for CC here, you can use the Tome while the add is up instead.
50%-40%
- Weapon Swap.
- Use for Fury.
40%: Gladiator
- Once the breakbar appears, try to CC the add with your Hypernova Launch which will also blast Might if you casted a fire field through skill 4.
- Try to pull in one add with .
- If you still have it up, use and Pull with skill 3 the mobs closer to the middle, then use skill 4. Make sure you enter and exit the tome before the split phase add dies so it gets reset.
- Use to blast 's fire field.
- Cast as the add is about to die.
40%-30%
- Precast for Might.
- Either use skill 4 and blast it again with or wait until the red orb attack happens so everyone blasts it with their Hypernova Launch.
- Weapon swap.
- Use for Fury.
- This is most likely the moment where will be required to ensure your group gets to 30% safely.
30%
- In this bloom phase you will probably be on Axe so you will have to push like you would on any other class. The safest option is to wait until the bloom tethers to you, head to the corner and let it follow you, then get behind it and hit it once in to the tower with an auto-attack.
- Go to your side, push the bloom clockwise into the tower and head back to the center.
- Use skill 4 in the center once the last bloom is getting pushed in so other people can blast Might with their Hypernova Launch. If you notice people not using their Hypernova Launch for CC here, you can use the Tome when the red orb appears in the last phase instead.
30%-0%
- Use for Fury.
- Weapon Swap.
- Use to refresh Might.
- If the phase continues for longer, it can get very chaotic. Try to use up whatever you have left to get through the rest of the phase.
LIGHTAI 15,000,000 HP
DPS Statistics by gw2wingman
Weapons
- Berserker2x
- Berserker1x
- Berserker1x
Skills
Heal
Utilities
Elite
Notes
- When Mistlock Instability: Afflicted is present, run instead of . You will still be able to share Condition Damage through . You can also take this skill if people struggle with attacks that inflict conditions during the fire phase.
- When more healing or the extra CC on from is needed, consider swapping to the Virtues variant.
- If your group has multiple Condi Firebrand keeping up Fury, you can swap to Mace for extra healing and Aegis.
Skill usage
General
- This guide is meant to give an idea for keeping up boons on the actual boss fight.
- The general rules from the build guide still apply.
- Use down to 2 charges and down to 0 charges whenever stacked. Share whenever you can. This applies to the skill as well as the version.
- You will need to time your heals differently based on which attacks your group gets hit by.
Preparation
- Make sure to communicate with your group whether you will break the boss at the edge or in the center.
- Since most PuGs break the boss in the center, this is what the guide will focus on. If your group breaks on the edge, keep in mind that the CC window is shorter so prioritise getting out all CC quickly there.
- Communicate who in your group has a . Prioritise using it at 66% if you only have 1 in the group.
Prestacking
- Once the fight starts, all boons will be stripped. However you are still able to pre-stack unique buffs like sharing through .
100%-Cloud Phase
- Start on Staff. Make sure to not trigger the boss with an auto-attack before everyone is in range.
- Use in the center to give Swiftness so everyone can chase Ai after the first dash faster.
- While running towards the edge to the boss, use open your and use skill 4 on the boss to trigger . Blast the fire field with and swap to Axe.
- You will be able to use a second time before Ai dashes back to the center.
- When Ai dashes back to the center, swap to Staff and start spreading out early. This way you will be ready to give Might once everyone is stacked back together.
- If your group repeatedly struggles with the arrow mechanic during the spread, consider entering your an placing the skill 3 in the center to counter the projectiles.
- After the spread attack is over, dodge towards the center through her attacks and give boons again with , and . This should also heal back anyone to full HP.
- Place your on the boss but save your other CC for later as you ideally want to finish breaking the bar during the 4th attack or once the red AoE appears.
- Use on the 3rd attack (the full 360° AoE) to ensure your group has Aegis and Protection since this attack hits multiple times.
- If the breakbar is still up after this, finish it off with , and skill 3.
- If equipped, you can use to grant Stability to your group in case they dodge the attacks away from the boss and into the outer attacks.
- If you get the boss to 66% in the center, you will move on to the Meteor phase, otherwise the boss will dash to the outside and back to the center and you will see the cloud phase. Get out of the center quickly in this case.
Cloud Phase
- This phase is rather easy and the time limit is not very strict so focus on not getting hit by your own or other people's AoEs.
- If someone gets hit in this phase, they will also have Agony, so try to heal them up after the phase ends.
Cloud Phase-66%
- Keep your priority as above and handle her attacks the exact same way as before the cloud phase.
66% Meteor Phase
- If you have a , place it in the center.
- Head towards the edge of the arena. Make sure to be on Staff and give Swiftness.
- If you ever get separated, try to move towards the rest of your group between meteor explosions.
- During the 4th set of meteors 2 people will get targeted by meteors that will explode shortly after the 4th set.
- With Portal: Open your portal once you see the personal meteors but do not take it until the shockwaves of the 4th meteor set has passed the center.
- Without Portal: Wait until the 4th set of meteors exploded, then run towards the center and double-dodge across the shockwave to also dodge the explosion of the personal meteors at the same time.
- Get ready to condi cleanse your group in the center and stack boons again.
- If someone goes downstate, immediately go to rez them instead and give Aegis while rezzing through so you do not get interrupted by potential exploding rocks.
66% - 33%
- Handle attacks the same way as in Phase 1. The same "rotation" can be applied, however most attacks in this phase apply Burning.
- After the spread, phase the boss in the center to 33% or you have to deal with the 2nd meteor phase.
- 2nd Meteor Phase: The personal meteors spawn during the first (and only) set of meteors in this phase and go off faster than at 66%. Pay attention to the orange AoE indicator on the meteors to know when to double-dodge to the center. After this, handle the phase the same as the 66% meteor phase.
- If you did not phase to 33%, handle the mechanics the same way as before.
33% Water Phase
- Move towards the center with your group after you get pushed back but make sure everyone stays in the green circles.
- Outhealing the greens is rather easy and can be achieved by simply placing symbols and using .
- If someone downs in this phase, make sure to take the tether from them first and then start reviving them.
- There will be 4 blooms spawning, starting north and going clockwise with the last one spawning west. Make sure to be on Staff to give Might when the west bloom is active and the boss returns.
- If you have no stacks when the last bloom spawns in, wait until the person got a few stacks and then take it over so that nobody gets left behind building up too many stacks while moving to the boss.
33%-0%
- The water tornadoes in this phase are significantly harder to avoid than the previous AoEs.
- After Ai dashes to the side, follow her but stay in the remaining green AoE.
- You can side-step the first 2 tornadoes while moving to the boss, you can avoid the 3rd one (from the left side) by standing in between the tornadoes. Once the 4th set (from the right side) reaches you, dodge into the wall to avoid the 4th and 5th set at the same time.
- If your group struggles with this, open your when the 3rd set is coming in and use skill 5 and 4. This will give your group some extra Toughness as well as Protection and Resistance to counter the Slow.
- After the spread, finish her off in the center or you have to deal with the 2nd water phase.
- During the 2nd water phase there will be more blooms spawning as well as Ai being covered by a tornado that reflects projectiles so be careful and do not use your Staff auto-attack.
- If your group struggles with this phase, try to stay at the edge of the arena instead of staying close to the tornado in the center and move back once you see the boss coming back.
- After this handle the mechanics the same way as before until Ai is dead.
DARKAI 15,000,000 HP
DPS Statistics by gw2wingman
Weapons
- Berserker2x
- Berserker1x
- Berserker1x
Skills
Heal
Utilities
Elite
Notes
- When Mistlock Instability: Afflicted is present, run instead of . You will still be able to share Condition Damage through .
- When more healing or the extra CC on from is needed, consider swapping to the Virtues variant.
- If your group has multiple Condi Firebrand keeping up Fury, you can swap to Mace for extra healing and Aegis.
Skill usage
General
- A lot of attacks work similar to Light Ai. However the elemental attacks are replaced by lasers. This means you can handle most mechanics the same way as before.
Preparation
- Make sure to communicate with your group whether you will break the boss after the 1st or 2nd dash.
- Since most PuGs break the boss after the 2nd dash, this is what the guide will focus on. If your group breaks after 1st dash, keep in mind that the CC window is shorter so prioritise getting out all CC quickly there.
- Decide how to split at 33%. There will be 2 Sorrows spawning. When looking from the center towards the Guilt, one Sorrow will be left and one will be right of the Guilt. Most groups will have supports left and DPS right.
Prestacking
- Once the fight starts, all boons will be stripped. However you are still able to pre-stack unique buffs like sharing through .
100%-66%
- Start on Staff. Make sure to not trigger the boss with an auto-attack before everyone is in range.
- While running towards the edge to the boss, use , open your and use skill 4 on the boss to trigger . Blast the fire field with .
- Once you are at the edge, use and swap to Axe.
- When Ai dashes a 2nd time, swap to Staff and start spreading out early. This way you will be ready to give Might once everyone is stacked back together.
- If your group repeatedly struggles with the arrow mechanic during the spread, consider entering your an placing the skill 3 in the center to counter the projectiles.
- After the spread attack is over, dodge towards Ai through her attacks and give boons again with , and . This should also heal back anyone to full HP.
- Place your on the boss but save your other CC for later as you ideally want to finish breaking the bar during the 4th attack or once the red AoE appears. You can skip here if your group is able to break the bar without it, phases fast AND if you need to use it at 66% for the Sorrow.
- Use on the 3rd attack (the full 360° AoE) to ensure your group has Aegis and Protection since this attack hits multiple times.
- If the breakbar is still up after this, finish it off with , and skill 3.
- If equipped, you can use to grant Stability to your group in case they dodge the attacks away from the boss and into the outer attacks.
- After this, Ai will dash to another side and do these 2 attacks again. However there will be no breakbar up this time so you will have to spread out unless you get to 66% before the spread attack starts. Handle this the same way as before.
- If your group downs to the blue AoEs make sure to revive them fast but make sure to stand outside of them while reviving. As always make sure to give Aegis while reviving.
66% Sorrow Phase
- Whenever you reach 66%, Ai will dash to the center and start this phase.
- You will be able to outheal the constant damage happening in the center with your symbols.
- CC from range with , and skill 3. If needed, use . However you will need to be closer with this.
- If someone steps too close to the Sorrow and downs make sure to pick them up fast and spam Aegis while doing so.
- Once the Fears start spawning, open your and use skill 5 and 1 to grant Stability and Protection to your group.
- If the boss moves to the edge again, follow her but be careful with the Fears. Make sure to not leave anyone behind. If someone gets stunned by a Fear you can break them out of the stun with .
- If the boss stays in the center, try to avoid the Fears and make sure to pay attention to whether someone gets hit so you can stun-break them with and heal them up. If a lot of people stay close to the boss, there is a very high chance that at least one Fear will explode on the group.
- If you do not break the boss during this, you will have to spread out after the 5th attack. Try to heal people up before this after the Fears despawn if needed.
33% Guilt/Sorrow Phase
- Whenever you reach 33%, Ai will dash to the center and start this phase.
- Make sure you go to the correct Sorrow but keep an eye out on the other one.
- Take the tether from the Guilt as the boss would otherwise gain a lot of incoming damage reduction and outgoing damage. Once you gain some stacks, give the tether to someone else or, if nobody is around, give it back to the boss.
- Otherwise handle this phase exactly like the 66% Sorrow phase.
66%-0%
- Handle the attacks the same way as before. Make sure to not waste unless you know it will be back up for the 33% Sorrow phase.